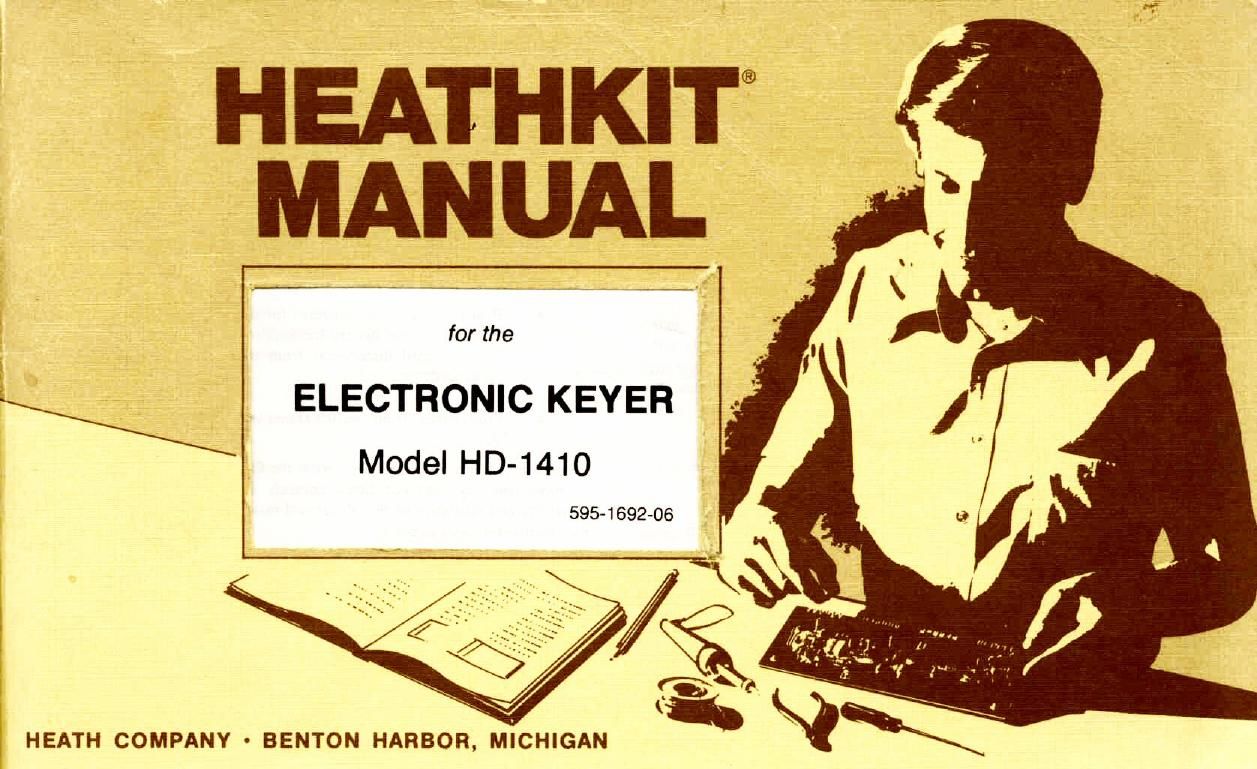
Heathkit HD 1410 Manual

This is the 75 pages manual for Heathkit HD 1410 Manual.
Read or download the pdf for free. If you want to contribute, please mail your pdfs to info@audioservicemanuals.com.

Page: 1 / 75
left right
Heathkit HD 1410 Manual

Extracted text from Heathkit HD 1410 Manual (Ocr-read)


Page 1

HEATHKIT®
MANUAL

for the

\ ELECTRONIC KEYER

Model HD- 1410

595- 1692- 06
\_ \ \C§.\ 1": I " w. ,
_ 46:; . > hnfl/
Q a "r *'-
V N.
HEATH COMPANY - BENTON HARBOR, MICHIGAN

Page 5

Page 3

PARTS LIST

Cheek each part against the following list. Make a check (V) in the space
provided as you identify each part. Return any part that is packed in an
individual envelope with the part number on it back in the envelope after you
identify it until it is celled ior In a step. Do not throw away any packing
materials until you account for all the parts.

Each circult part In this kit has its own "Circuit Component Number" (R2, C4,
SW1 , etc.). This is a specific number for only that one part. The purpose of these
numbers is to help you easily identify the same part in each section of this
Manual. These numbers will appear:

- In the Parts List:

- At the beginning of each step where a component is installed;
- In some illustrations;

- In the sections at the rear 0" this Manual.

To order a replacement part, use the Parts Order Form furnished with this kit If
3 Parts Order Form is not available, refer to "Replacement Parts" inside the rear
cover of this Manual. For pricing intormation, refer to the separate "Heath Parts
Price List"

«00*»

QTY. DESCRIPTION PART CIRCUIT
No. Camggnent No.
RESISTORS
1/4-Watt

NOTE: The resistors may be packed in more than one envelope Open all
the resistor envelopes before you check them against the Parts List.

( l 1 22 n (red-red-hlack) 1-42-12 R7

l l 1 100 n (brown-black- 1-1-12 R'll
brown)

I I I 150 S7. (browngreen- 1 87-12 R18
brawn)

( ) 1 270 (Z (red-violet 1-21-12 R12

brawn)

Page 18

Page 1 6

FOR GOOD SOLDER
CONNECTIONS, You MUST
KEEP THE SOLDERING

IRON TIP CLEAN./-; S;

WIPE rr OFTEN ._
WITH A DAMP Liz?
SPONGE OR CLOTH. -


Position the circuit board as shown.

NOTE DIODES MAY BE SUPPLIED

IN ANY OF ME FOLLOWING SHAPES

ALWAVS POSHIONIHE BANDEDEND _ 0

AS SHOWN ON THECIRCUITBOARD. _ O
, / O


WHEEL. i

q l NOTE: Use 1/4-watt resistors (the smaller
I'D resistors) unless directed otherwise.
I) ( ) R27: 1000 52 (brown-blacked).
( ) R21: 3200 n (marred-red),
"III! [III /
> ( ) R22: 4700 Q (yellow-violet-ved).
l ) D4 and DS: Two 1N2071 diodes
(7'27" > l ) H26: 47009 (vellow-violet-redl
l l D7: 1N709A zener diode (#56-58). l k l )IR25: 390 S1 (urangewhite-brown).
( 1 DS, 8. 9. 12 and 1 FiV91N4002 O l ) R24:47DOQlyellaw»violet-red).
diodes (#57-65).
l ) Solder the leads to the foil and cut
1 )

Solder the leads to the foil and cut - - - - - off the excess lead lengths
of! the excess lead lengths. § § § g §l m +
PICTORIAL 1-1

Page 48

Page 46

@

TESTS AND ADJUSTMENTS

The purpose of this section of the Manual is to make sure your Electronic Keyer
operates properly and will not be damaged as the result of a wiring error. A
transistor or integrated circuit, for example. could be destroyed instantly by a
short circuit that causes excessive current.

( ) Inspect the Electronic Keyer for improperly soldered connections, or
connections that may have been missed and not soldered. Also check for
solder bridges across two or more circuit board foils, which would cause a
short circuit.

( ) Examine the chassis-mounted parts to make sure they are properly
mounted and connected.

l ) Be sure no bare wires are touching any components or the chassis.

NOTE: if a VTVM is available, make the following "Resistance and Voltage
Checks." if a meter is not available. proceed to "Operational Check."

RESISTANCE AND VOLTAGE CHECKS

These resistance and voltage checks are made to make sure there is no short
circuit in the power supply. DO NOT plug in the line card until you are
instructed to do so.

NOTE: Some of the readings, in the following steps, may take a few seconds to
reach the indicated resistance due to the charging of capacitor (:11.

( ) Set your ohmmeter on the RXlOO scale.

l l Connect the common lead of your ohmmeter to either side panel.

NOTE: The resistances in the following steps are the minimum desired. it the
resistance readings are significantly less. you must determine the reason (such as
a short circuit caused by a solder bridge between foils) and correct it before you
proceed. As some ohmmeters use the "common" lead as the positive lead, try
reversing your ohmmeter leads if you do not get the designated resistance
readings.

l ) Refer to Figure 2 and touch the ohmmeter probe to a solder connection at
point 1. The meter reading should be 10 kn or higher.

l ) Touch the ohmmeter probe to a solder connection at point 2. The reading
should be 10 kn or higher.

( ) Touch the ohmmeter probe to a solder connection at point 3. The reading
should be 1500 ohms or higher.

l ) Set your meter to the lowest range capable of measuring +5 volts DC.

CAUTION: High valmge is exposed at several locations in the Electronic Keyer
Men the line card is plugged into an AC outlet. Be extremely careful when you
make the following voltage test.

NOTE: If the unit does not perform properly in any of the following checks,
unplug the line card and refer to the in Case of Difficulty" section of the
Manual on Page 55.

l l Make sure the VOLUME control knob is turned to OFF and the SPEED
control is pushed in.

l ) Plug the line cord into the AC socket on the rear panel of the Electronic
Keyer and into an AC outlet.

Page 66

Page 64

CIRCUIT BOARD X-RAY VIEWS

NOTE:

To find the PART NUMBER oi a componem for the purpose of
ordering a replacement:

A

Find the circuit component number (R15, C3, are.) on (he XvRay
View or "Chassis Photograph."

Locale this ume number in the "Circuit Component Number"
column of lhe "Pens List."

Adjacent to the circuit componem number, you will find the PART
NUMBER and DESCRIPTION which must be supplied when you
order a replacement pen.

maxim. ,

(Viewed from foil side)