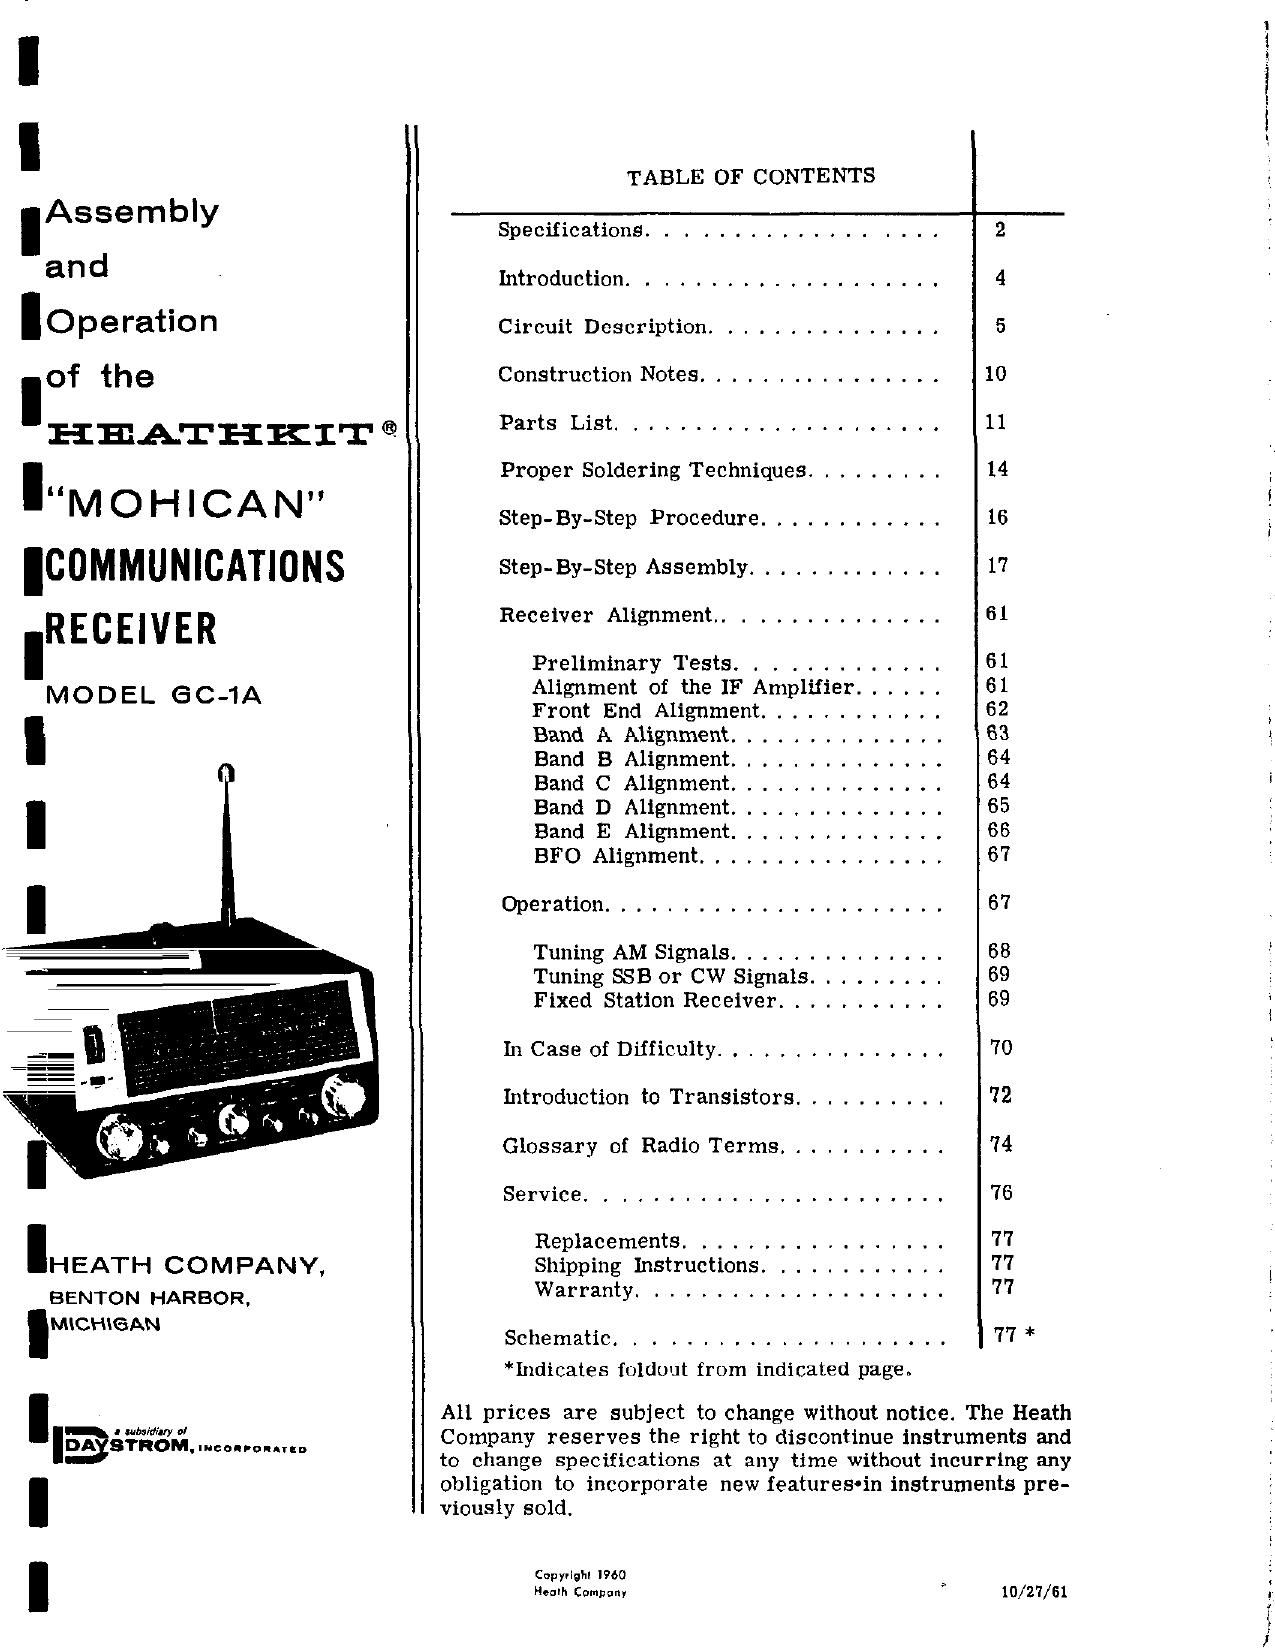
Heathkit GC 1A Manual

This is the 98 pages manual for Heathkit GC 1A Manual.
Read or download the pdf for free. If you want to contribute, please mail your pdfs to info@audioservicemanuals.com.

Page: 1 / 98
left right
Heathkit GC 1A Manual

Extracted text from Heathkit GC 1A Manual (Ocr-read)


Page 1

I TABLE OF CONTENTS
lAssembly Specifications. . . ........... . . . . 2
and Introduction. . .................. 4
IOperation Circuit Description. .............. 5
lof the Construction Notes ................ 10
P ' . .................... 1
HEATI-IKIT ® 5 St 1
I Proper Soldering Techniques ......... 14
H y,
M O H I CA N Step-By-Step Procedure ............ 16
ICOMMUNICATIONS Step-By-Step Assembly ............. 17
R E c E I V E R Receiver Alignment ............... 61
I Preliminary Tests. ............ 61
MODE GC- Alignment of the IF Amplifier ...... 61
L 1A Front End Alignment ............ 62
I Band A Alignment .............. 63
Band B Alignment .............. 64
Band C Alignment .............. 64
Band D Alignment .............. 65
Band E Alignment .............. 66
BFO Alignment ................ 67
I Operation ...................... 67
*: Tuning AM Signals .............. 53
Tuning SSB or CW Signals ......... 59
Fixed Station Receiver ........... 69
a 7 3 In Case of Difficulty ............... 70
Introduction to Transistors .......... 72
Glossary of Radio Terms ........... 74
Service. . ..................... 76
I Replacements. ................ 77
HEATH COMPANY, Shipping Instructions. ........... 7'7
BENTON HARBOR, Warranty. ................... 77
M \
CH GAN Schematic. . . .................. 77 *
*Indicates foldout from indicated page.
I All prices are subject to change without notice. The Heath
laé$fidgfi munumn Company reserves the right to discontinue instruments and
' to change specifications at any time without incurring any
obligation to incorporate new featureSOin instruments pre-
viously sold.

Cepyviqll woo
H.th Company " 10/27/61

Page 2

Page 2 HEATHKIT ®

SPECIFICATIONS

Receiver Type: ............................ Ten transistor, general coverage, single
conversion superheterodyne

Intermediate Frequency: --------------- 455 kc,
Frequency Coverage: .................. Band Fre uenc
A. ....... 350 - 160%
B . 1.6 mc - 4.0 me
C .4.0 - 9.0
. 9.0 - 20.0
20.0 - 32.0
Selectivity: .......................... 3 kc wide at 3 db down.
Sensitivity: ......................... Band A _ 1o microvolt = 10 db or better signal-

to-noise ratio at 50 milliwatt audio output. I
Band B, C, D and E - 2 microvolts = 10 db or
better, signal-to-noise ratio at 50 mllliwatt audio

1. output. I

Page 61

Page 48 HEATHKIT ®
/
INSENV INYO HOLE
wnn IOOK RESISTOR LEAD Bro H
9 ° Bro-2 PIN TO AVC swn'cn
ANL. PIN PIN BFO'S FIN ND S-METER
am
e o e ]
O
. v. ,
m ' :
0 \ I o
D
o \ 9 gr
0 . \
_ BRN
.3 VIC
in? Aw: 4.7uur é Aész B
A0 ORG VIoL,
I
/
/
E-fim g
-I- m 1):
9 : )
£9 E
To
PILOTKCHT
4A,)
vamm smsr
ADAPTER INSULATED
SHAFT\ w," Aw
1-: I I I I: @
532 XiHBHMS AQ
0\ Q
:'\\\ \\ e 03 ( @
§:\/Q , 4
m\ ; I ail

Figure 22

FR NT PANE WIRIN

R fer to Figure 22 for the following steps.

( ) Connect one end of an 8" length of white
hookup wire to lug 2 on the spring loaded
pilot light switch AW (8-1). The other end

will be connected later.

NOTE Tn: FARTITIONS |N THIS DRAW|NG ARE SHOWN A5 WEDGES
1o ALLOW ALL PERTINENT POINTS 10 BE VISIBLE.

I
l
I

(1') Connect one end of a 17" length of white
hookup wire to lug l of switch AW (S-l).
Run the other end at this wire over the

chassis. This end will be connected later.

Page 65

4

3 \) Connect one end of a 23" length of white

APPROXIMATELY I2 @ IE ALL SUPPLIE®

HEATHKIT 9

Detail 17

hookup wire to terminal lug BX (5-2). Route
the wire down across the front opening of
the chassis, then up over the chassis (be-

ward the rear where it will be connected
later.

Cut both leads of a 100 (2 1/2 watt resistor

y L tween the circuit board and front end) to-
? )
I

I
\
I
A

v
w
I

I

A. .; New... '_.___.:4.Ww. .

0'

(hrown-black-brown) to 5/ 8 in length. Con-
nectone lead to dial lamp terminal BS (S-l).
fonnect the other lead to ground lug ET
8- 1).

,

l

UlE: Use extreme caution to avoid applying
excessive amount of heat or tension to lugs
1 and BDZ when soldering, or damage to the

lsstic meter case will result.

) Connect the blue wire, previously installed,
to lug 2 of the meter ED (S-l).

( Ii), Connect one end of a 4" length of white
hookup wire to lug l oi! the meter ED (S-l).
Connect the other end oi this lead to lug 4

j of the AVG switch BC (8-1).

(

) Strip and tin both ends of an 18" length of
.Z-conductor line cord.

) On one and connect one lead to lug 1 of the
VOLUME control switch AU (S-l). Connect
the other lead to lug 2 of the VOLUME
control switch AU (S-l). See Figure 23.
Form the other end of this pair over the
chassis between the front end assembly and

0/ circuit board, as shown in Figure 26.

)

Prepare the length of shielded cable as
shown in Detail 1?. Tin the shield pigtails
and the center conductor.

) Refer to Figure 23 and place the end with
1-1/2" of outer insulation removed through
hole BE from the top of the circuit board.
Run the center conductor lead through lug 2
of the phone jack AF and pull the lead
through to the point where the end of the
outer cable insulation is flush with the
top of the board (but not under tension).
Make connection and solder lug 2 (5-1).
Connect the cable shield lead to lug l
of phone jack AF (S-l).

Connect one end of a 1-1/2" length of yel-
low hookup wire to lug 3 of the phone jack
°AF (S-l). Connect the other end of this
lead to the speaker terminal pin (S-l).
See Figure 23.

( ) onnect one end of a 2" length of blue wire
to the AF input terminal pin (S-l). Leave
the other end free for the present.

( ) Run the free end of the blue wire coming
from pin 3 of transistor socket X2 through
grommet A0 and connect to the IF input
transformer terminal on the circuit board
(8-1). See Figure 23.

aEll-54

STRIP ALL WIRES V4" BACK
AND TIN

Detail 18

--/'------

Page 84

Page 68

HEATHKIT ®

MAIN TUNING: The MAIN TUNING knob is used
to tune the five bands on the top half of the dial.
The main tuning is calibrated accurately only
when the bandspread tuning knob is full clock-
wise.

BANDSPREAD: BANDSPREAD is used to tune
the calibrated ham bands or to be used with the
logging scale on the bottom half of the dial. With
the bandspread tuning knob set full clockwise,
set the main tuning pointer over the point indi-
cated by the circle on the main dial containing
the wavelength number (80 M, 40 M, 10M, etc),
corresponding to the bandspread dial desired.
Now, tuning the receiver with the bandspread
tuning knob gives an expanded frequency scale
for the amateur frequency band being used.

TUNING AM SIGNALS

The receiver controls should be set as follows:

VOLUME. . . .......................
BFO ............. . ................

BAND SWITCH .......................

Tune signal to peak reading on S-meter, adjust
VOLUME control for desired output level. Peak
the antenna tuning. If signal is extremely strong,
turn the RF GAIN control counterclockwise to
reduce possible distortion.

Using the logging scale, it is possible to return
to any particular frequency within the tuning
range of the receiver by noting the main tuning
point and the logging scale reading.

GROUND: Whenever possible, it is recommended
that a ground wire be connected to the ground
screw of the rear antenna terminals. This will
improve reception ct signals regardless of the
antenna utilized.

ON one-half turn (clockwise).

OFF (pushed in).

Desired band.

Full 0N (clockwise).

Peaked after tuning in signal.

OFF (unless excess noise is present).

0N (unless copying a weak signal).