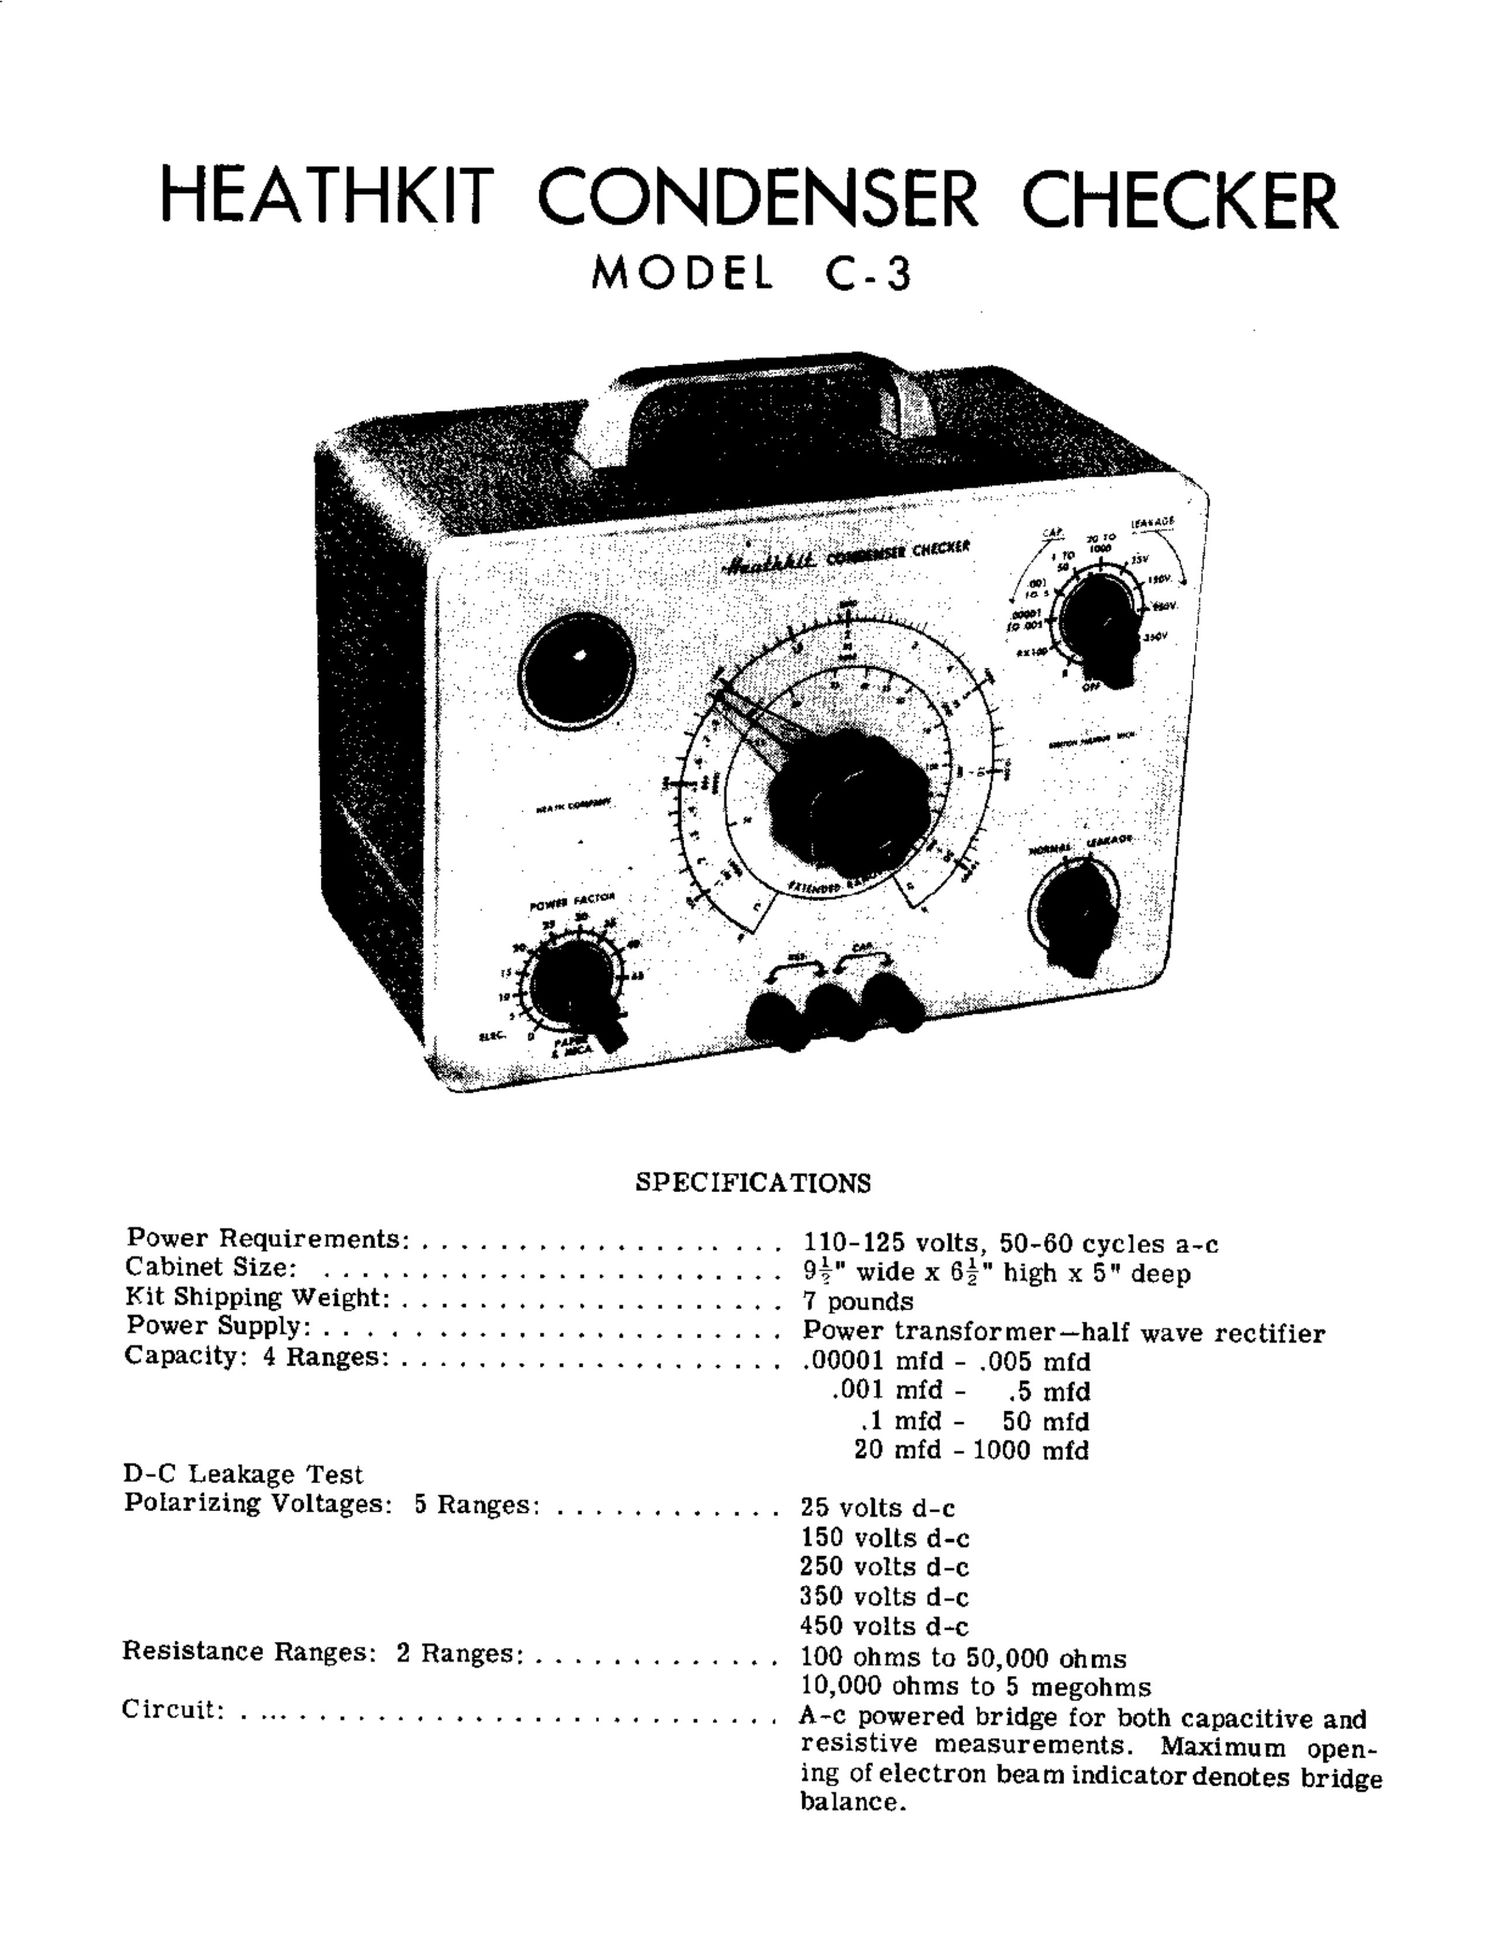
Heathkit C 3 Service Manual

This is the 15 pages manual for Heathkit C 3 Service Manual.
Read or download the pdf for free. If you want to contribute, please mail your pdfs to info@audioservicemanuals.com.

Page: 1 / 15
left right
Heathkit C 3 Service Manual

Extracted text from Heathkit C 3 Service Manual (Ocr-read)


Page 1

HEATHKIT CONDENSER CHECKER

MODEL C-3

SPECIFICATIONS

Power Requirements: . . . . .
Cabinet Size: . . . . . . . . .........
Kit Shipping Weight: ..... . . . . . . . .

PowerSupply:.. . . . .......
Capacity: 4Ranges: . . . . .. ...... .

D-C Leakage Test
Polarizing Voltages: 5 Ranges: . . . . .

Resistance Ranges: 2 Ranges: . . . . . .

Circuit: I II. 0 0 I O Q t I i O O IIIIII O I

O O 9 n I

110-125 volts, 50-60 cycles a-c
9%" wide x 6%" high x 5" deep
7 pounds
Power transformer-half wave rectifier
.00001 mid - .005 mid
.001 mid - .5 mid
.1 mid - 50 mfd
20 mfd - 1000 mid

25 volts d-c

150 volts d-c

250 volts d-c

350 volts d-c

450 volts d-c

100 ohms to 50,000 ohms
10,000 ohms to 5 megohms

A-c powered bridge for both capacitive and
Maximum open-
ing of electron beam indicator denotes bridge

resistive measurements.

balance.

Page 2

STEP-BY-STEP ASSEMBLY
Mounting of Parts

( v) Mount power transformer E on t0p of chassis rear center. Placement should be made so
that the black leads and yellow leads are along the rear edge. Install 3-1ug terminal H
under chassis using the same transformer mounting 6-32 screw. See Pictorial 3. Next,
slip a solder lug on the same screw and tighten assembly with a 6-32 nut. Another 6-32
screw through the remaining transformer mounting lug chassis lock washer and a 6-32

mounting nut completes the transformer mounting.
( 4 Install the five 3/8 rubber grommets on chassis as shown in Pictorial 1.

BOTTOM CHASSIS vswraom REAR

PICTORIAL l

(/) Dress power transformer leads as shown in Pictorial 3. Note: Green and green-yellow
leads are not dressed through the chassis.

( v) Install saddle mounting octal socket F so that keyway is towards the power transformer.
Use 6-32 screws, lockwashers and 6-32 nuts.

(J) Mount Z shaped mounting bracket on top of chassis using 6-32 mounting screws and under
the chassis slip a solder lug over a 6-32 screw.

( ") Mount 4 lug terminal strip G under chassis using a 6-32 screw with a solder lug under the
6-32 nut. Refer to Pictorial 1.

(V) Mount Spring base clamp on top Of bracket M.

( V) Install 1-lug terminal K under chassis. See Pictorial l. Slip solder lug under the 6-32 nut.

(4 On top of chassis install 2-lug terminal L. See pictorial 2 for placement.

( l) Mount main'control B in center panel opening. Use control lockwasher between control and
panel. Use flat nickel washer under control Mounting nut. Position control so that terminal
points downward. ~

Page 2