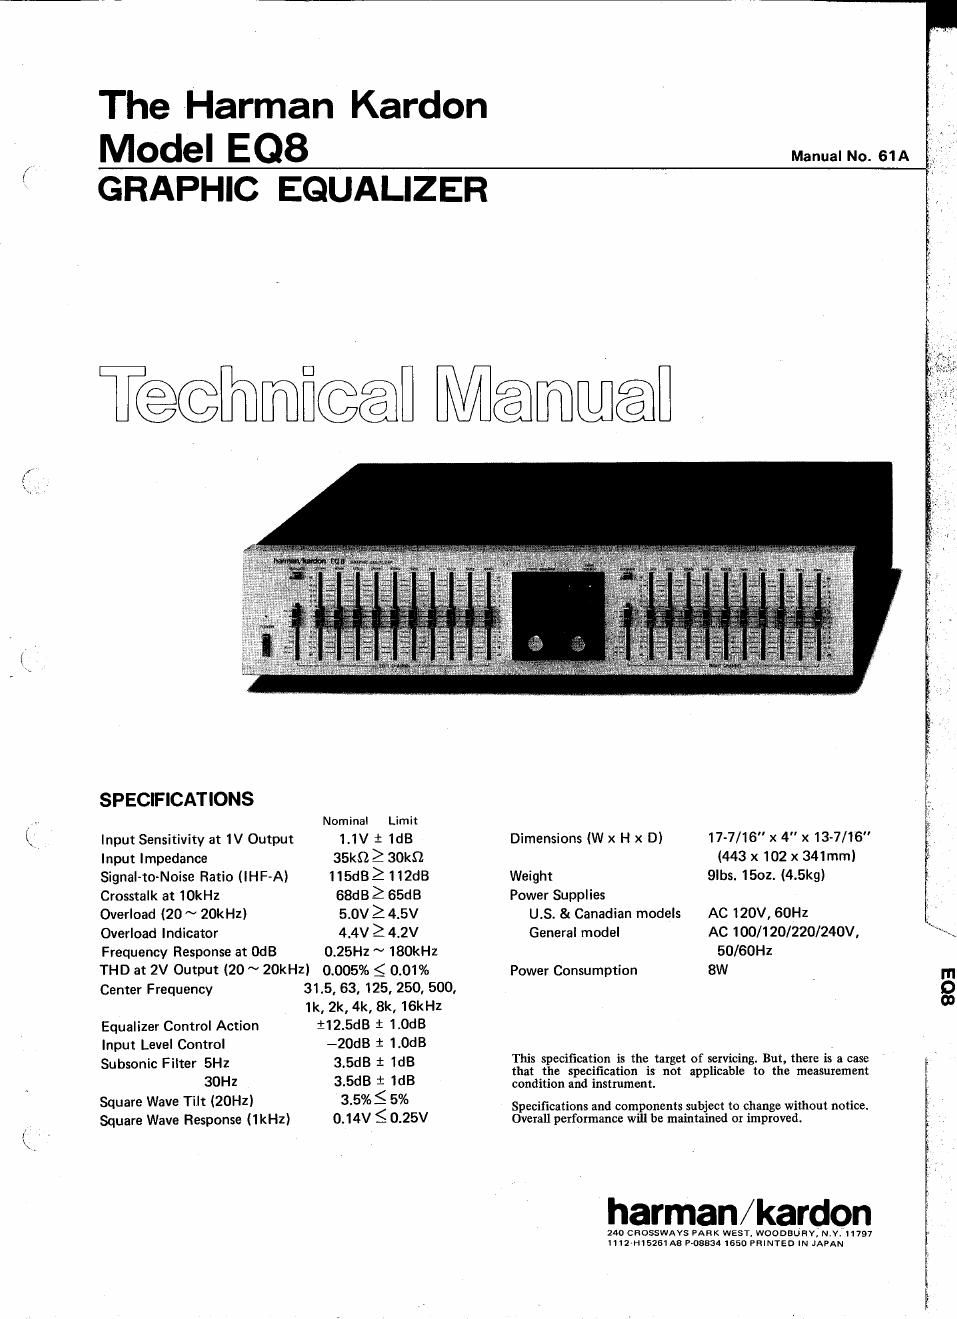
Harman kardon eq 8 service manual

This is the 20 pages manual for harman kardon eq 8 service manual.
Read or download the pdf for free. If you want to contribute, please mail your pdfs to info@audioservicemanuals.com.

Page: 1 / 20
left right
harman kardon eq 8 service manual

Extracted text from harman kardon eq 8 service manual (Ocr-read)


Page 1

\\

The Harman Kardon
Model E08

Manual No. 61 A

GRAPHIC EQUALIZER

T@@hm]fi@@ Meow

SPECIFICATIONS
Nominal Limit
Input Sensitivity at 1V Output 1.1V i 1dB
Input Impedance 35k9, Z SOkQ
Signal-to-Noise Ratio (lHF-A) 11!:de 112dB
Crosstalk at 10kHz (38de 65dB
Overload (20 ~ 20kHz) 5.0V 2 4.5V
Overload Indicator 4.4V 2 4.2V
Frequency Response at OdB 0.25Hz ~ 180kH2
THD at 2V Output (20 ~ 20kHz) 0.005% g 0,01%
Center Frequency 31.5, 63, 125, 250, 500,
1k, 2k, 4k, 8k, 16kHZ
Equalizer Control Action i12.5dB i 1.0dB
Input Level Control -20dB i 1.0dB
Subsonic Filter 5H2 3.5dB i 1dB
30H: 3.5dB t 1dB
Square Wave Tilt (20Hz) 3.5935 5%
Square Wave Response (1kHz) 0.14V S 0.25V

Dimensions (W x H x D) 17-7/16" x 4" x 13-7/16"
(443 x 102 x 341mm)
Weight 9lbs. 1501. (4.5kg)

Power Supplies
U.S. & Canadian models AC 120V, 60Hz

General model AC 100/ 1 20/220/240V,
50/60Hz
Power Consumption 8W

This specification is the target of servicing. But, there is a case
that the specification is not applicable to the measurement
condition and instrument.

Specifications and components subject to change without notice.
Overall performance will be maintained or improved.

harman/kardon

24o CROSSWAVS PARK wzsr, woooauavj N.v. H797
l1l2+l15261 AB EOEBSA I650 PRINYED IN JAPAN

.W"_,._V-_me .P

/

803

Page 2

LEAKAGE TEST (FOR SERVICE ENGINEERS IN THE U.S.A.)

w
G
I.I.I

Before returning the unit to the user, perform the following safety checks:

1. Inspect all lead dress to make cer-
tain that leads are not pinched or
that hardware is not lodged be-
tween the chassis and other metal
parts in the unit. To EACH EXPOSED

2. Replace all protective devices such METAL SURFACE 0"

. , UNITUNDER TEST
as nonmetallic control knobs, In»

sulating fishpapers, cabinet backs,
adjustment and compartment cov-
ers or shields, isolation resistor-
capacity networks, mechanical in-
sulators, etc.

3. Be sure that no shock hazard exists; check for leakage
current using Simpson Model 229 Leakage Tester,
standard equipment item No. 21641, RCA Model
WT540A or use alternate method as follows:

Plug the AC line cord directly into a 120-volt AC
receptacle (do not use an Isolation Transformer for
this test). Using two clip leads, connect a 1500 ohm,
10Awatt resistor paralleled by a 0.15mf capacitor, in
series with all exposed metal cabinet parts and a
known earth ground, such as a water pipe or conduit.
Use a VTVM or VOM with 1000 ohms per volt, or
higher, sensitivity to measure the AC voltage drop
across the resistor. (See Diagram.) Move the resistor
connection to each exposed metal part having a
return path to the chassis (antenna, metal, cabinet,
screw heads, knobs and control shafts, escutcheon,
etc.) and measure the AC voltage drop across the
resistor. (This test should be performed with the
power switch in both the On and Off positions.)

A reading of 0.35 volt RMS or more is excessive and
indicates a potential shock hazard which must be
corrected before returning the unit to the owner.

DISASSEMBLY PROCEDURES

I3] CABINET TOP REMOVAL
Remove 6 screws Q and then remove the cabinet top.

IZI FRONT PANEL ASSEMBLY REMOVAL

1. Remove the cabinet top (refer to stop. 11! ).

2. Pull out the equalizer level and subsonic frequency
control knobs (133).

3. Remove 6 screws 3 and then remove the front panel
assembly.

I3) MAIN P.C. BOARD (PCB-1) REMOVAL

1. Remove the cabinet top and front panel assembly
(refer to steps Ill and [El ).

2. Open the lid of connectors (P101, 102, 103, 104,
105) on the main P.C. board (PCB-1) and then
disconnectlead Wires. ' ' '

SIMPSON MODEL 229 ETC. FOR
LEAKAGE TEST

TO AC GROUND SUCH
AS WATER OR GAS PIPE,


HIGH
VOLTAGE
OH + LEAD

LEAD

é
VTVM
-OAC SCALE oi

1.5KOHM
10W

-va-

_._.||_

015 MP
TEST PROBE
TO EXPOSED CONNECT TO KNOWN
METAL PARTS EARTH GROUND

3. Remove 4 screws 9 and then remove the main P.C.
board (PCB-1) with push button assemblies (102).
If necessary, unsolder the lead wires.

I21] CONTROL P.C. BOARD (PCB-2) REMOVAL

1. Remove the cabinet top, front panel assembly and
main P.C. board (refer to steps ill through IE] )

2. Remove 2 screws 0 and then remove the subsonic
switch P.C. boards (PCB-5 8i PCB-6).

3. Pull off the Input Level knobs and remove input
level control mounting nuts.

4. Remove 28 screws 6 and then remove the control
P.C. board (PCB-2).

BX CABLE. CONDUIT, ETC.