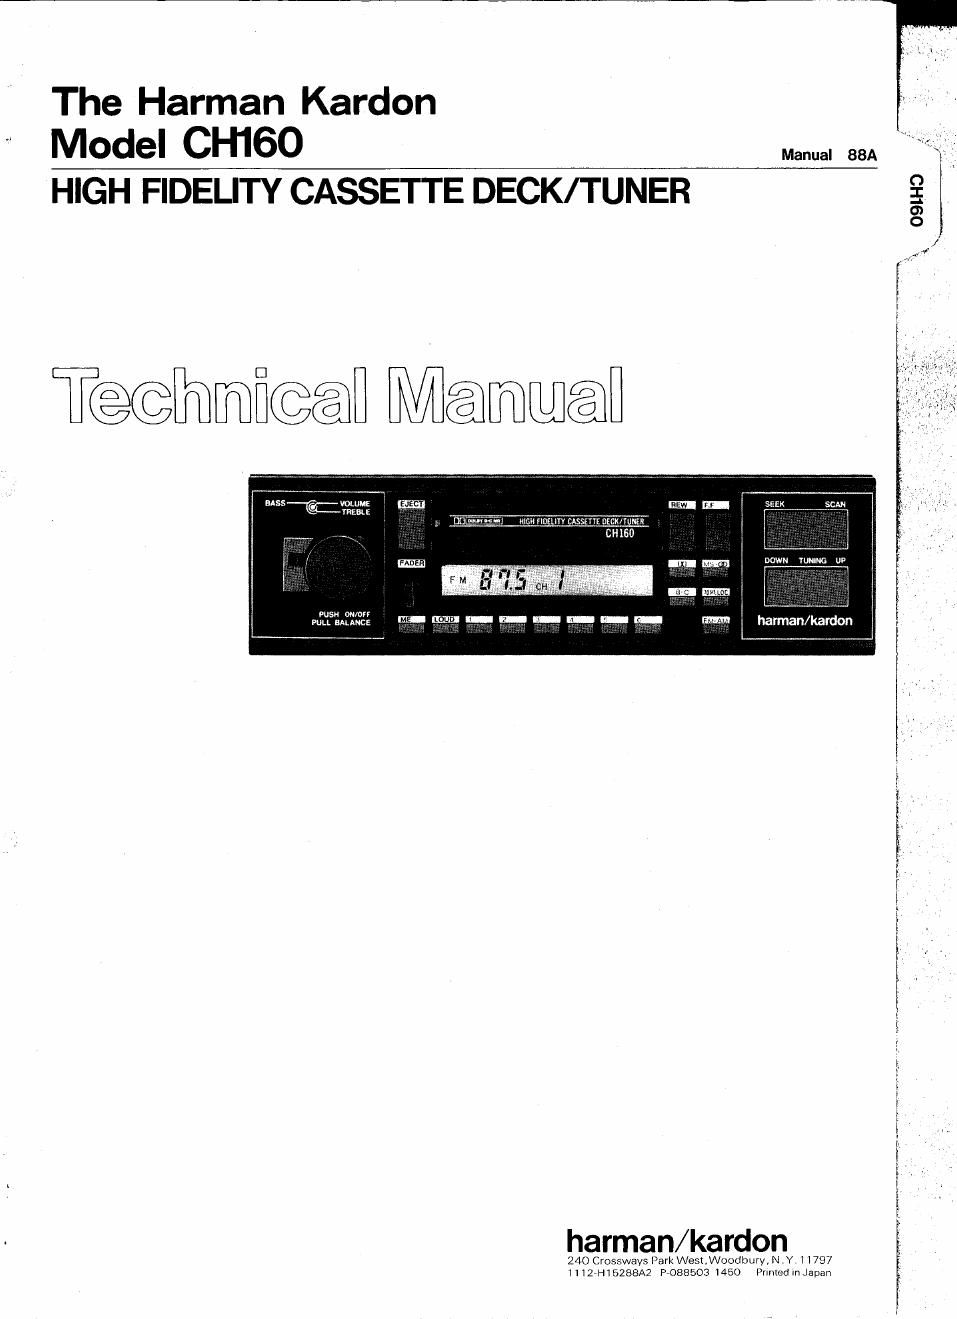
Harman kardon ch 160 service manual

This is the 37 pages manual for harman kardon ch 160 service manual.
Read or download the pdf for free. If you want to contribute, please mail your pdfs to info@audioservicemanuals.com.

Page: 1 / 37
left right
harman kardon ch 160 service manual

Extracted text from harman kardon ch 160 service manual (Ocr-read)


Page 1

The Harman Kardon
Model CH160

HIGH FIDELITY CASSETTE DECK/TUNER

091m <
\. - ,

T@@mfi@@fl Mémwélfl

harman/kardon
240 Crossways Park Wesx,Woodbuw, N .Y 11797
1I127H15288A7 P7058503 1450 Punter) In Japan

Page 2

O
(.0
-
I
O

SPECIFICATIONS
0 FM SECTION Nominal Limit

Tuning Range 87.5MHz~107.9MHz
Usable Sensitivity 12dBf s 18dBf
Ouieting Sensitivity

Mono 17dBf s 23dBf

Stereo 35dBf s 40dBf
Signal to Noise Ratio

Mono 72dB a 66113

Stereo 65dB 2 60dB
IF Rejection (88.1MHz) 100dB z 90dB
Image Rejection (98.1MH2) 60dB z 55dB
AM Suppression 50dB z 44dB
Capture Ratio 1.5dB s 3dB
Selectivity (1400kHz) 70dB 2 60dB
Distortion (Stereo)

(65dBf,100%) 0.22% s 0.4%
Frequency Response

(+0, iadB) 20Hz~15kHz
MPX Separation at 1kHz 44:13 a 35dB
Output Level (75kHz dev.) 775m\/ inB

0 AM SECTION

Tuning Range 530kHz~1620kHz

Signal to Noise Ratio SOdB z 45dB
IF Rejection (600kHzl 100dB 2 90dB
Image Rejection (1400kHZl 55dB a 50dB
Selectivity (ingz) 50dB z 45dB

OAUDID SECTION Nominal Limit
Tone Control Action
Bass (50Hzl 11dB 11.5dB

Treble (10kHz) 11dB $1.5dB
Loudness ActionlBOHz/lOkHz) 10dB : 3dB/3dB a: 2dB
Output Impedance 5009

O CASSETTE TAPE DECK SECTION
Wow and Flutter 0.1% S 0.2%
Tape Speed (4.75cm/seC.) +1% 5 +51% -1%
FF and REW Time

(for (2-60 tape) 1255ec. s 150sec.
Signal to Noise Ratio (LN Position)

Dolby NR Off 55dB 2 50dB

Dolby NR Type B 64dB 2 58dB

Dolby NR Type C 70dB 2 64dB
Distortion 1% s 2%
Frequency Response 20Hz~ 20kHz
Separation 40dB a 35dB
Crosstalk 70dB 2 60dB

Output Level (Volume Max.) 610mV :SdB

This specification is the target of servicing. But. there is a case that
the specification is not applicable to the measurement condition and
instrument.

Specifications and components subject to change without notice. Overall
performance will be maintained or improved.

*Dolby noise reduction manufactured under license from Dolby
Laboratories Licensing Corporation. Dolby and the double-D
symbol are trademarks of Dolby Laboratories Licensing Corporation.

DISASSEMBLY PROCEDURES (REFER TO PAGES 10 AND 13)

(E CASSETTE TAPE PLAYER MECHANICAL ASSEMBLY
(104) REMOVAL
Remove 4 screws 0 and then remove the Bracket (173).
t Pull out the Fader Knob (158).
. Remove 4 screws (3 and then remove the Center Panel
Assembly (101).
. Remove 4 screws 0 and then remove the Cassette Tape
Player Mechanical Assembly (104) with the NAB AMP,
MSS/Mecha Control and Dolby P.C. Boards (PCB-2,
PCB-3 and PCB-9) and the Brackets (171 and 168). Also,
disconnect the lead wires connected to the Main P.C.
Board (PCB-1).
5. Disconnect the lead wires connected to the Dolby RC.
Board (PCB-9).

6. Remove 2 screws (D and then remove the Dolby P.C.
Board (PCBSI.

7. Disconnect the lead wires connected to the NAB AMP
RC. Board (PCB-2).

8. Remove 2 screws (3 and then remove the NAB AMP
RC. Board (PCB-2).

b (.0er

9. Disconnect the lead wires connected to the
MSS/Mecha control RC. Board (PCB-3).

10. Remove the screw 6 and then remove the MSSIMecha
control P.C. Board (PCB-3).

11. Remove 4 screws ® and then remove the Cassette
Tape Player Mechanical Assembly (104) from the
Bracket (171).

MAIN RC. BOARD (PCB-1) REMOVAL

Remove 4 screws (:1 and then remove the Bracket (177)

and the Insulator (183).

. Remove the Center Panel Assembly (101). (Refer to step
(El-2 and 3.)

. Pull out 9 Push Buttons (153).

. Remove the screw 0 and then remove the Bracket
(169).

5. Remove 6 screws 0 and then remove the Main P.C.

Board (PCBall with the Buffer AMP RC. Board lPCB»4l.

Also, disconnect the lead wires connected to the Main

RC. Board (PCB-1).

HE

wa

ALIGNMENT PROCEDURES (REFER TO PAGES 7~12)

I ELECTRICAL ADJUSTMENT

1. Before adjustment

0 Connect a 14V power supply to the Power Supply
Lead (+ACC, +8 and GND).

0 Since head magnetization, dust accumulations, etc.
are likely to introduce errors in the various
characteristics, it is very important that the heads are
properly demag-netized and cleaned before commen-
cing any adjustment, particularly frequency response
and head .azimuth adjustment.

2. Instruments required

0 Low frequency oscillator

0 AC VTVM or dual channel AC VTVM
O Oscilloscope

O Wow/flutter meter .
0 Frequency counter

3. Test tapes
0 Dolby NR level adjustment
0 Azimuth adjustment ........

. MTT-150 or TCCa13O
.............. TCC7153