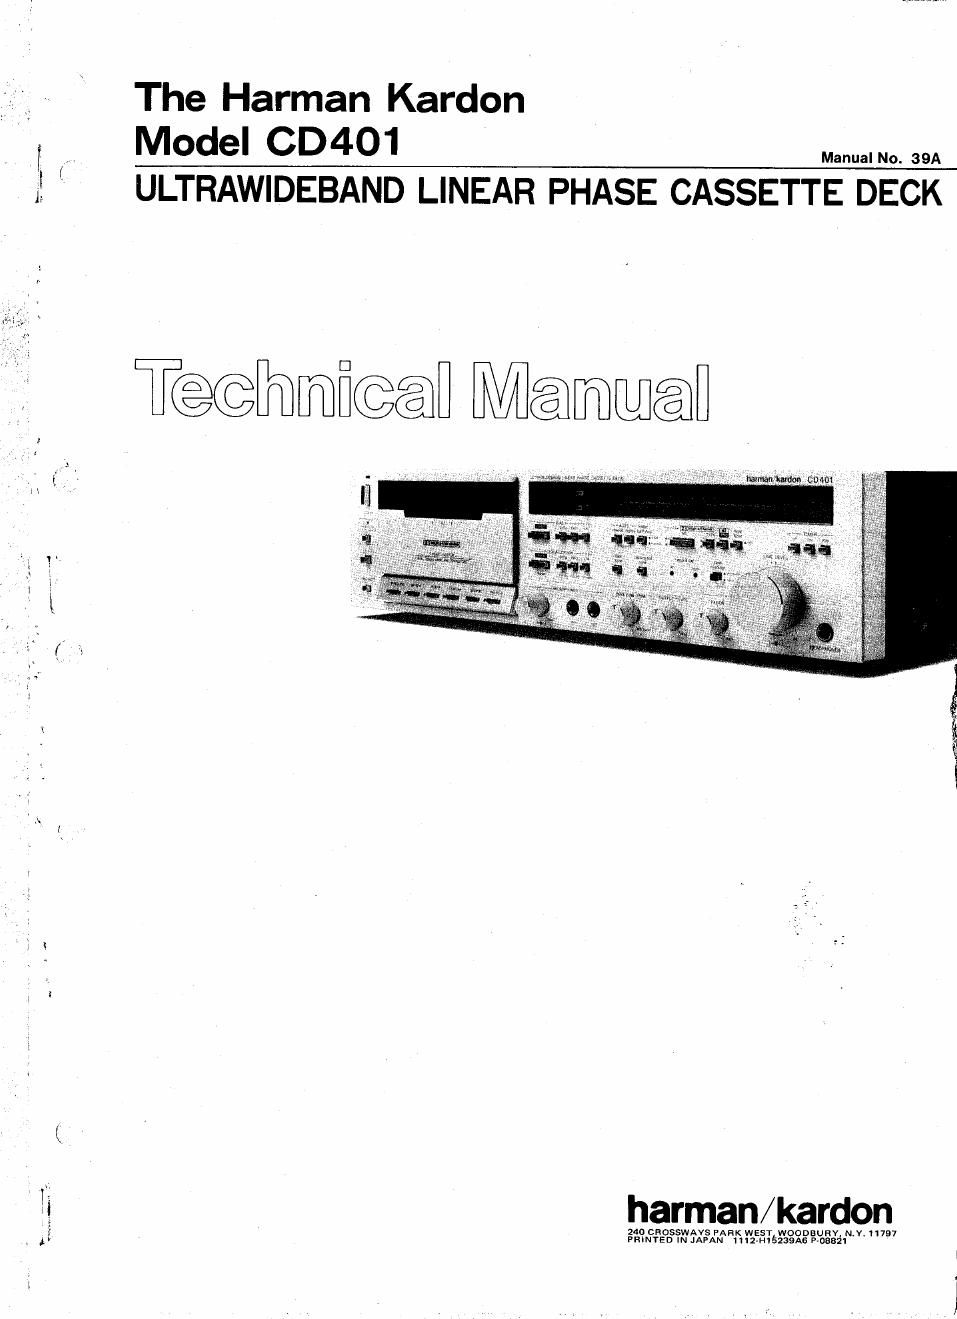
Harman kardon cd 401 service manual

This is the 42 pages manual for harman kardon cd 401 service manual.
Read or download the pdf for free. If you want to contribute, please mail your pdfs to info@audioservicemanuals.com.

Page: 1 / 42
left right
harman kardon cd 401 service manual

Extracted text from harman kardon cd 401 service manual (Ocr-read)


Page 1

The Harman Kardon
MOdel CD401 Manual No. 39A

13 (fl ULTRAWIDEBAND LINEAR PHASE CASSETTE DECK

T@@[m1mfi@@fl Mmmfl

1 harman/kardon

240 cnosswm/s PARK WEST WOODEURV, NV. 11797
1| PRINTED IN JAPAN 1|12-H18219Aa P-oaazl

Page 2

,1
.v
1

CONTENTS

COMPONENTS AND THEIR FUNCTIONS ...... 2, 3
INTERNAL VIEW ....................... 4
DISASSEMBLY PROCEDURES ........... 4 - 6
SPECIFICATIONS ......... . . . . . . . . . ..... 7
ALIGNMENT PROCEDURES ............ 7 - 14
BLOCK DIAGRAM ..................... 15
CIRCUIT DESCRIPTION ................. 15
IC FUNCTIONAL BLOCK DIAGRAM ....... 16,17
TIMING CHART ..................... 18.19

COMPONENTS AND THEIR FUNCTIONS

saunmman
an. my

wa-
FULL we: uhmmt mum»
in,

MW" new «m nave um.» um mucu-

0 POWER SWITCH (POWER)

For power turning on and off.

when this switch is pressed with the AC cord plugged to an AC
outlet, the POWER INDICATOR illuminates.

9 POWER INDICATOR
For indication of power supply to this unit.

0 ELECTRONIC AUTO SEARCH INDICATOR
For indication of functioning oi the electronic auto search
system.

0 ELECTRONIC AUTO SEARCH SWITCH
(ELECTRONIC AUTO SEARCH)

For quick cueing of the start of a music.

When this switch is depressed, the ELECTRONIC AUTO

SEARCH INDICATOR illuminates and a start of each music is

automatically searched so as to enable sequential playback of the

musics recorded in a tape.

9 CASSETTE COMPARTMENT

(D BIAS SELECTORS (BIAS)

Press the button meeting the type of the tape for recording. If
no button is pressed, the RECORD INDICATOR does not turn
on and recording cannot be accomplished . These buttons are not
efiactive in tape playback.

0 TAPE COUNTER (counter)

For digital display of the position in a cassette tape.

The figure changes as the tape runs. Cueing for the start of a
melody is facilitated by making a note of the counter reading.

6 RESET BUTTON'Ireset)

For resetting the TAPE COUNTER to "000", Press this button
to reset the counter to "000" when starting recording. This
button is also used with the MEMORY button to stop tape
rewinding automatically at the desired position.

0 MEMORY BUTTON (memory)
For automatic stopping of tape rewinding at a desired position in

2

GENERAL UNIT EXPLODED VIEW ........ 20, 21
GENERAL UNIT PARTS LIST ....... . . . . . 21, 22
CASSETTE MECHANISM EXPLODED VIEW . . . . 23
CASSETTE MECHANISM PARTS LIST . ..... 24, 25
ELECTRICAL PARTS LIST ............. 26 -- 33
PACKAGE ........................... 34
SCHEMATIC DIAGRAM ............... . 35
WIRING DIAGRAM ..................... 36

on. no in

DID " LEE ii-

wu r. m. a. up.

n- .4 m

In

my cum" mm

combination with the RESET button.

Depress this button and push the RESET button during play-
back or recording to reset the TAPE COUNTER to "000".

when the tape is rewound in this state. tape running automati-
cally stops at the position where the TAPE COUNTER indicates
00°...

9 AUTOMATIC REPEAT BUTTONS (AUTO)
OAUTO REWIND BUTTON (rewind)
When this button is set in ON position lpressed),the tape is
automatically rewound, after playback or recording to the tape
end, either to the beginning of the tape or to "000" of the
TAPE COUNTER indication when the MEMORY button is
pressed on.
IAUTO REPLAV BUTTON (replay) i.
when this button is set in ON position (pressedifthe tape
playback automatically starts after rewound either from "000"
position of the TAPE COUNTER indication when the
MEMORY button is pressed on or from the beginning of the
tape, , .
When these two buttons are set in ON position (pressed). the
tape is automatically rewound from the tape and to the begin-
ning of the tape or to 000" of the TAPE COUNTER indication
when the MEMORY button is pressed ON and then playback
starts automatically. Automatic rewind and playback are accom-
plished repeatedly.

O METER BALLISTICS SELECTOR (meter ballistics)
For selection between normal and slow LED LEVEL DISPLAY
recovery time.

0 LED LEVEL DISPLAY (PEAK)
For clear indication of the recording or playback level.

0 RIDSLBY NR SYSTEM SELECTOR (DOLBY 3-0

I NR ON/OFF SELECTOR (NR)
For recording or playback using the Dolby NR system.
Press this selector to use the Dolby NR system. The green
DOLBY NR INDICATOR (for B~typei or the yellow one
(for C-type) illuminates according to the NR TYPE selector
position. Press this selector again to invalidate the Dolby NR
system.

u

a

-~.-