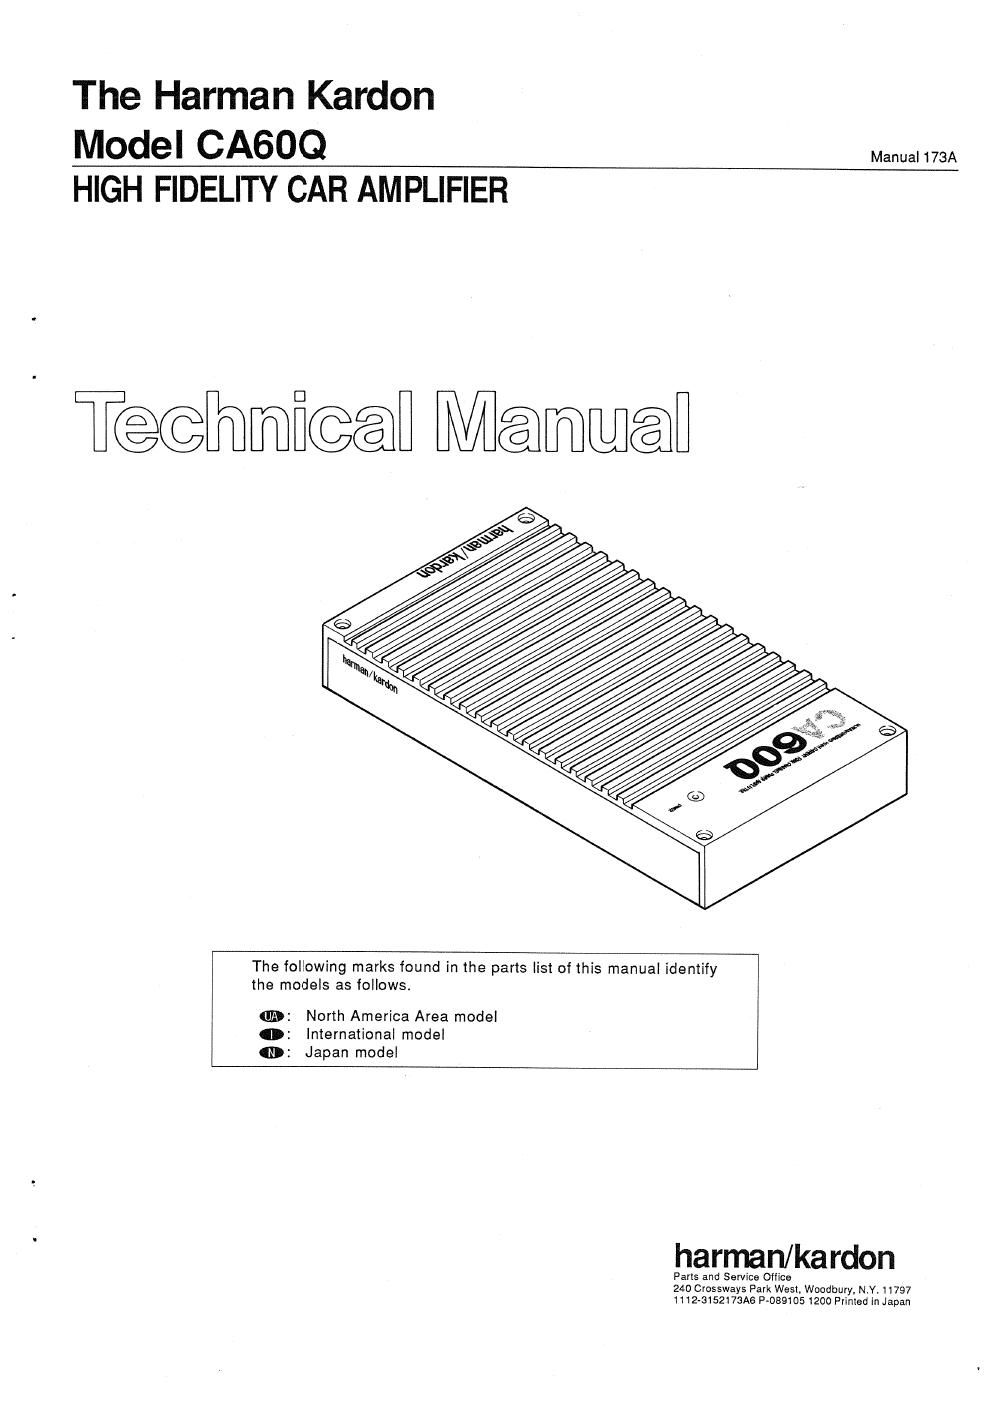
Harman kardon ca 60 q service manual

This is the 12 pages manual for harman kardon ca 60 q service manual.
Read or download the pdf for free. If you want to contribute, please mail your pdfs to info@audioservicemanuals.com.

Page: 1 / 12
left right
harman kardon ca 60 q service manual

Extracted text from harman kardon ca 60 q service manual (Ocr-read)


Page 1

The Harman Kardon

Model CAGOQ
HIGH FIDELITY CAR AMPLIFIER

Manual 173A

' Taomicoai Mammal

The following marks found in the parts list of this manual identify
the models as follows.

GED: North America Area model
0: International model
(ID: Japan model

harman/ka rdon
Fans and Service Ollice
240 Crossways Park West, Woodbuiy, NY. 11797

Page 2

A600

SPECIFICATIONS
Power Output, RMS : 15 watts x4

4 Ohms, 20 - 20,000Hz
HCC (High instantaneous :110A

Current Capability)

THD :No more than 0.2%
(4 Ohms)
Negative Feedback :25dB

Power Bandwidth
Frequency Response

Signal-to Noise Ratio

:10HZ to 100,000HZ

:10Hz to 100,000Hz
(+0. -3dB)

2 100dB

Input Sensitivity/Impedance :250mV/22k Ohms (variable)

Power Supply

:00 +14.4V (11 - 16V usable),
negative ground

Typical Input Current

Weight

Requirements
At Idle
Full Power Music Signal
Full Power Sine Wave
Dimensions (W x H x D)

: 0.6A

:2.4A (4 Ohms/ch.)

:7.2A (4 Ohms/ch.)

: 12-3/5" x 1-9110" x 6-9/13'
(320 x 48.5 x 170 mm)

:5 lbs, 8 oz (2.5 kg)

Specifications and components subject to change without notice.
Overall performance will be maintained or improved.

DISASSEMBLY PROCEDURES (REFER TO PAGES 4 AND 12)

PE

CABINET BOTTOM ASS'Y (AA) REMOVAL
Remove 7 screws (A) and then remove the Cabinet
Bottom Assy (AA) with spacers.

FRONT PANEL (133) REMOVAL

Remove the Cabinet Bottom Ass'y (AA), referring to the
previous stepIII.

Remove 3 screws (B) and then remove the Front Panel
(133).

REAR PANEL (134) REMOVAL

Remove the Cabinet Bottom Ass'y (AA), referring to the
previous step I.

Remove it screws (C) and 2 fuses (D).

Depress 4 projections of the fuse holders and then re»
move the Rear Panel (1134).

BLOCK DIAGRAM

Lch I Noise Fitter i/
/

INPUI I

Input Lévet i

i

Rch

Nola: Filter

i

INPUT 2

Input Level 2

Rch (x) Noise Filter 1

E] MAIN P.C. BOARD (PCB-1) REMOVAL

1.
2.

3.

HUTING

Remove the Cabinet Bottom Ass'y (AA), referring to the
previous stepl.

Remove the Front Panel (133), referring to the previous
step E.

Remove the Rear Panel (134), reierring to the previous
step ,

Remove 14 screws (E) and then remove the Main P.C.
Board (PCB-1) with Power and Fuse P.C. Board (PCB-2
and PCB-3).

Disconnect the connector with lead wire from connector
on the LED P.C. Board (PCB-4).


PONER An? I

.

SPEAKER l

.
.
SPEAKER 2

AMP 7
. .

Lch
ch
ch
ch

R
L
R


REHDTE

cmcun ' REM

POWER *IZV
SUPPLY . snouun