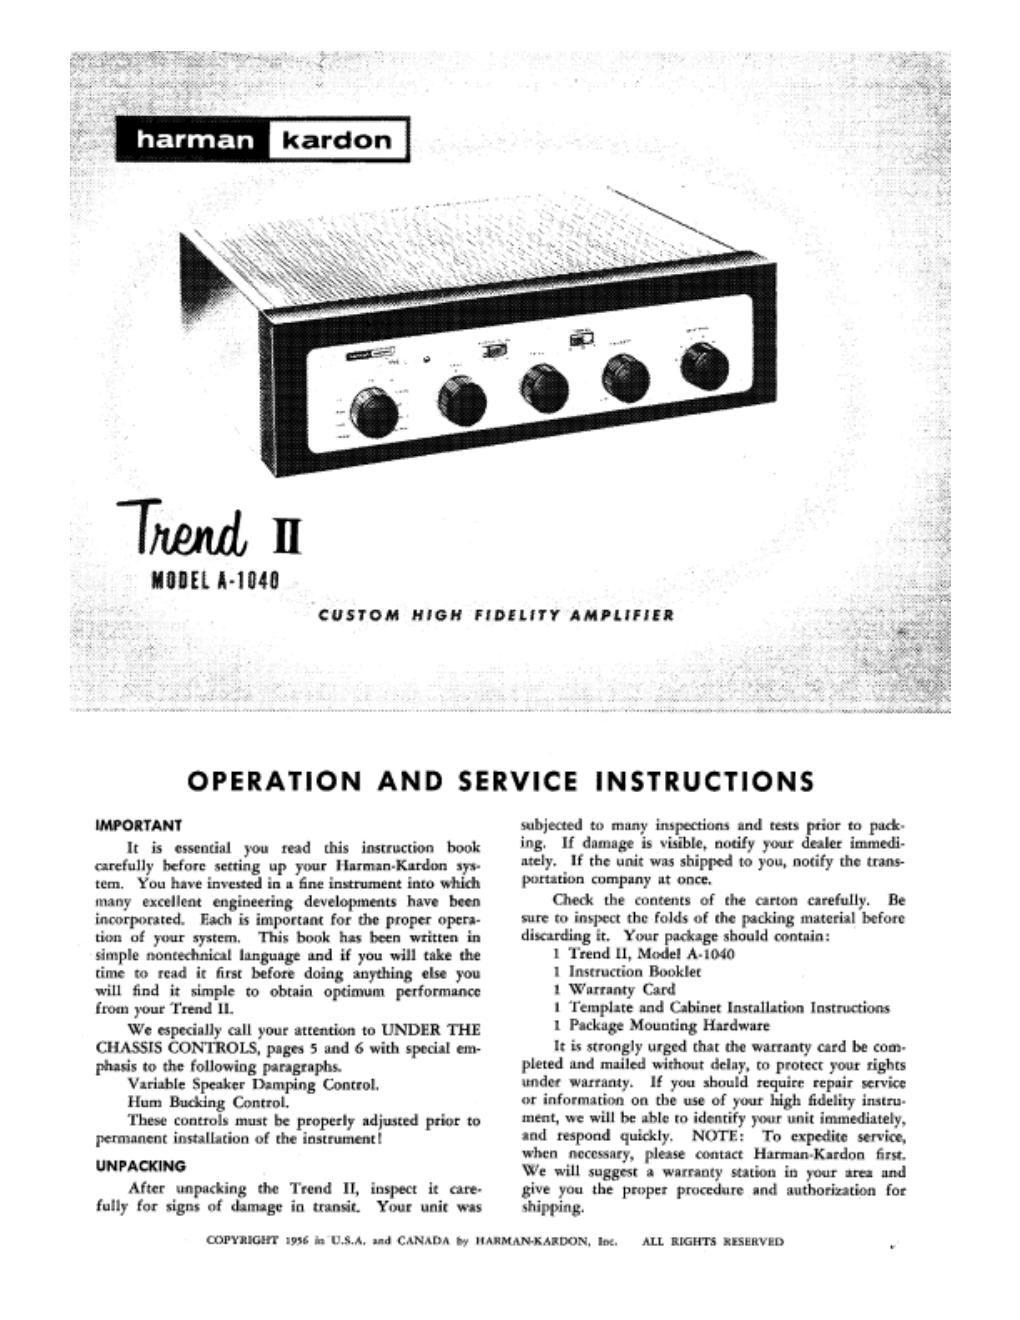
Harman kardon a 1040 owners manual

This is the 7 pages manual for harman kardon a 1040 owners manual.
Read or download the pdf for free. If you want to contribute, please mail your pdfs to info@audioservicemanuals.com.

Page: 1 / 7
left right
harman kardon a 1040 owners manual

Extracted text from harman kardon a 1040 owners manual (Ocr-read)


Page 1

M

Twin

IIIEL l-lll

CUSTOM HIGH FIDELITY AMDLIFIER

OPERATION AND SERVICE INSTRUCTIONS

IMPORTANT

It is essential you read this instruction book
artfully hefnre setting up your Iluman-Knrdon 1p-
tcm. You hn'e invented in A fine instrument into which
many excellent engineering developments have been
incorporated Each is important for the proper opera-
tion of your system. This bunk he; been written in
simple nontethnical unsung: md if you will take the
time to read it first before doing anything else you
will find it simple to obuin optimum performmce
from your Trend II.

We especially call your attention to UNDER THE
CHASSIS CONWOLS. plgen 5 and 6 with special em-
pluris to the following rarest-pl».

Variable Speaker Damping Control.

Hum Exiting Control.

Then: Control! must be properly Idjmted prior to
pemnment installution of the instrument!

UNPACKING

After unpurlting the Trend ll, inspect it are.
fully for xignt of damage in transit. Your unit ms

covntctrr not a CARA. uni CANADA u IIAIMAMKAIDON, Irxr

subjeued to many impaction: and tests prior In part
ins. If damage is visible. notify your dealer immedi-
miy. If the unit was shipped to you. notify the tram.
porution cump-ny at note.

Chedt the contents of the canon urefully. Be
sure tn inspect the folds of the packing material before
tlinatding it. Your put-Rage should mnmin:

I Trend I1, Model A4040

I Instruction Booklet

l nnloty Card

I Iemphte Ind Cabinet Installation [attractions

I Peckage Mounting Hardware

It 'u stmngly urged that the mummy end be (our
plotted and mailed without delay. tn protect your rights
under warranty. If you should requiri- repair yerviu
or information on the use of your high fidelity instru-
ment, we will be able tn identify your unit immediately.
and respond quickly. NOTE: To expedite sen-ire,
when necessary. plnse unmet H;mn:n~K-rdnn firtr.
We will suggfit a warranty union in your am and
give you the proper procedure and authorization for
Mining

ALI. RIGHTS RISHIVED

Page 2

INSIAIIAIION

The Trend ll arnpiifier may he installed on an
open shelf. tabla. hookers: or My: fidelity equipment
cabinet. For cabinet mounting. role: to the angel-tn
supplied with this instruction book.

Vanrlldlon:

All electric rqulpmem getter-am heat which not
he allowed to eecatte. Although the Trend II it well
ventilated in itself, nflirieot should he allowed
umrtdirtopermltlreeeirflonr. lfitkpheedina
bookcase. it should be located well toward the from,
topmideumndtdumnespouihleardntear.
DONOTplscehooitsorotherohjeetsontopoftho
unit. Covering the perforated meal age will prevent
proper air flow and will result in slurply reduced oom-
pooent and tube life.

POWI IIOIIWB

Plug the AC power cord into any outlet furnishing
7 volts. so or 60 cycles house armor. The run
voltage is relatively unimportant and may vary between
ms and 5 volts. Be sure. however. that you have a
morGOtydeACpowersoorre. TheTtendllhss
seven] convenience outlets on the bottom of the
chassis. The proper use of these outlet: is dacn'hed in
the senior: under Bleueicsl Connection.

mm CONNECTIONS

Alltonmctitnsmtheamplifieraremadeatrhe
sloping panel located underneath the unit. This con-
netting panel is udly Whit by tilting the amplifier
up on one end. Suflidatt clearance space is ptoflded
for bringing out all connecting wires. This arrange-
ment simplifies connections to the unplifter. partie-
ulorlyinthoeeeaseswherethehodtoftheuniritim
ambit.

Speaker Combat

A unique method of connecting one or two loud-
speakers is incorporated in the Trend ll in order that
you may derive maximum enjoyment from this lift!-
Istive instrument with any of today's fine speaker
systems

Connecting One Loudspeaker:

Commofthetwospetlterleadstotermiul
"G" and the other lead to "A" on the three ecrur Tenni-
nal Strip at the rear of the chassis marked "SPEAKER."
For Fptlltfl with an impedance of 11 to 24 ohms place
the Impedance Selector Switch located on the bottom
of the chassis in the 16 ohm position. For speakers with
an impedance of 4 to 12 ohms piece the Important: Se-
leaorSwitthintheaohn-position. 'l'hefrontpsnttl
Spulrer Selector Switch should then he plated in the
"A" position.

CAUTION:

A jumper is tonnected between "A" and B"
temtinals on the Speaker Terminal Strip on the bottom
of this instrument. When only one loudspeaker is
used. this MPG? must he connected at all times. it
should he moored only when two rep-rate speaker:
are cor-meted. This procaution will prevent the set
from appearing to he inoperative when only one
tprultu is mtltll, end the Speaker Selector 51th
is improperly set.

2

Comb. M More:

lfyouwishenopersrerwoloudqseahmwiththe
Trend ll end use either one or both together. connect
the seated speaker to rennin-ls "G" and "B" on the
Speaker Terminal Strip. For bar operation. hoth
speakers should have the lame althouye
a slight ntitmatth will not disturb the overall teqooc.

TonlmspefluAslidedsefmpanalSpdm
Selector Switch to position A." To select speaker B
slide the switch to position "B." To sctivue both
apeakm simultaneously rlida the front panel Speaker
Selector Switch to the position merited "AB."

lunar Connection:

An input jsdr merited "TUNER" will he found on
theTtendlL Aahieldedcabiernsyhecorlneoted
between this receptacle and the output reocptscle of
any tuner rated for at least [/2 volt output.

The tuner output impedance will determine the
maxinnnpurtieal lengtholthismhle. ltiraoggeated
thstoormorethaosortfeetheusedifthenmer
has a high impedance output. If the (sister has a low
impedance cathode-follower output any laugh up to
It!) feet may he used.

"oomph Coat-den:

Any type 0! record player will opmee with the
Trend ll noplifier. To derive maximum enjoyment
from this instrument it is suggested that a high rpm
pidtup cartridge and a rumble-free turntable he .
Two ties-n; of phonograph enteritis; are in general
on today: Magnetic (GE. Audslt. ESL Fairthiid,
Pickering and Ramon) and Crystal (including the
ceramics).

All nestled: cartridges dsould be connected to
the jack on the bottom of the chassis melted "PHONO."
Connert crystal or tee-nit cartridges to the jack unsalted
"AUX" also located on the bottom of the Chili.

A word of advice: The purchase of a diamond
needle is a worthwhile investment. It has extremely
long life and will not only protect your records, but will
insure maximum tone quality.

It is soosetimet sdvisahle to ground the phonograph
drunk to the receiver in order to reduce hunt and other
unwanted noise Attach a wire to the metal framework
of the changer and connect the other end to the "G"
Terminal of the Amos or Speaker Terminal Strips.

Thepoweroordoftherecord ornam-
tahle may be plugged into either AC cor-unicorn outlet
loated on the bottom of the Trend IL NOTE the: di-
rectly below the le" input jack there is a Cartridge
Selector Switdt. If you are using a low Irvel
as the Faitdlild. that switrh aunt he in the "Fair" pool-

tion. For medium level cartridges use the "6.5." pon-
tion and for high level magnetic cartridges place the
switch in the "Pidr" position. This switch should be
set after contains the magnaie tartridge.

Austin-q Input

The Trend ll two "AUX" inputs lo-
taaedontheslopedboetornpiueofrheampllfierJhag
allhighlevelequipmant.m¢hasetaperemrdoror
television tuner. into either isdr. I! you are using a
cersntie or crystal phonograph cartridge make certain
to connect it to the "AUX" fart. This position is con-