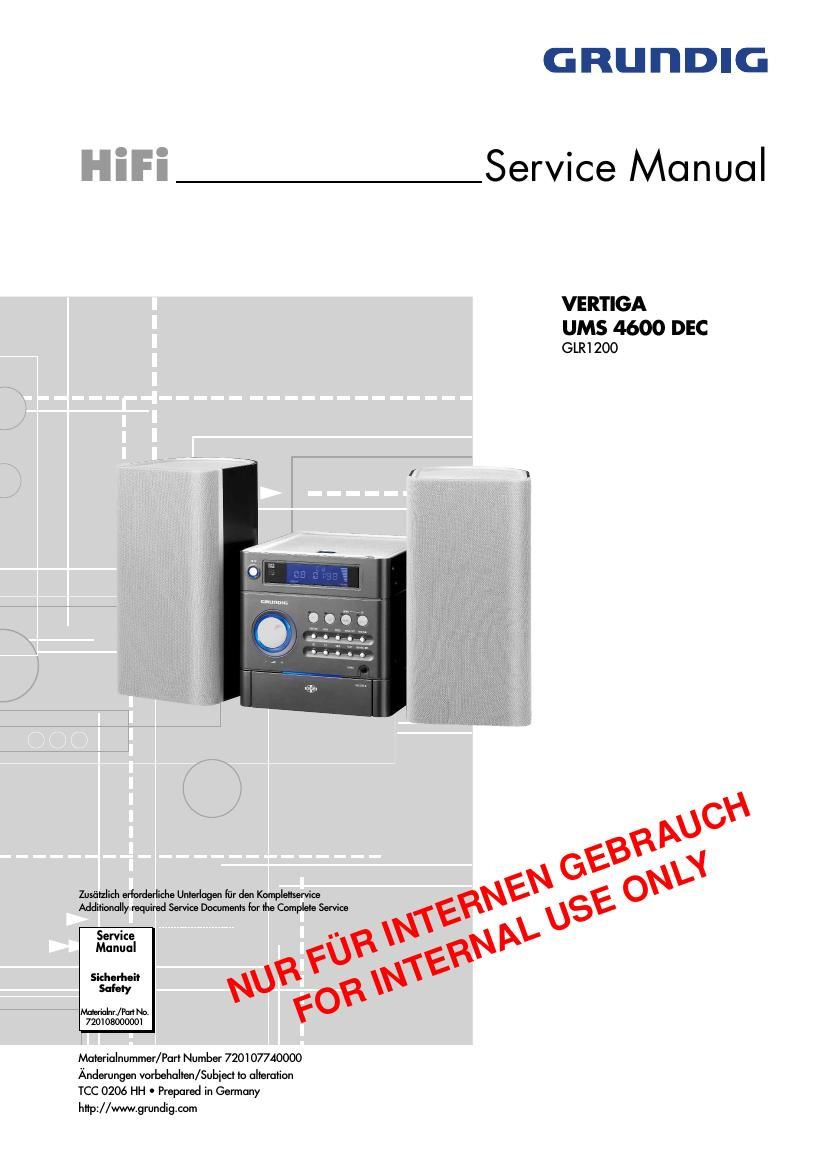
Grundig VERTIGA UMS 4600 DEC Service Manual

This is the 29 pages manual for Grundig VERTIGA UMS 4600 DEC Service Manual.
Read or download the pdf for free. If you want to contribute, please mail your pdfs to info@audioservicemanuals.com.

Page: 1 / 29
left right
Grundig VERTIGA UMS 4600 DEC Service Manual

Extracted text from Grundig VERTIGA UMS 4600 DEC Service Manual (Ocr-read)


Page 1

GRUNDIG ServiceVERTIGA UMS 4600 DEC 1 - 2 Es gelten die Vorschriften und Sicherheitshin- weise gemäß dem Service Manual "Sicherheit", Materialnummer 720108000001, sowie zusätz- lich die eventuell abweichenden, landes- spezifischen Vorschriften!The regulations and safety instructions shall be valid as provided by the "Safety" Service Manual, part number 720108000001, as well as the re- spective national deviations! Table of Contents Page General Section ................................ 1-2 -¦ 1-12 Measuring Instruments / Equipment ............................................ 1-2 General Notes .............................................................................. 1-2 Technical Data ............................................................................. 1-3 Service Hints ................................................................................ 1-3 Operating Hints ............................................................................ 1-8 Disassembly Hints ..................................................................... 1-12 Adjustment Procedures ................................ 2-1 Layout of PCBs and Circuit Diagrams ....................... 3-1 -¦ 3-14 Block Diagram .............................................................................. 3-1 Wiring Diagram ............................................................................ 3-2 Power Supply ............................................................................... 3-3 Amplifier ....................................................................................... 3-4 Main PCB ..................................................................................... 3-5 CD Section ................................................................................... 3-8 USB Section ............................................................................... 3-11 Display Board/Keyboard ............................................................ 3-13 Exploded View and Spare Parts List .................................. 4-1 -¦ 4-2 Exploded View ............................................................................. 4-1 Spare Parts List ........................................................................... 4-2 Inhaltsverzeichnis Seite Allgemeiner Teil ............................... 1-2 -¦ 1-12 Messgeräte / Messmittel .............................................................. 1-2 Allgemeine Hinweise .................................................................... 1-2 Technische Daten ........................................................................ 1-3 Servicehinweise ........................................................................... 1-3 Bedienhinweise ............................................................................ 1-4 Ausbauhinweise ......................................................................... 1-12 Abgleichvorschriften .................................... 2-1 Platinenabbildungen und Schaltpläne ............................... 3-1 -¦ 3-14 Blockschaltplan ............................................................................ 3-1 Verdrahtungsplan ......................................................................... 3-2 Netzteil ......................................................................................... 3-3 Verstärker .................................................................................... 3-4 Hauptplatte ................................................................................... 3-5 CD-Teil ......................................................................................... 3-8 USB-Teil ..................................................................................... 3-11 Display-Platte/Bedienteil ............................................................ 3-13 Explosionszeichnung und Ersatzteilliste ...................................... 4-1 -¦ 4-2 Explosionszeichnung ................................................................... 4-1 Ersatzteilliste ................................................................................ 4-2 General Section Measuring Instruments / Equipment Signal generator Sweep generator Oscilloscope Digital voltmeter Insulating transformer Distortion meter General Notes Before opening the cabinet disconnect the mains plug! Attention: Observe the ESD safety regulations Wiring Before disconnecting any leads and especially the earth connecting leads observe the way they are routed to the individual assemblies like the chassis, mains switch panel, keyboard control panel, picture tube panel, deflection unit, loudspeaker and so on. On completion of the repairs the leads must be laid out as originally fitted at the factory to avoid later failures or disturbances. Carrying out Measurements When making measurements on semi-conductors with an oscillo- scope, ensure that the test probe is set to 10:1 dividing factor. If the previous measurement was made on AC input, please note that the coupling capacitor in the oscilloscope will be charged. Discharge via the item being checked can damage the components. Measured Values The measured values given in the circuit diagrams are approximates! Allgemeiner Teil Messgeräte / Messmittel Mess-Sender Wobbelsender Oszilloskop Digitalvoltmeter Trenntrafo Klirrfaktormessgerät Allgemeine Hinweise Vor dem Öffnen des Gehäuses zuerst den Netzstecker ziehen! Achtung: ESD-Vorschriften beachten Leitungsverlegung Bevor Sie die Leitungen und insbesondere die Masseleitungen lösen, muss die Leitungsverlegung zu den einzelnen Baugruppen beachtet werden. Nach erfolgter Reparatur ist es notwendig, die Leitungsführung wieder in den werkseitigen Zustand zu versetzen um evtl. spätere Ausfälle oder Störungen zu vermeiden. Durchführen von Messungen Bei Messungen mit dem Oszilloskop an Halbleitern sollten Sie nur Tastköpfe mit 10:1 - Teiler verwenden. Außerdem ist zu beachten, dass nach vorheriger Messung mit AC-Kopplung der Koppelkonden- sator des Oszilloskops aufgeladen sein kann. Durch die Entladung über das Messobjekt können Bauteile beschädigt werden. Messwerte Bei den in den Schaltplänen angegebenen Messwerten handelt es sich um Näherungswerte!

Page 2

GRUNDIG ServiceVERTIGA UMS 4600 DEC 1 - 3 Technische Daten System Spannungsversorgung: Betriebsspannung ................................................................... 230V~ Netzfrequenz ........................................................................\ 50/60Hz Max. Leistungsaufnahme ........................................................... 28W Leistungsaufnahme in Stand-by ................................................ -‰¤5W Verstärkerteil Ausgangsleistung: Sinusleistung ........................................................................\ .. 2 x 5W Musikleistung ........................................................................\ . 2 x 8W Empfangsteil Empfangsbereich: FM ........................................................................\ .. 87,5 ...108,0MHz MW ........................................................................\ ... 522 ... 1620kHz CD Teil Frequenzgang .......................................................... 100Hz ... 15kHz Geräuschspannungsabstand (bewertet) ................................. -‰¥60dB MP3-Features Alben und Files ................... Max. 200 Alben, max. 500 Files pro CD File System/File Management ............ ISO 9660 Level 1 kompatibel Abmessungen Abmessungen Gerät B x H x T .......................... 170 x 172 x 250mm Abmessungen Lautsprecher B x H x T .............. 128 x 255 x 148mm Gewicht Gewicht Gerät ........................................................................\ ... 2,4kg Gewicht pro Lautsprecher ........................................................ 0,8 kg Technical Data System Power supply: Operating voltage ................................................................... 230V~ Mains frequency ................................................................... 50/60Hz Max. power consumption .......................................................... 28W Power consumption in stand-by ................................................. -‰¤5W Amplifier unit Output: Sine wave power .................................................................... 2 x 5W Music signal power ................................................................ 2 x 8W Receiver unit Reception range: FM ........................................................................\ .. 87.5 ...108.0MHz MW ........................................................................\ ... 522 ... 1620kHz CD unit Frequency response ................................................ 100Hz ... 15kHz Noise-voltage ratio (wtd.) ........................................................ -‰¥60dB MP3 features Albums and files: ............... Max. 200 albums, max. 500 files per CD File system/file management .............. ISO 9660 Level 1 compatible Dimensions Device dimensions W x H x D ........................... 170 x 172 x 250 mm Loudspeaker dimensions W x H x D .................. 128 x 255 x 148mm Weight Device weight ........................................................................\ .... 2.4kg Weight per loudspeaker ............................................................ 0.8kg Servicehinweise Achtung: ESD-Vorschriften beachten Vor Öffnen des Geh äuses Netzstecker ziehen. CD-Laufwerk Bei Ausbau der Lasereinheit oder der Servo-Leiterplatte muß vor Abziehen der Steckverbindung eine Schutzlötstelle auf der Leiter- platte der Lasereinheit angebracht werden, um eine Zerstörung der Laserdioden durch statische Aufladung zu vermeiden. Beim Einbau einer neuen Lasereinheit (CD-Laufwerk) mu ß nach Einstecken der Steckverbinder die werkseitig angebrachte Schutzl ötstelle entfernt werden! Service Hints Attention: Observe the ESD safety regulations Disconnect the mains plug before opening the set. CD Mechanism When removing the Laser pick-up or the Servo PCB, the Laser pick- up PCB must be provided with a protective soldered joint before unplugging the connectors to avoid damage to the Laser diodes by static charges. When inserting the new Laser pick-up (CD drive mechanism) the soldered joint fitted at the factory must be removed after the connectors are plugged in. Schutzlötstelle Protective soldered joint