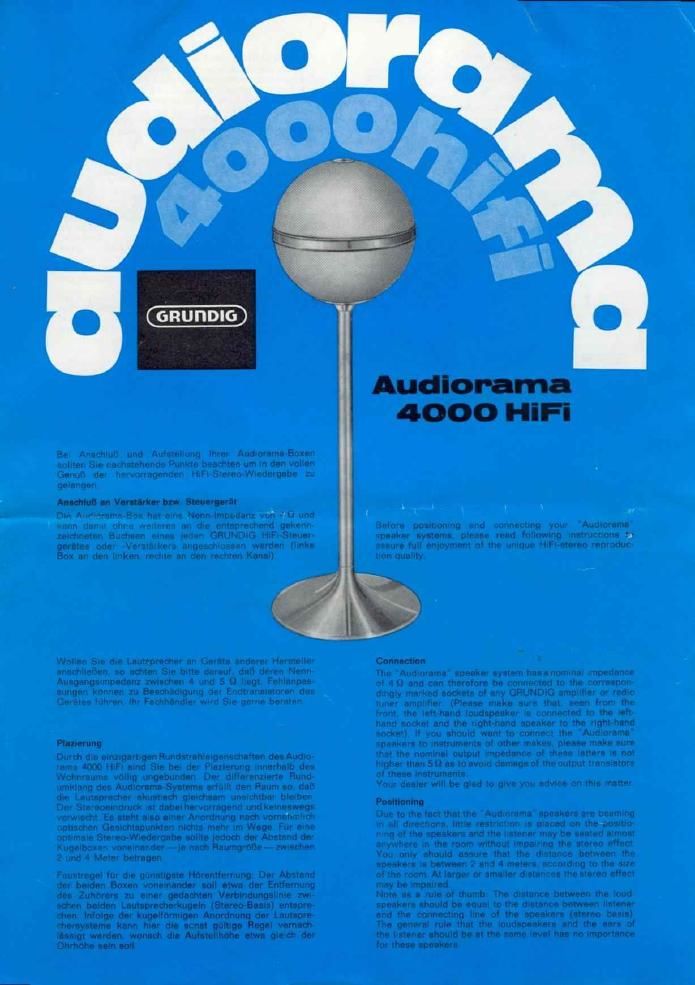
Grundig Audiorama 4000 Brochure

This is the 4 pages manual for Grundig Audiorama 4000 Brochure.
Read or download the pdf for free. If you want to contribute, please mail your pdfs to info@audioservicemanuals.com.

Page: 1 / 4
left right
Grundig Audiorama 4000 Brochure

Extracted text from Grundig Audiorama 4000 Brochure (Ocr-read)


Page 2

YrompueMuB-Momge (eiehe Abbi A)

Zierrohr ® nbedirauben und entferneri.

Anechlulskabal duroh die Teile ®t ©. Q in disser Reihen-
lolge ziehen

Standrohr ® anachrauben

Trompetanful} ® mit Flagelschraube O am Standrchr
futzlehen.

Spanndraht eue der Wulat dea Trompeteniulles heraus~
nehmen. Kebel in die Handausapamng legen, Spanndrsht
Wieder uber dam Kabel einaatzen und gen: In die Wulat
achleben. so (lab on Kabel gehalten. she! nicht gequetecht
wud

Dedteneufhlngung (eiehe Abb. 3)

Dee Anedilubkabel lst mit einem Stehlseil versterkt Ems
wlrkiich fechmannisme Befeetigunp des mitgelieleiten Aut-
hunger: in der Decke lat aber unerleflllch

Zur Montage des Kabela im Authenger:

Kebel bie euf die zur Aufhéngung benotigte Lunge eb-
echneiden und Kabelummuntelung ca. 6 cm eultrennen
Beldachin @ auf dae Kabel zlehen und Kabelsnde lm
unteren Teil den Aul'hangars © feetklemmen (Zugant-
lestung). Stahlaell were: durch die obere Bohrunp hihren
und dann in der unteren aldler sneehreuhen.

Naoh der Vennkerunp deo oberen Aufhlngerteile in der
Deoke beide Teile zuummenfugen und Sldwerunganng (6 a)
tin oberen Tell necl'l unten ediieben,

Wenn doe Kabelmtetock (mlt Stedter) zur Verbindung van
der Decke lum Aufetellort dea Gedtel nidlt mehr reicht,
neuea linger" Kabel (2 xi mmz ela Sdilauohleituwg) aber
Lusterklemme verlegen. Debei euf nohtige Varblndung der
Drahte aditen: gnu aul greu. blau auf blau'

A». A
fig. A

A ule ramaeéalm Hi F7

lief-Rah! 507-175 0/

Slandrahr 507-125 07

hamper"! full

l3507-127 OI

Flugelschraube
13507425 or

©Baldachm I
T .

humbly of Stand (See Fig A)

Unscrew decorative tube ® and remove.

Feed connecting cable through rt: Q), © and (9 In this
sequence. Fit supporting tube 6 Fit circular stand ® to
supporting tube. using winged screw ®.

Remove spring wire from below border of circular stand
Flt cable into cut-out m bordert lay Iprlng wire onto cable
and press wire below border so that it holds but does not
squeeze the cable

Colllnp Support (Figl B)

The connecting lead is reinforced With a steel cable.
Nevertheless it is essential that the support bradtet
supplied I: fixed by a qualified workman.

Mounting of Cable to the Support Bracket

Cut lead to a length required for ceiling suspension and
remove outer cable insulation by approximately 2'. Thread
bell cover Q on to the cable and clip cable end to the
lower part of the support bracket (strain relief). Feed steel
cable first through the upper hole and then securely screw
to the lower hole.

After proper endioring of the upper support bracket to the
ceiling, ecrew both pane together and push securing ring
(6 e) downwards within the upper part.

if the piece of cable cut all (With the plug fitted) is not
sufficiently long to connect from the ceiling to the location
of the unit. connect a new cable (with a crane-section of
2 mm). using cable connectors. Observe the correct
cable polarity. grey to grey, blue to blue

Abb. 3
Fig. B
Aulhan er , .grau
. 115074 500 ' AD,
Kane! Ziiimm2 als
7-: sreg cder Schlauchlrllung
Stall/Sen

Verbmdung wegen dc! Layl-
spletlerpulung g/al/ a. gag,
Mail an blau

'1
o- t}
blau lL . grau ran Flannel/Ill

Q

ZierAPum 13507416 0!

. A7 Audie/am: 4000 MP: