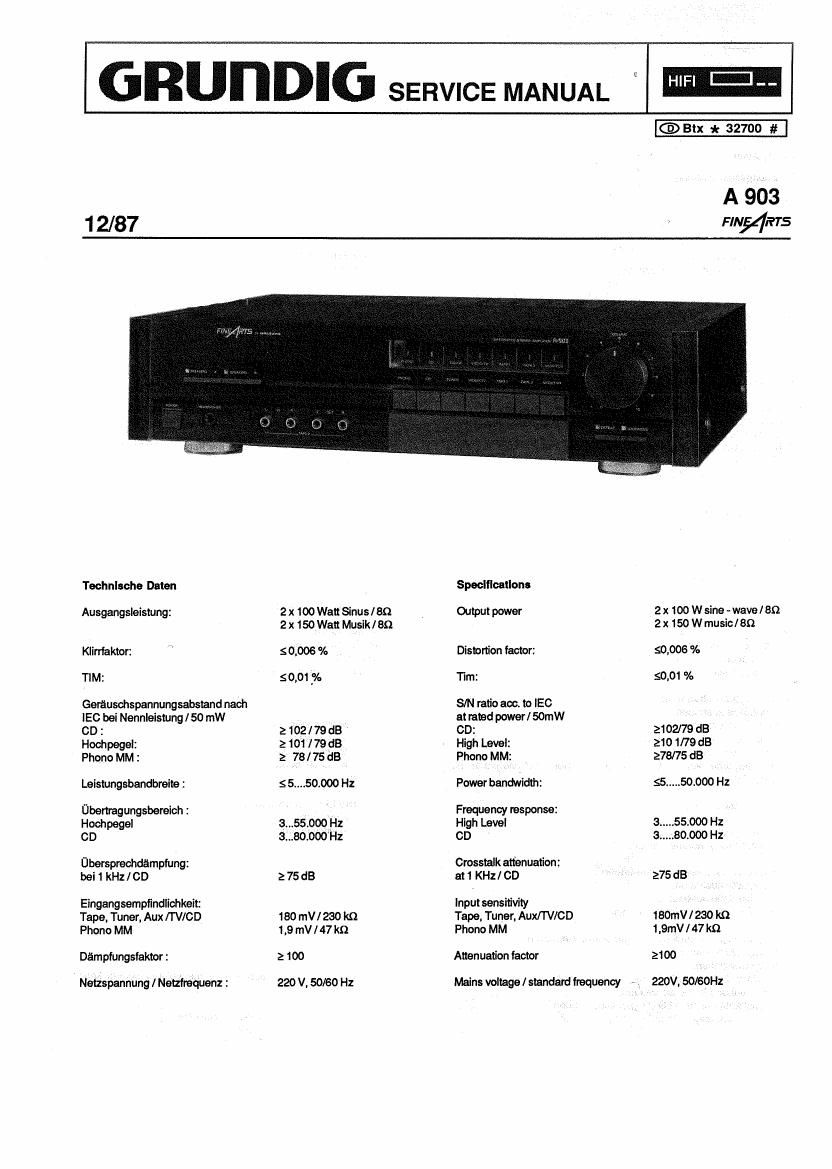
Grundig A 903 Service Manual

This is the 16 pages manual for Grundig A 903 Service Manual.
Read or download the pdf for free. If you want to contribute, please mail your pdfs to info@audioservicemanuals.com.

Page: 1 / 16
left right
Grundig A 903 Service Manual

Extracted text from Grundig A 903 Service Manual (Ocr-read)


Page 2

Inhaltsangabe Seite Contents Page
Teohnische Daten 1 Specification l
Aligemeine Hinweise 2 General Notes . .y x 2
Ausbeuhinweise 24$ Disassembiy Instructions 24%
Ersatzteilliste . . 4-5 Spare Parts List 7445
Druokpiatten 7-12 Printed Circuit Board 7-12
Schaitungsboschreibung 13 Circuit Discription 13
Schalthiio , -- 14-26 Connection Diagram 14-26
| Eat Eingriffen Schurzmaenahmen iflrMOS-Bauteiie beaohtent I I NB. When carrying out repairs observe MOS precaution |


Ausbauhinweise

Gehe'useoherteii abne _
- SSchraube a

\vorderfen Bu _ senpiatte zurn Baden-

- Die Masseverbmdun
bieoh losen. '
- Steelworbindungenltisen

Netzscholterplatte eusbauen

- Frontblende ausbauen.

- ZSohrauben d heraussohrauben.
- Steckverbindungenitisen.

Lautsprocher - Umsoholtplatte nusbauen
- Frontplatte ausbauen.

- ZSchrauben o herausschrauben.

- Steckverbindungen Iosen.

Buchsonplatto vorne ausbauen

- Frontplatte ausbauen.

- SSchreuben I heraussohrauben.
- Steckverbindungenlosen.

Schulterplatte nusbauen

- Frontplatte ausbauen.

. Schaiterknopfe abziehen.

- 2 Sohrauben h herausschrauben.

~ Steckverbindungenlosen.

- Schalterplatte von LED - Platte abziehen (Schalterplatte ist
gesteckt). _

LED - Plane ausbauen

- Frontpiatte ausbauen.

- Schalterplatte ausbauen.

- 7 Sohrauben a herausschrauben.

Elngangoverstirkerplatte ausbauen
- Frontplatte ausbauen.

. Schalterplatte ausbauen.

- Eingangsverstarkerplatte abziehen.

Klangreglerplotte und LS - Reglerplatto ausbeuen
- Frontplatte ausbauen.

- Knopfe abziehen.

- Steckverbindung der LED des LS - Knoplesabziehon
- 2 Schrauben I heraussohrauben.

- Sechskantmutter von Ls ~ Regler abschrauben.

- Stockverbindungen lessen.

Hauptplatta ausbauen

» Steckverbindungen Ibsen.

- 7 Schnauben It herausschrauben.

- Haupiplatte mit KtIhlbIech herausnehmen.

After the unit has been repaired It should sit" t th DINIIEC 65 VDE 0860

safety requirements


- Separate the earth connection from the front socket board to the

bottom plate.
- Disconnect the plug-in connections.

Mains switch circuit board

~ Remove the front panel.

- Unscrew the 4 screws d.

- Disconnect the plug-in connections.

Loudspeaker switchover cirucit board
- Remove the front panel.

- Unscrew the 2 screws e.

- Disconnect the plug-in connections.

Front socket board

- Remove the front paneI.

- Unscrew the 3 screws f.

- Disconnect the plug-in connections.

Removing the switch circuit board

- Remove the from panel.

- Pull oil the switch knobs.

~ unscrew the 2 screws h.

- DIsconnect the plug-in connections. '
- Remove the switch board from the LED board (switch board is

plugged in)

Removing the LED circuit board
- Remove the front panel.

- Remove the switch board.

- Unscrew the 7 Screws 9.

Removing the Input amptillor board
- Remove the front panel.

- Remove the switch board.

« Take out the input amplifier board.

Tone and volume control board

- Remove the front panel.

- Pulloflthe knobs '

- Separate the plug-in connection from the volume control knob
LED.

- Unscrew the 2 screws I.

~ Unscrew the hexagon nut from the volume control.

- Disconnect the plugin connections.

Removing the main circuit board

- Disconnect the plug-in connections.

< Unscrew the 7 screws k.

~ Remove the main circuit board with the heat sink.

Riickselte ausbnuen
~ 3 Schrauben l herausschrauben.

Chlnchbuchsonplatte hinten ousbeuon
- Ritckseite ausbeuen.

- 6 Sohrauben In heraussohrauben.

~ Schnauben heraussohrauben.

- 2 Messeverbindungen zur Rackseite autloten.

- Steckverbindungen losen.

LS - Buchoenplatto auchouon
- Rilckseite ausbauen.
- 4 Schraubeno herausschreuben.

'- 2 Sohreuben p heraussdrrauben.

- Masseverbindung zur Ruckseite. euiioten.
- Stockverblndungeniosen.

Treto und -Platte outbauen
- 4 Sohrauben r herausschrauben.
- Steckverbindungen Ibsen.

Removing the back panel
- Unscrew the 3 screws I.

Removing the cinch socket board at the back

- Remove the back panel.

- Unscrew the 6 screws m.

- Unscrew the screw n.

- Unsclder the two earth connections to the back panel.
- Disconnect the plug~in connections.

Removing the loudspeaker socket board

- Remove the back panel.

- Unscrew the 4 screws 0.

- Unscrew the 2 screws p.

- Unsoider the earth connection to the back panel
- Disconnect the plugvin connections.

Removing the translon'ner and transformer board
- Unscrew the 4 screws r.
. Disconnect the plug-in connections.

o4-k c
04 k_ a
II ii II
:- _ i,
9 9 g 9 e