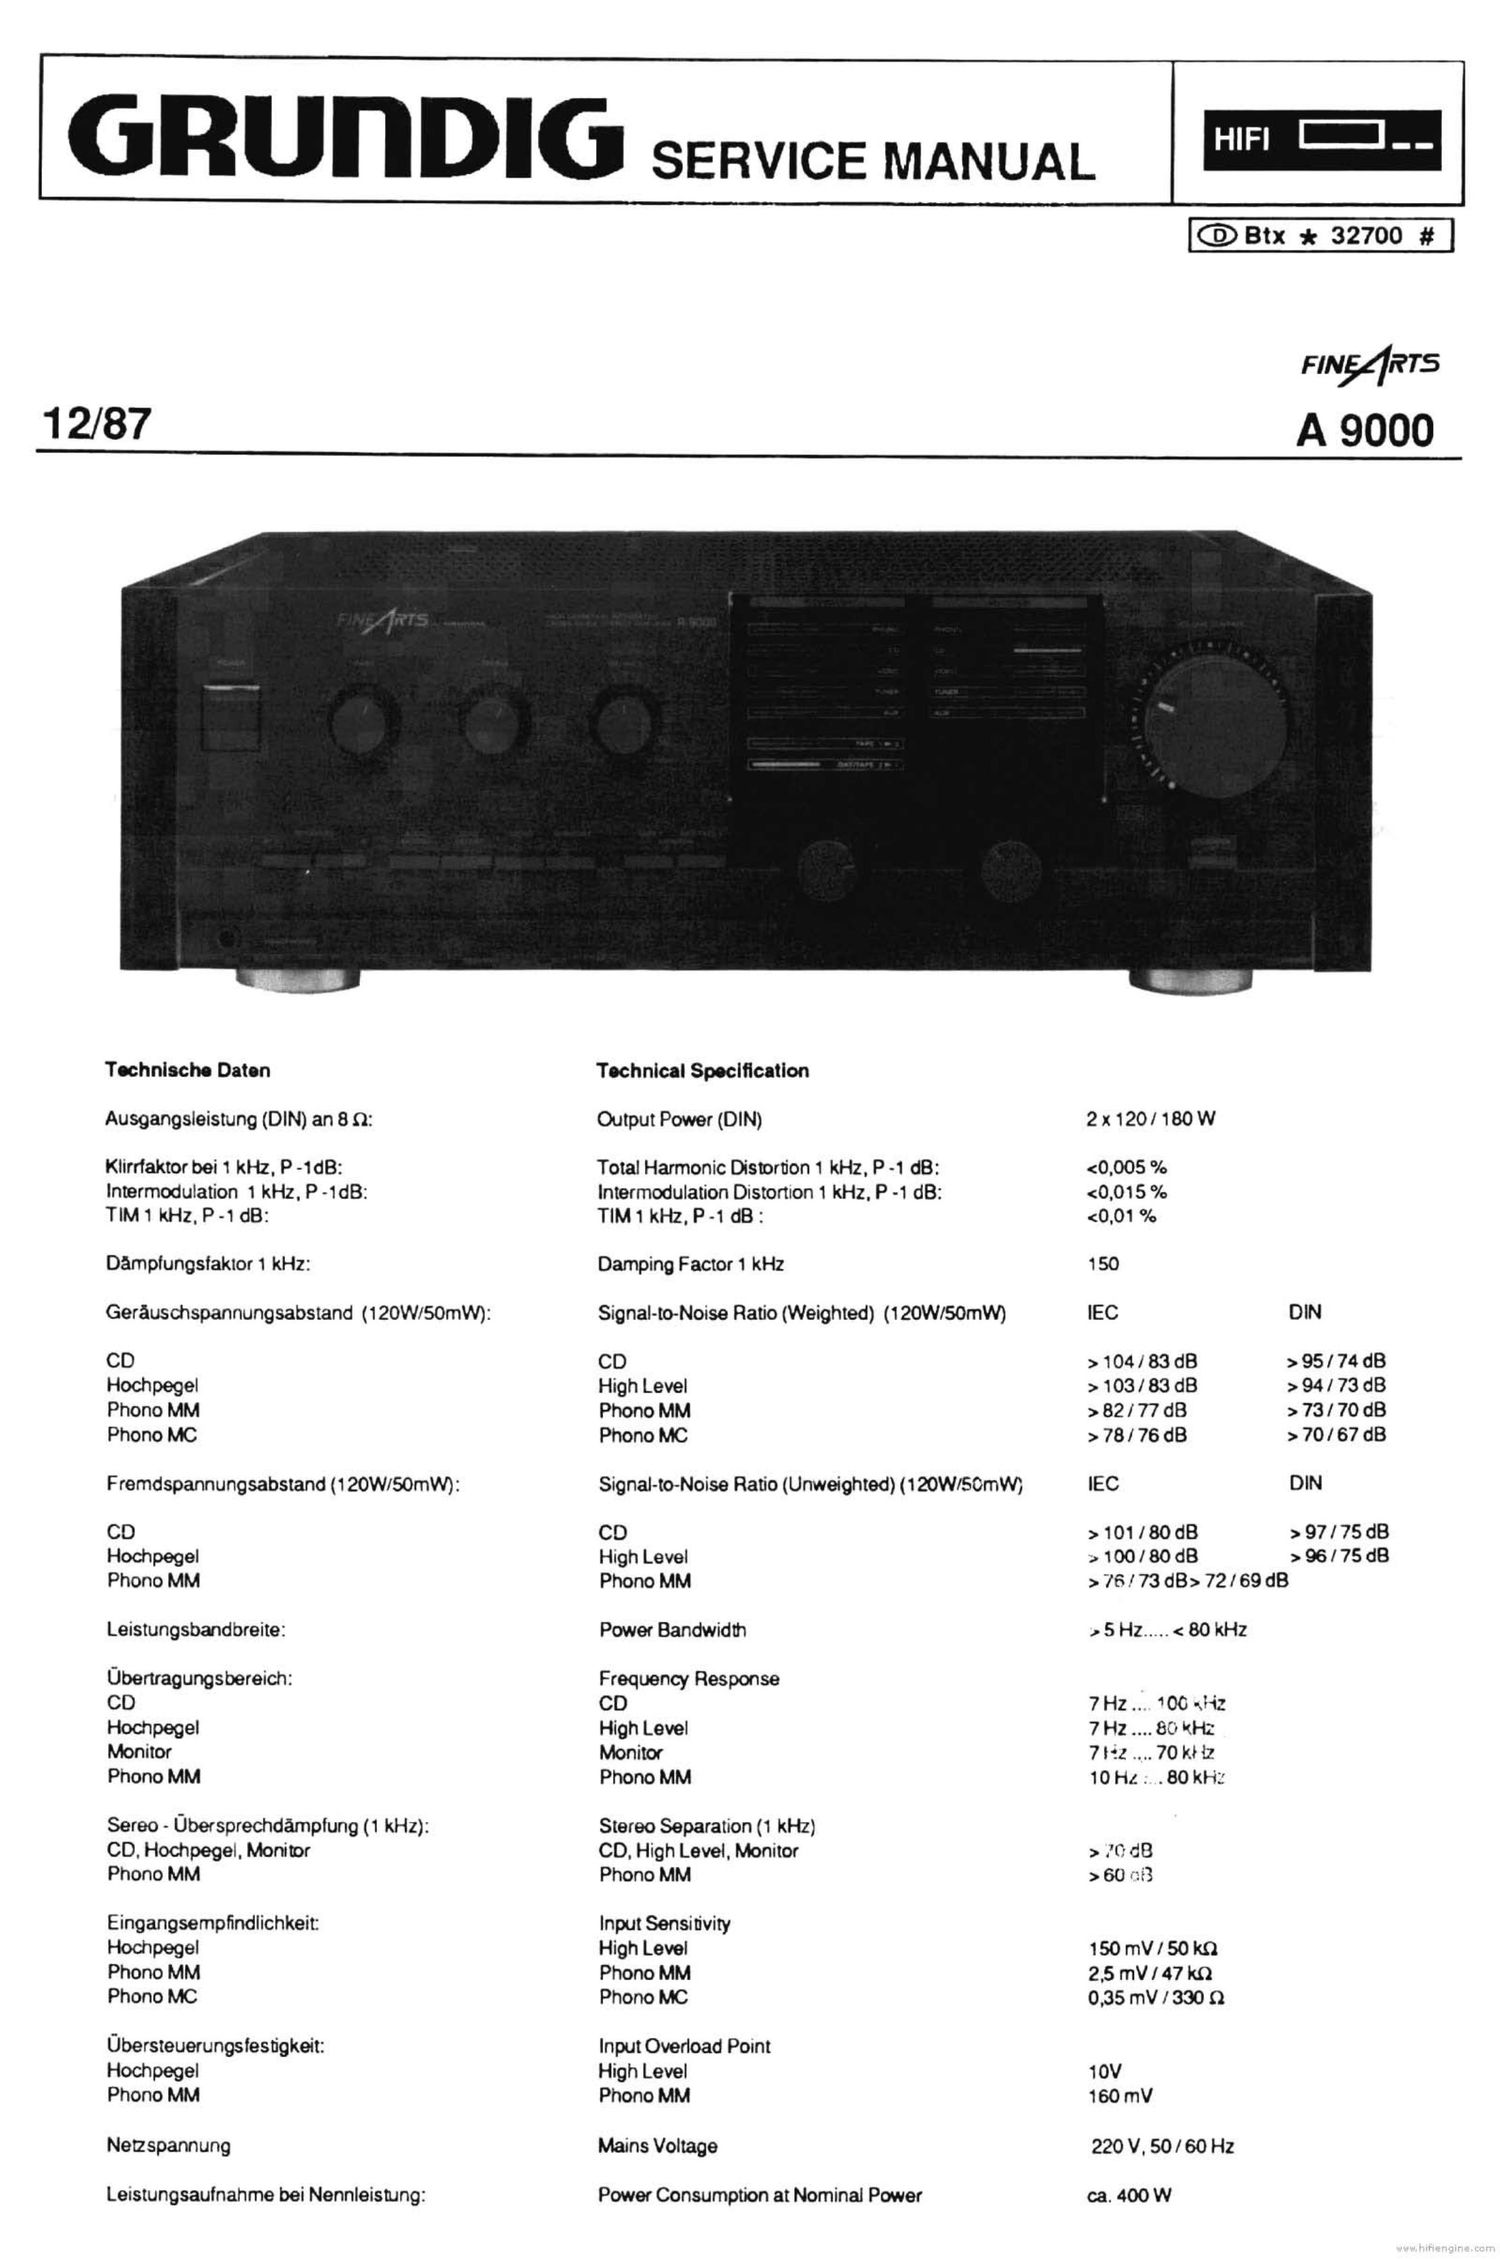
Grundig A 9000 Service Manual

This is the 21 pages manual for Grundig A 9000 Service Manual.
Read or download the pdf for free. If you want to contribute, please mail your pdfs to info@audioservicemanuals.com.

Page: 1 / 21
left right
Grundig A 9000 Service Manual

Extracted text from Grundig A 9000 Service Manual (Ocr-read)


Page 2

Inhaltsangabe Selte Contents P39"

Technische Dabn 1 Specification 1
Allgemeine Hinweise 2 General Notes 2
Ausbauhinweise 2-3 Disassembly instructions 243
Ersatzteilliste 6-11 Spare Parts List 6-11
Abgleich 1 2 Alignment 1 2
Druckplattenbezeichnung 12 Name ofPrinted Circuit Boards 12
Blockschaltbild 13 Block diagram 13
Schaltbild 14-18 Connection Diagram 14-18
Druckplatten 19-26 Printed Circuit Board 19-26

Bei Eingriifen SchutzmaBnahmenfOr meantime beachtenl N.B.Whencarryincoutrepairs.observeMOS procaufionsl

Des Gerat muB auch nach der Reparatur den Sicherheitsbestlmmungen After he unit has been repaired. it should stll meet the DiN/iEC 65 VDE 0860
nach DIN I lEC 65 VDE 0860 entsprechen. safety requirements.
Auebauhinwelee Dieeeeembly Instructions
Gehiueeoberteli abnehmen Removing the top of the case
- Je 3 Schrauben e seitlich und 2 Schrauben hinten herausschrau- - Remove the 3 screws a on each side and the 2 screws on the back.
ben. - Take offthe top ofthecase.
- Gehauseoberteil abnehmen.
Gehfiueeboden abnehmen Removing the bottom plate
- 10 Schrauben b herausschrauben. - Unscrew the 10 screws b.
- Gehauseboden abnehmen. - Take off the bottom.
Frontbiende abnehmen Removing the front panel
- Gehauseoberteil und -boden abnehmen. - Remove the top of the case and the bottom plate.
- ReglerknOpfe abziehen. - Pull off the control knobs.
- 6 Schrauben c herausschrauben. - Unscrew the 6 screws 0.
- Frontblende abnehmen. - Remove the front.
Montegerehmen euebauen Diuseembly of the mounting frame
- Frontblende abnehmen. - Remove the front panel.
- Knopf von Netzschalter abziehen. - Pull off the knob from the mains switch.
- 5 Schrauben d herausschrauben. - Unscrew the 5 screws d.
- RECORD OUT - und SELECTION - Schalter abschrauben. - Unscrew the RECORD OUT and SELECTION switches.
- Steekverbindungen losen. - Disconnect the plug-in connections.
- Montagerahmen abnehmen. - Remove the mounting frame.
LED - Platte euebeuen (PY01) Removing the LED circuit board (PYO1)
- Frontblende abnehmen. - Remove the front panel.
- Steckverbindungen Ibsen. - Disconnect the plug-in connections.
- 2 Piattenhalter (Stdpsel) e entfemen. - Remove the 2 board holders (pegs) e.
f I t J
drflcken push