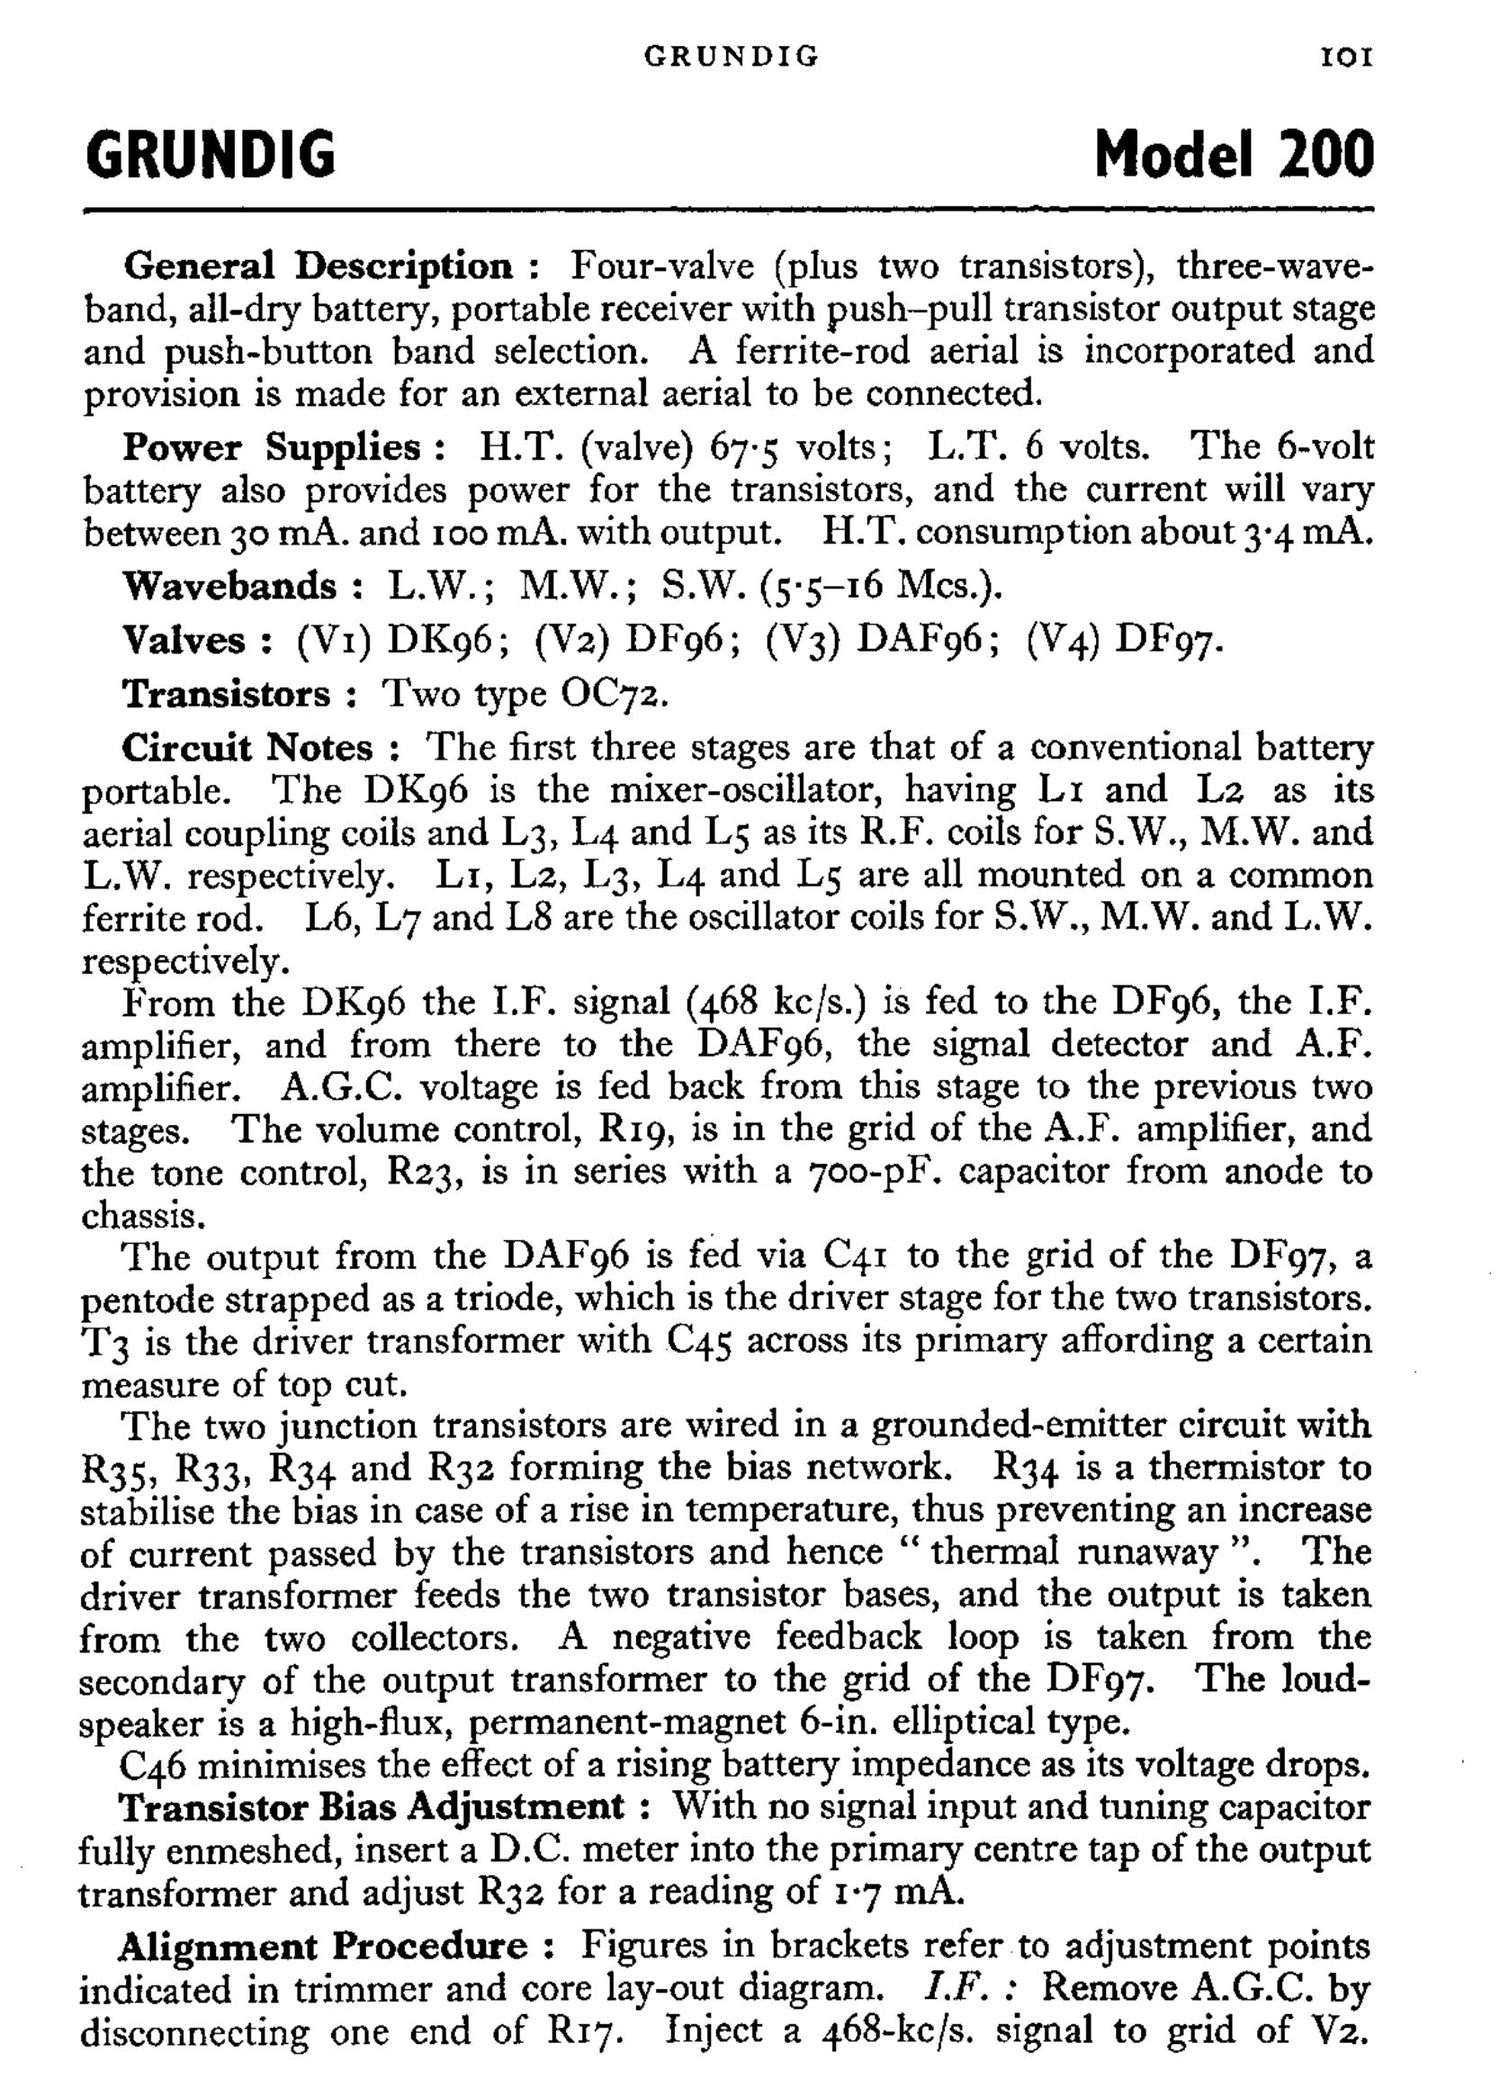
Grundig 200 Schematic

This is the 3 pages manual for Grundig 200 Schematic.
Read or download the pdf for free. If you want to contribute, please mail your pdfs to info@audioservicemanuals.com.

Page: 1 / 3
left right
Grundig 200 Schematic

Extracted text from Grundig 200 Schematic (Ocr-read)


Page 1

GRUNDIG IOI

GRUNDIG Model 200

General Description : Four-valve (plus two transistors), three-wave-
band, all-dry battery, portable receiver with push-pull transistor output stage
and push-button band selection. A ferrite-rod aerial is incorporated and
provision is made for an external aerial to be connected.

Power Supplies : H.T. (valve) 67-5 volts; L.T. 6 volts. The 6-volt
battery also provides power for the transistors, and the current will vary
between 30 mA. and 100 mA. with output. H.T. consumption about 34 mA.

Wavebands: L.W.; M.W.; S.W. (5-5-16 Mes).
Valves : (V1) DK96; (V2) DF96; (V3) DAF96; (V4) DF97.
Transistors : Two type OC72.

Circuit Notes : The first three stages are that of a conventional battery
portable. The DK96 is the mixer-oscillator, having LI and L2 as its
aerial coupling coils and L3, L4 and L5 as its R.F. coils for S.W., M.W. and
L.W. respectively. LI, L2, L3, L4 and L5 are all mounted on a common
ferrite rod. L6, L7 and L8 are the oscillator coils for S.W., M.W. and L.W.
respectively.

From the DK96 the LP. signal (468 kc/s.) is fed to the DF96, the LR
amplifier, and from there to the DAF96, the signal detector and A.F.
amplifier. A.G.C. voltage is fed back from this stage to the previous two
stages. The volume control, R19, is in the grid of the A.F. amplifier, and
the tone control, R23, is in series with a 7oo-pF. capacitor from anode to
chassis.

The output from the DAF96 is fed via C41 to the grid of the DF97, a
pentode strapped as a triode, which is the driver stage for the two transistors.
T3 is the driver transformer with C45 across its primary affording a certain
measure of top out.

The two junction transistors are wired in a grounded-emitter circuit with
R35, R33, R34 and R32 forming the bias network. R34 is a thermistor to
stabilise the bias in case of a rise in temperature, thus preventing an increase
of current passed by the transistors and hence thermal runaway . The
driver transformer feeds the two transistor bases, and the output is taken
from the two collectors. A negative feedback loop is taken from the
secondary of the output transformer to the grid of the DF97. The loud-
speaker is a high-flux, permanent-magnet 6-in. elliptical type.

C46 minimises the effect of a rising battery impedance as its voltage drops.

Transistor Bias Adjustment : With no signal input and tuning capacitor
fully enmeshed, insert a DC. meter into the primary centre tap of the output
transformer and adjust R32 for a reading of 1-7 mA.

Alignment Procedure : Figures in brackets referto adjustment points
indicated in trimmer and core lay-out diagram. LF. : Remove A.G.C. by
disconnecting one end of R17. Inject a 468-kc/s. signal to grid of V2.

Page 2

102 RADIO SERVICING

LI
941K)

, 94/:3

L3
94/

Valve
Location
Diagram

(10mph 1, 6

Anchor m

VIEWID FROM REAR WITH
M. NTTON OEPRESSEO. L

CIRCUIT DIAGRAM--

Adjust (I) and (II) for maximum. Inject signal to signal grid of V1 and
adjust cores (III) and (IV) for maximum.

RF. : Inject signals to aerial socket. Adjustments for max. output.

3. W. : Tune generator and set to 6'7 Mc/s. -Adjust coils (I) and (2).
Tune generator and set to 152 5 Mc/s. Adjust trimmers (3) and (4).

M.W. : Tune to 560 kc/s. and adjust coils (5) and (6). Tune to 1500
kc /s. and adjust trimmers (7) and (8).

L.W. : Tune to I62 kc /s. and adjust coils (9) and (10). Tune to 320 kc /s.
and adjust trimmers (II) and (12).

Note : Repeat operations for each band, always finishing with adjustment
of trimmers. Finally, reconnect R17.

Voltage Checks : The voltage and current measurements shown on the
valve base diagram are taken in M.W. position under no signal con-
ditions (tuning gang fully enmeshed).