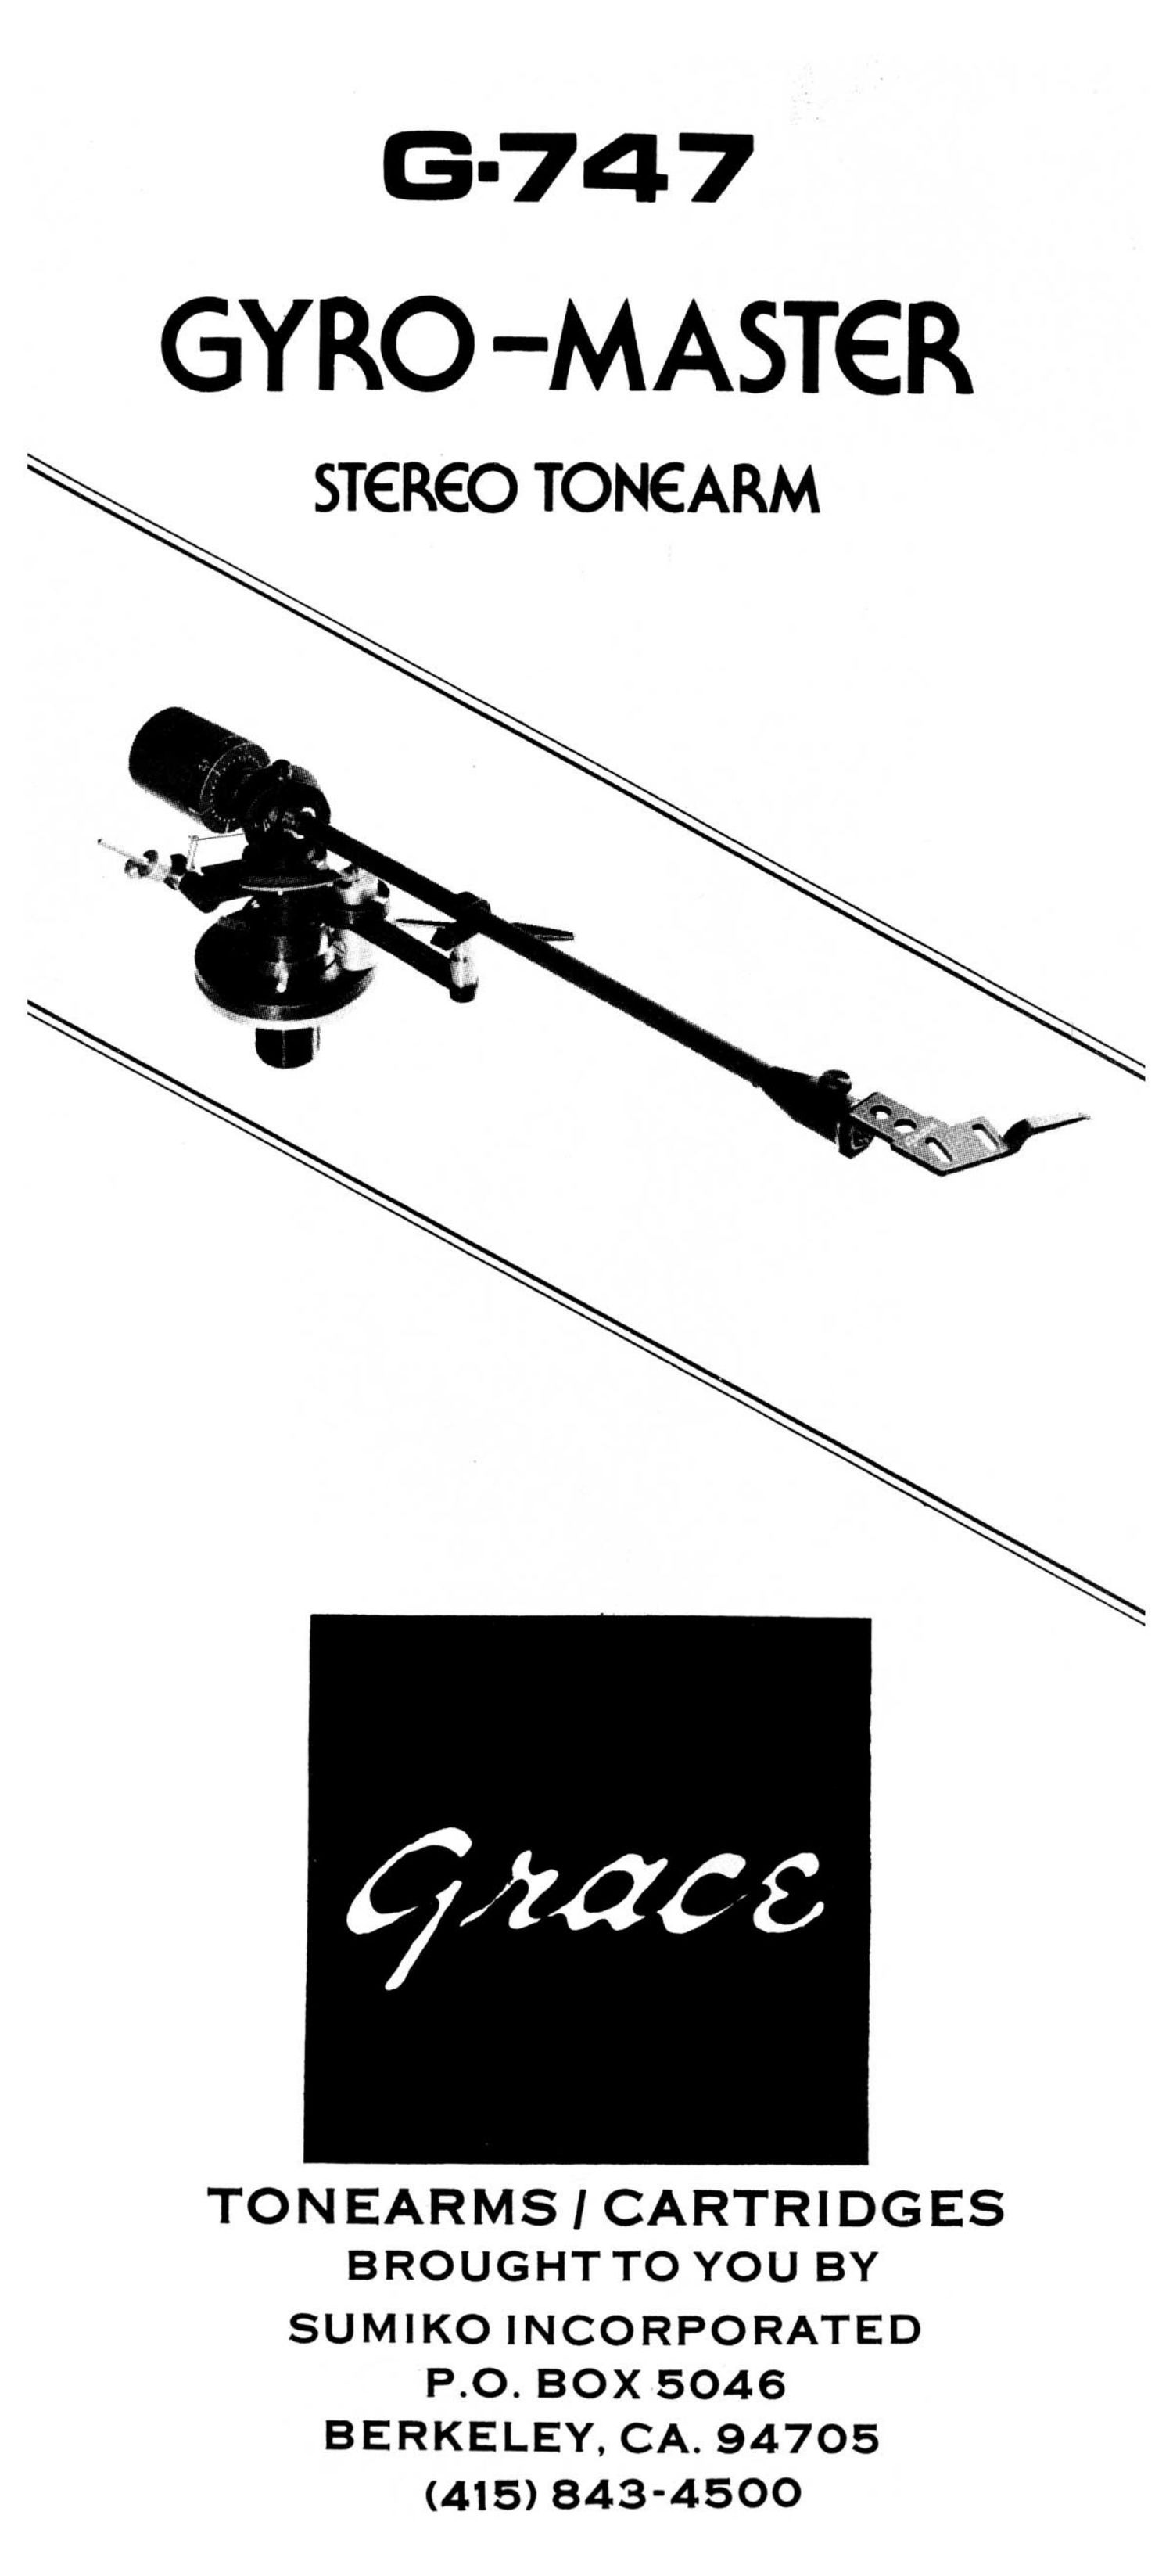
Grace g 747 owners manual

This is the 7 pages manual for grace g 747 owners manual.
Read or download the pdf for free. If you want to contribute, please mail your pdfs to info@audioservicemanuals.com.

Page: 1 / 7
left right
grace g 747 owners manual

Extracted text from grace g 747 owners manual (Ocr-read)


Page 1

6747
GYRO -MAST-‚¬R

ST-‚¬R-‚¬O TON-‚¬ARM

TON EARMS I CARTRIDGES
BROUGHT To YOU BY

SUMIKO INCORPORATED
P.O. BOX 5046
BERKELEY, CA. 94705

(415)843-4500

Page 2

Chart 1

Instruction manual 1 (PC-7) Shielded cable 1

Inspection card 1 4-color lead cables (4) 1 set

Template 1 Anti-skating wire 1
Aluminum screw

Arm body 1 2.6 mm x 12 mm 2
Aluminum screw

Headshell 1 2.6 mm x 16.5 mm 2

Counterweight 1 * Headshell lock knob 1

LC base 1 Hexagonal wrench 1

Chart 2
G) Anti-skating wire @ Arm rest
® Anti-skating lock knob 69 Cueing lever
Anti-skating weight ® Arm pipe
G) Anti-skating bar 62) Headshell lock knob
@ Anti-skating device 63 Headshell
LC base ® Finger grip
® Cueing device ® Counterweight
Unit base ® Cueing bar

1) Positioning, drilling the hole

2)

Set the small hole in the mounting template supplied with
the arm so that it fits over the center spindle of the turn-
table, and select a point at the opposite end of the template
for mounting the arm. Be careful to leave at least 75 mm
space at the rear of the rotation axis, so that the arms
counterweight will not interfere with movement of the
dust cover. Also make sure that the position selected will
not make contact with the dust cover at the front of the
turntable. Once certain that the point is right", drill
a 20 ~ 25 mm diameter hole.

Attaching the LC base

Remove the lock nut at the LC base assembly as shown
in figure 1, and insert the shaft through the hole. Leave
about 1.5 mm of space between the base and the base
locking ring, and temporarily tighten the lock nut by
hand. If any additional adjustment is needed to set the

overhang, just loosen the base locking ring and reposition
the unit by hand.