Genesis 350 owners manual

This is the 8 pages manual for genesis 350 owners manual.
Read or download the pdf for free. If you want to contribute, please mail your pdfs to info@audioservicemanuals.com.

Page: 1 / 8
left right
genesis 350 owners manual

Extracted text from genesis 350 owners manual (Ocr-read)


Page 1

Gym/my

Genesis 350 System
Owner's Manual

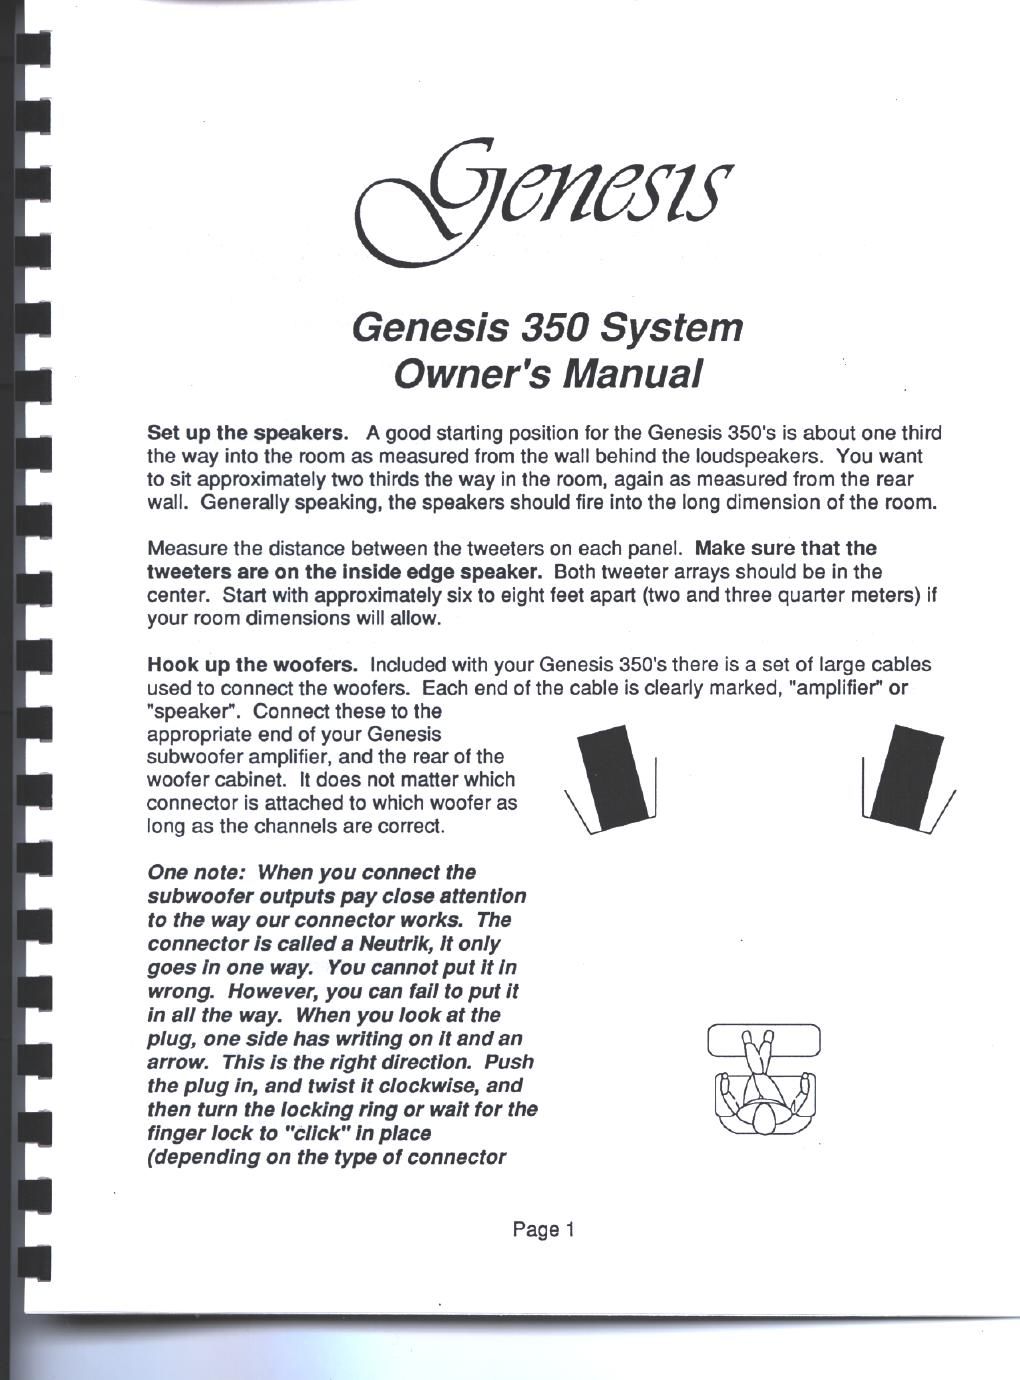
Set up the speakers. A good starting position for the Genesis 350's is about one third
the way into the room as measured from the wall behind the loudspeakers. You want
to sit approximately two thirds the way in the room, again as measured from the rear
wall. Generally speaking, the speakers should tire into the long dimension of the room.

Measure the distance between the tweeters on each panel. Make sure that the
tweeters are on the Inside edge speaker. Both tweeter arrays should be in the
center. Start with approximately six to eight feet apart (two and three quarter meters) it
your room dimensions will allow.

Hook up the woofers. Included with your Genesis 350's there is a set of large cables
used to connect the woofers. Each end of the cable is clearly marked, "amplifier" or
"speaker". Connect these to the

appropriate end of your Genesis

subwooter amplifier, and the rear of the

woofer cabinet. It does not matter which

connector is attached to which woofer as

long as the channels are correct.

One note: When you connect the
subwoofer outputs pay close attention
to the way our connector works. The
connector Is called a Neutrlk, It only
goes In one way. You cannot put It In
wrong. However, you can fall to put It
in all the way. When you look at the
plug, one slde has ertIng on It and an
arrow. Thls Is the right dlrectlon. Push
the plug In, and twist It clockwlse, and
then turn the IockIng rIng or we]! for the
finger lock to "cIIc " In place
(depending on the type of connector

Page 1

Page 2

supplied with your system) to keep It there. By looklng carefully, It will be
obvlous to you how it works.

Connect the input of the woofer amplifier to the output of your preamplifier. Choose
either balanced or unbalanced for inputs. If your preamplifier has only one set of
balanced outputs and one set of unbalanced (RCA) type outputs, choose your first
preference of connection for the amplifier that is driving the midrange tweeter panels of
your speaker. Use the remaining set of outputs to feed the subwoofer amplifier.

At this point. you can turn on the woofer amplifier. Using the remote control, turn on
the subwoofer amplifier. Adjust the phase to 40 with the button marked "phase" on the
remote control. Next, adjust the low pass filter (how high the woofer goes). Set this to
85 using the button marked 'low pass (on the remote control). Use the button marked
"volume" to adjust to 20 to start with. The volume will always flash to identify itself.
Make sure the woofers all work by playing some music. If. for some reason, one of the
woofers does not work - check the plug of the Neutrik connector. Making sure they are
connected properly usually solves any problems.

Note: The Genesis remote control has two modes of operation: one for the woofer
amplifier of your new 350's and the other for use with the Genesis Digital Lens. To
activate the different modes, use the button marked "mode.

Press the mode button and note the color of the light on the remote control itself. The
color matches the written function on the remote. Green indicates Digital Lens
operation, red indicates subwoofer amplifier operation.

Once you have activated a color (selected a mode). it is not necessary to press the
mode button again unless you wish to change your selection.

Memory

The remote control has two buttons on the lower portion of the device marked memory
1" and memory 2". These controls will memorize the settings you have selected. To
memorize a setting, point the remote control at the amplifier. Press the memory 1 or
memory 2 button and hold down for 2 seconds. After 2 seconds, the reading will flash
and your new settings will have been memorized. To recall the memorized setting.
press the appropriate memory button once.

You may want to memorize two different settings to match your recording's bass level
closely. or you may want to use one bass setting for music and yet another for video.

Next, use a high quality speaker cable to attach to the midrange tweeter connectors.

Hook up your power amplifier. The top connector is + (plus) and the bottom is -
(minus).

Page 2

4_--