Genesis 200 owners manual

This is the 9 pages manual for genesis 200 owners manual.
Read or download the pdf for free. If you want to contribute, please mail your pdfs to info@audioservicemanuals.com.

Page: 1 / 9
left right
genesis 200 owners manual

Extracted text from genesis 200 owners manual (Ocr-read)


Page 1

ngayzy

Genesis 200 System
Owner's Manual

Unpacking; The Genesis 200 system will arrive in 5 pieces. There are two woofer
crates. two midrange tweeter panel crates. and one amplifier box.

To remove the contents of all crates, you will need help. We suggest a minimum of two
people to move products around.

Start with the woofer crates. They are the long rectangular crates. Remove the
screws from the top piece and open up. Remove the woofer towers, remove the
packing material. Look inside the box and get the two heavy woofer cables out and set
aside. '

Next, remove the midrange tweeter sections. Unscrew only the bottom row of
screws. Do not remove any other screws except the ones going along the outside
bottom perimeter of the crate.

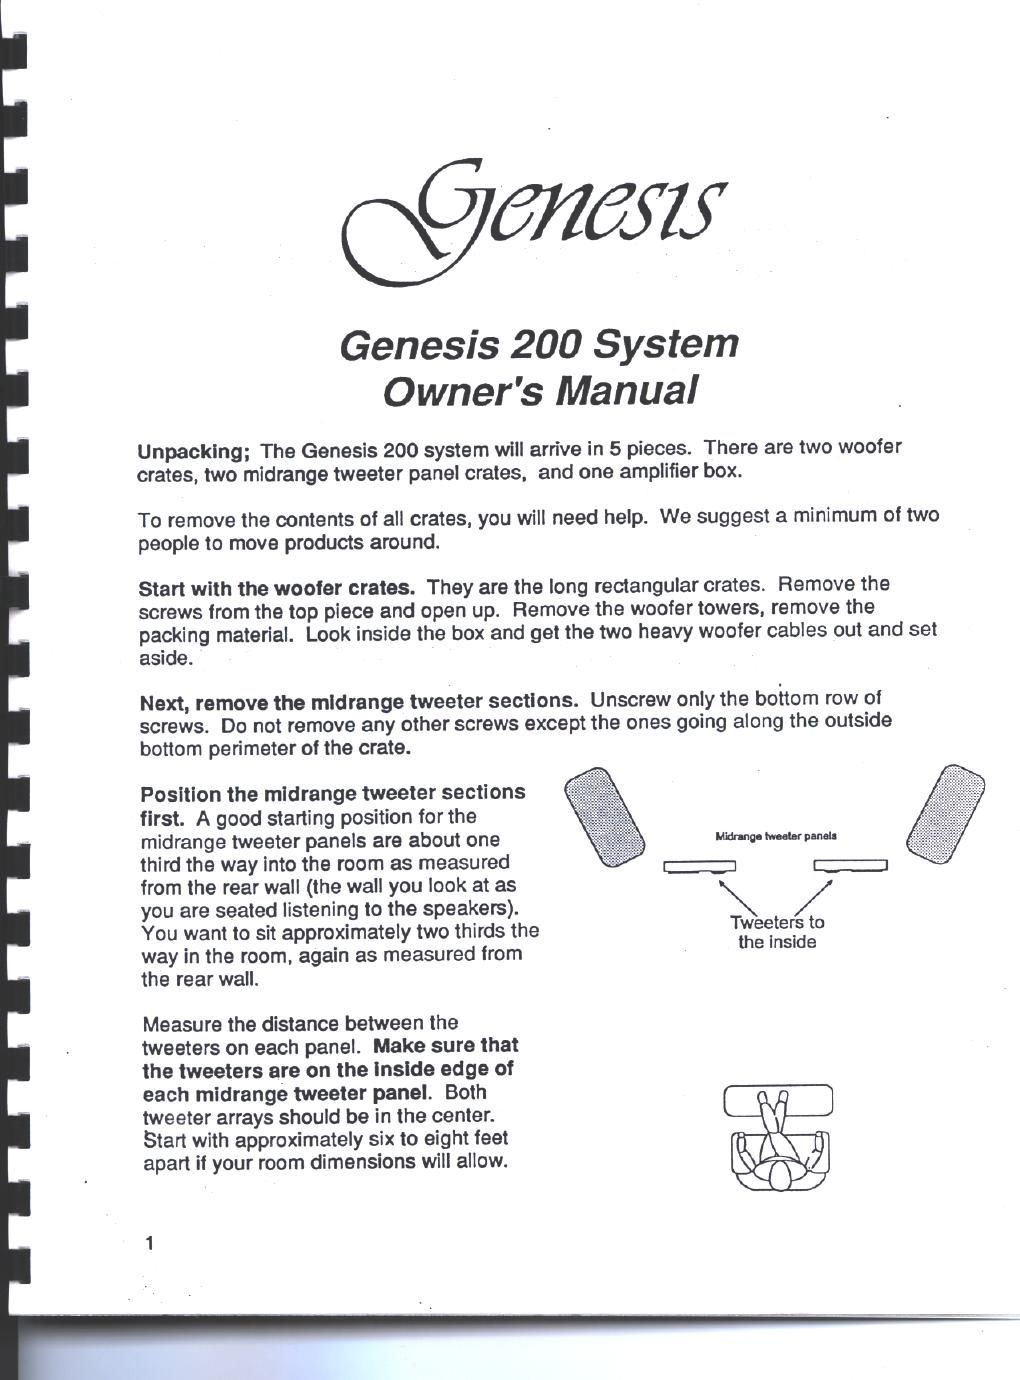
Position the midrange tweeter sections
first. A good starting position for the

midrange tweeter panels are about one mow-aw

third the way into the room as measured a L_-___,
from the rear wall (the wall you look at as

you are seated listening to the speakers).

You want to sit approximately two thirds the Tweeters 0

way in the room. again as measured from the '"S'de

the rear wall.

Measure the distance between the
tweeters on each panel. Make sure that
the tweeters are on the Inside edge of
each midrange tweeter panel. Both
tweeter arrays should be in the center.
Stan with approximately six to eight feet
apart if your room dimensions will allow.

Page 2

Next, set up the woofer towers.
These typically are placed either
Inside or outside the midrange
tweeter panels. The drawing
shows both methods of woofer
placement. The Genesis ll usually
sounds best with the woofers on

the inside (as shown). while the .3... mm
Genesis 200 usually sounds best W W
with the woofers outboard (as

shown).

In some rooms, It may be
preferable to locate the woofer
towers slightly behind and on the
outside of each tweeter midrange
panel as shown for the Genesis
200.

Hook up the woofer towers.

Inside each woofer box. there is a

set of large cables used to connect

the woofers. Each end of the

cable is clearly marked. "amplifier" or "speaker". Connect these to the appropriate end
of your Genesis subwoofer amplifier, and the rear of the woofer tower. It does not
matter which connector is attached to which woofer as long as the channels are
correct.

One note: When you connect the subwooler outputs pay close attention to the
way our connector works. The connector ls calleda Neutrlk, It only goes In one
way. You cannot put It In wrong. However, you can fall to put it in all the way.
Push the plug In, and twist It clockwise until it "clicks" in place (depending on
the type of connector supplied with your system) to keep it there. By looking
carefully, It will be obvious to you how it works.

Connect the input of the woofer amplifier to the output of your preamplifier. Choose
either balanced or unbalanced for inputs. If your preamplifier has only one set of
balanced outputs and one set of unbalanced (RCA) type outputs, choose your first
preference of connection for the amplifier that is driving the midrange tweeter panels of
your speaker. Use the remaining set of outputs to feed the subwoofer amplifier.

At this point, you can turn on the woofer amplifier.
Note: The Genesis remote control has two modes of operation: one for the woofer

amplifier of your new 350's and the other for use with the Genesis Digital Lens. To
activate the different modes, use the button marked 'mode".

2

g-