Genesis 2 5 owners manual

This is the 4 pages manual for genesis 2 5 owners manual.
Read or download the pdf for free. If you want to contribute, please mail your pdfs to info@audioservicemanuals.com.

Page: 1 / 4
left right
genesis 2 5 owners manual

Extracted text from genesis 2 5 owners manual (Ocr-read)


Page 1

61775

Evolution In progress

Quick set up guide
for Genesis .5
System

Unpacking; The Genesis .5 system will arrive in 3 pieces. There are two wing crates
and one amplifier box.

To remove the contents of all crates, you will need help. We suggest a minimum of two
strong people to move products around.

Remove the ".5 from its crate. Do not remove any screws except the ones going
along the bottom outside perimeter of the crate. Inside each crate there are two
rosewood wings, one center section. and a large woofer box attached to the rear. They
are fully assembled. Do not use the wings for hand holds. Have one person hold the
base and the second person hold the center section. Lift and carry the speaker
towards the base end, and set down once clear of the bottom of the box. Set upright.

Position the speakers first. Set them down close to where they will be in your final
setup. You want these about 20% into the room. In other words, if your room is twenty
feet long you want the back of the Genesis ".5 approximately fourto five feet away
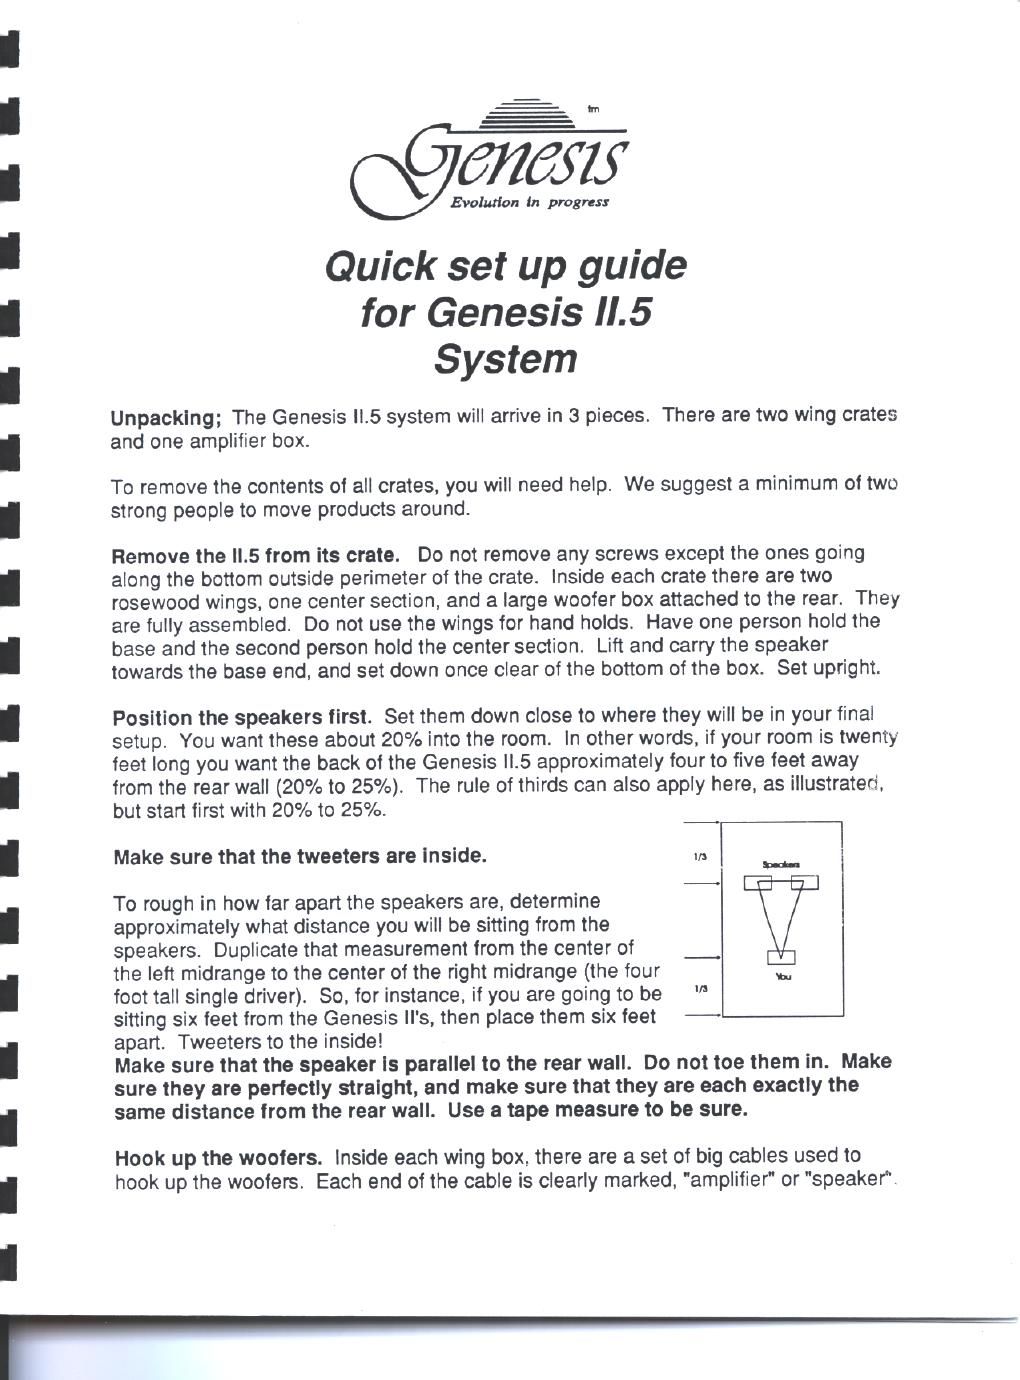
from the rear wall (20% to 25%). The rule of thirds can also apply here. as illustrated.
but start first with 20% to 25%.

Make sure that the tweeters are inside. in

To rough in how far apart the speakers are, determine
approximately what distance you will be sitting from the
speakers. Duplicate that measurement from the center of _.
the left midrange to the center of the right midrange (the four u,
foot tall single driver). So. for instance. if you are going to be "
sitting six feet from the Genesis ll's, then place them six feet
apart. Tweeters to the inside!

Make sure that the speaker ls parallel to the rear wall. Do not toe them in. Make
sure they are perfectly straight, and make sure that they are each exactly the
same distance from the rear wall. Use a tape measure to be sure.

Hook up the woofers. Inside each wing box, there are a set of big cables used to
hook up the woofers. Each end of the cable is clearly marked, "amplifier" or "speaker.

Page 2

Connect these to the appropriate end of your Genesis subwoofer amplifier. and the rear
of the Genesis .5 woofer box.

Note: When you connect the subwoofer outputs up, pay close attention to the
way our connector works. The connector ls made In Switzerland, ls called a
Neutrik, and It only goes In one way. You cannot put it In wrong. However, you
can fail to put It In all the way. When you look at the plug, one side has writing
on It and an arrow. This Is the right direction. Push the plug in, and twist it
clockwise, and then turn the locking ring to keep It there. By looking carefully, It
will be obvious to you how it works. The arrow should be straight up and down.

If, for some reason. one of the woofers does not work - check the Neutrik connector
first. It is usually the problem.

Setting up the woofer ampllfler.

Remove the woofer amplifier from its box. Locate the remote control unit and the plug.
Set the amplifier up near your preamplifier (note. most preamplifiers will not sound as
good when you attach very long lengths of cables to their outputs. We highly
recommend that you avoid this and use one meter or two meter interconnects if
possible).

Plug the power cord into the subwoofer amplifier and your wall socket. Make sure that
the wall socket is always active (not connected to a wall switch). Place the batteries in
the remote control unit.

Connect the input to the woofer amplifier from the output of your preamplifier. If you
are using the Genesis Stealth amplifier use the Stealths variable output jacks. Choose
either balanced or unbalanced for inputs and adjust the rear panel switch (on the
Genesis subwoofer amp) to the appropriate position.

Connect the speaker cables to the appropriate channels and make sure that they are
inserted correctly.

At this point, you can turn on the woofer amplifier. Using the remote control, turn on
the subwoofer amplifier. Adjust the phase to 25 degrees with the button marked
"phase" on the remote control. Next, adjust the low pass filter (how high the woofer
goes). Set this to 84 using the button marked "low pass" (on the remote control). Use
the button marked "volume" to adjust to 20 to start with. The volume will always flash to
identify itself. Leave the high pass (how low the speaker goes) filter alone. It is only
used it you have an extreme amount of record warp. The display will always return
to the volume setting.

Hook up your main power amplifiers outputs to the Genesis ll's.

You will notice two controls on the back of the Genesis ".5. The left hand control is a
volume control for the rear tweeter. Turning this control clockwise will increase the