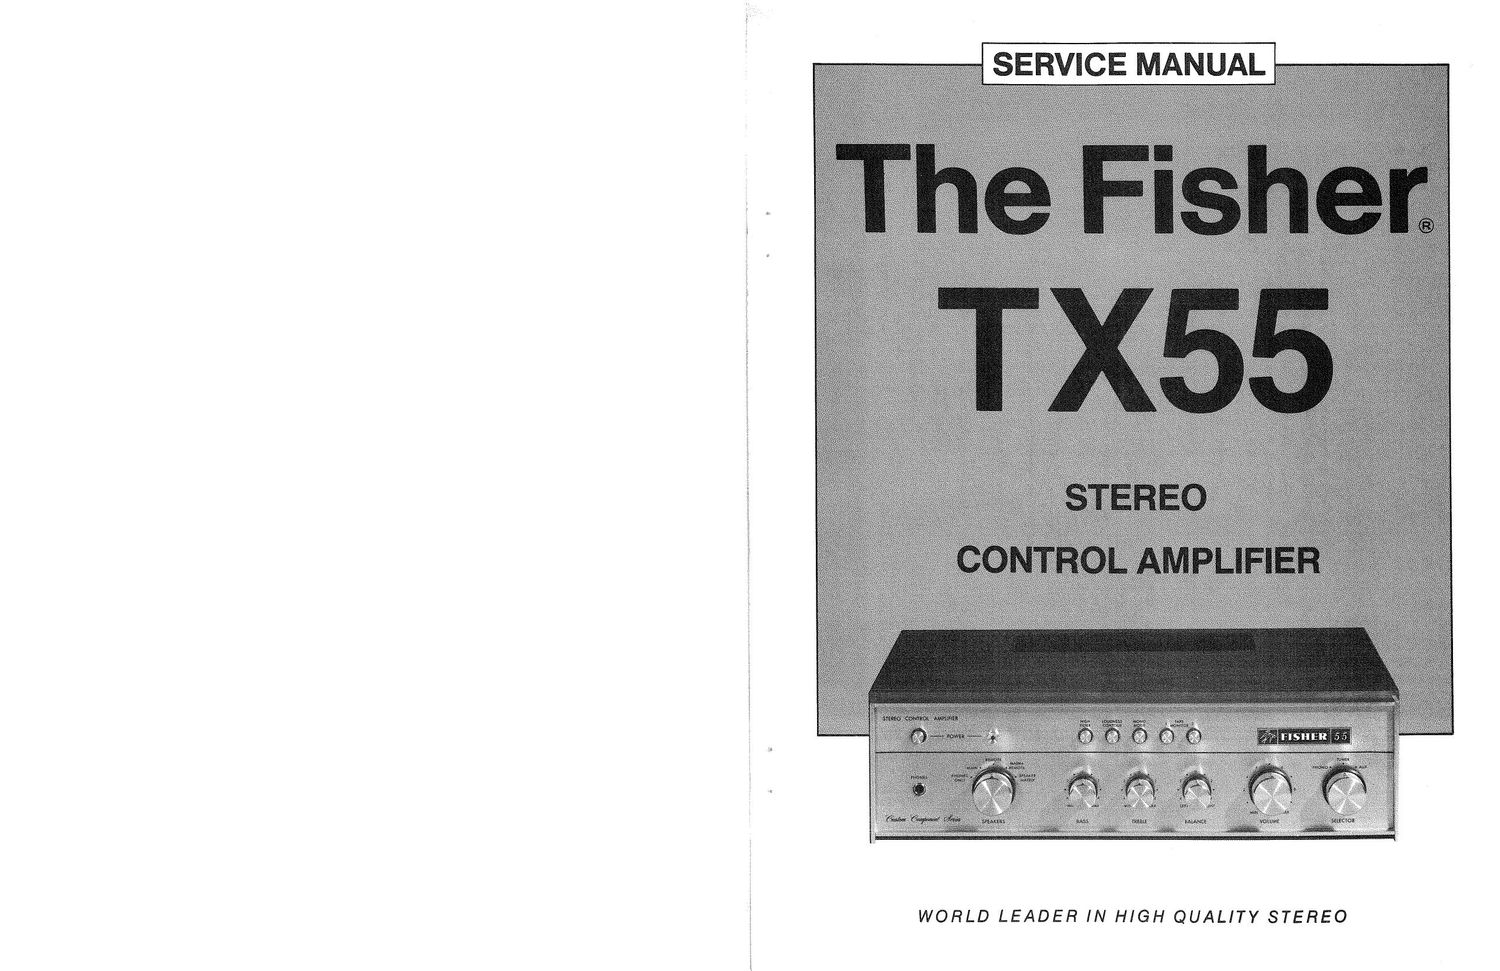
Fisher TX 55 Service Manual

This is the 6 pages manual for Fisher TX 55 Service Manual.
Read or download the pdf for free. If you want to contribute, please mail your pdfs to info@audioservicemanuals.com.

Page: 1 / 6
left right
Fisher TX 55 Service Manual

Extracted text from Fisher TX 55 Service Manual (Ocr-read)


Page 2

i
l
ii
i
i
l

PRECAUTIONS

. Always disconnect the chassis from power line when

soldering. Turning the power switch OFF is not enough.
Power line leakage passing through the heating element
may destroy the transistors.

. Never attempt to do any work on the transistor ampli-

fiers without first disconnecting the AC line cord and
waiting until the power supply filter capacitors have
discharged.

. Replacement for output and driver transistors, if neces-

sary, must be made from the same beta group as the
original type.

. If one output transistor burns out (open or short) always

remove all the output transistors in that channel and

check the bias adjustment, the control and other parts
in the network with an ohm-meter before inserting a
new transistor. All transistors in one channel will be
destroyed if the base biasing circuit is open on the
emitter ends

. When mounting a replacement poWer transistor, be sure

that the bottom of the flange, the mica insulators and
the surface of the heat sink are free of foreign matter,
for they may cause transistors failure.

.Silicon grease must be applied between the transistor

and the mica insulator, and between the mica insulator
and the heat conduction.

POWER AMPLIFIER ADJUSTMENT

PREDRIVER/DRIVER ADJUSTMENT

1. Set BalancenBass and Treble controls to mid-position.

All Push Button switches OUT". Speaker switch to
MAIN, and Selector switch to "AUX position.

. Connect 8-ohm, 50-watt resistor across Left channel

speaker terminals. In parallel with the load resistor, con-
nect the vertical input leads of the oscilloscope.

. Connect an audio generator, set for 1,000Hz (sine wave),

to Left channel AUX input.

. Connect AC power cord and rotate volume control to

FIG. I. DC BALANCE ADJUSTMENT WAVEFORM

clockwise position (full volume). Increase generator out-

WW

U

ADJUST VRGOI (FOR LEFT CH1)
FOR EQUAL CLIPPING AT TOPAND

BOTTOM .

PA 4I59

out until sine wave on scope just starts clipping. Adjust
DC Balance potentiometer VRBOI (on Power Amp PCB)
for equal clipping on the positive and negative half cycles
of the signal. See Fig. 1. Position volume control
fully ccw.

. Adjust idling current using a DC millivolt meter across

R614 resistor (Test Point Pin 5 and E3), rotate VR602
on Main Amp PCB to obtain a 7.5mV reading on DC
millivoltmeter (no signal input).

. Repeat the steps 3 thru 6 as above for Right channel.

(Use VR603, 604 and R612 [Test Point Pin 6 and E31)

DC will METER

DC mV METER

W
TOP VIEW

FIG.2 lDLlNG CURRENT ADJUSTMENT HOOK-UP

zsmv swam on
(No SIGNAL input)

PA 4l59