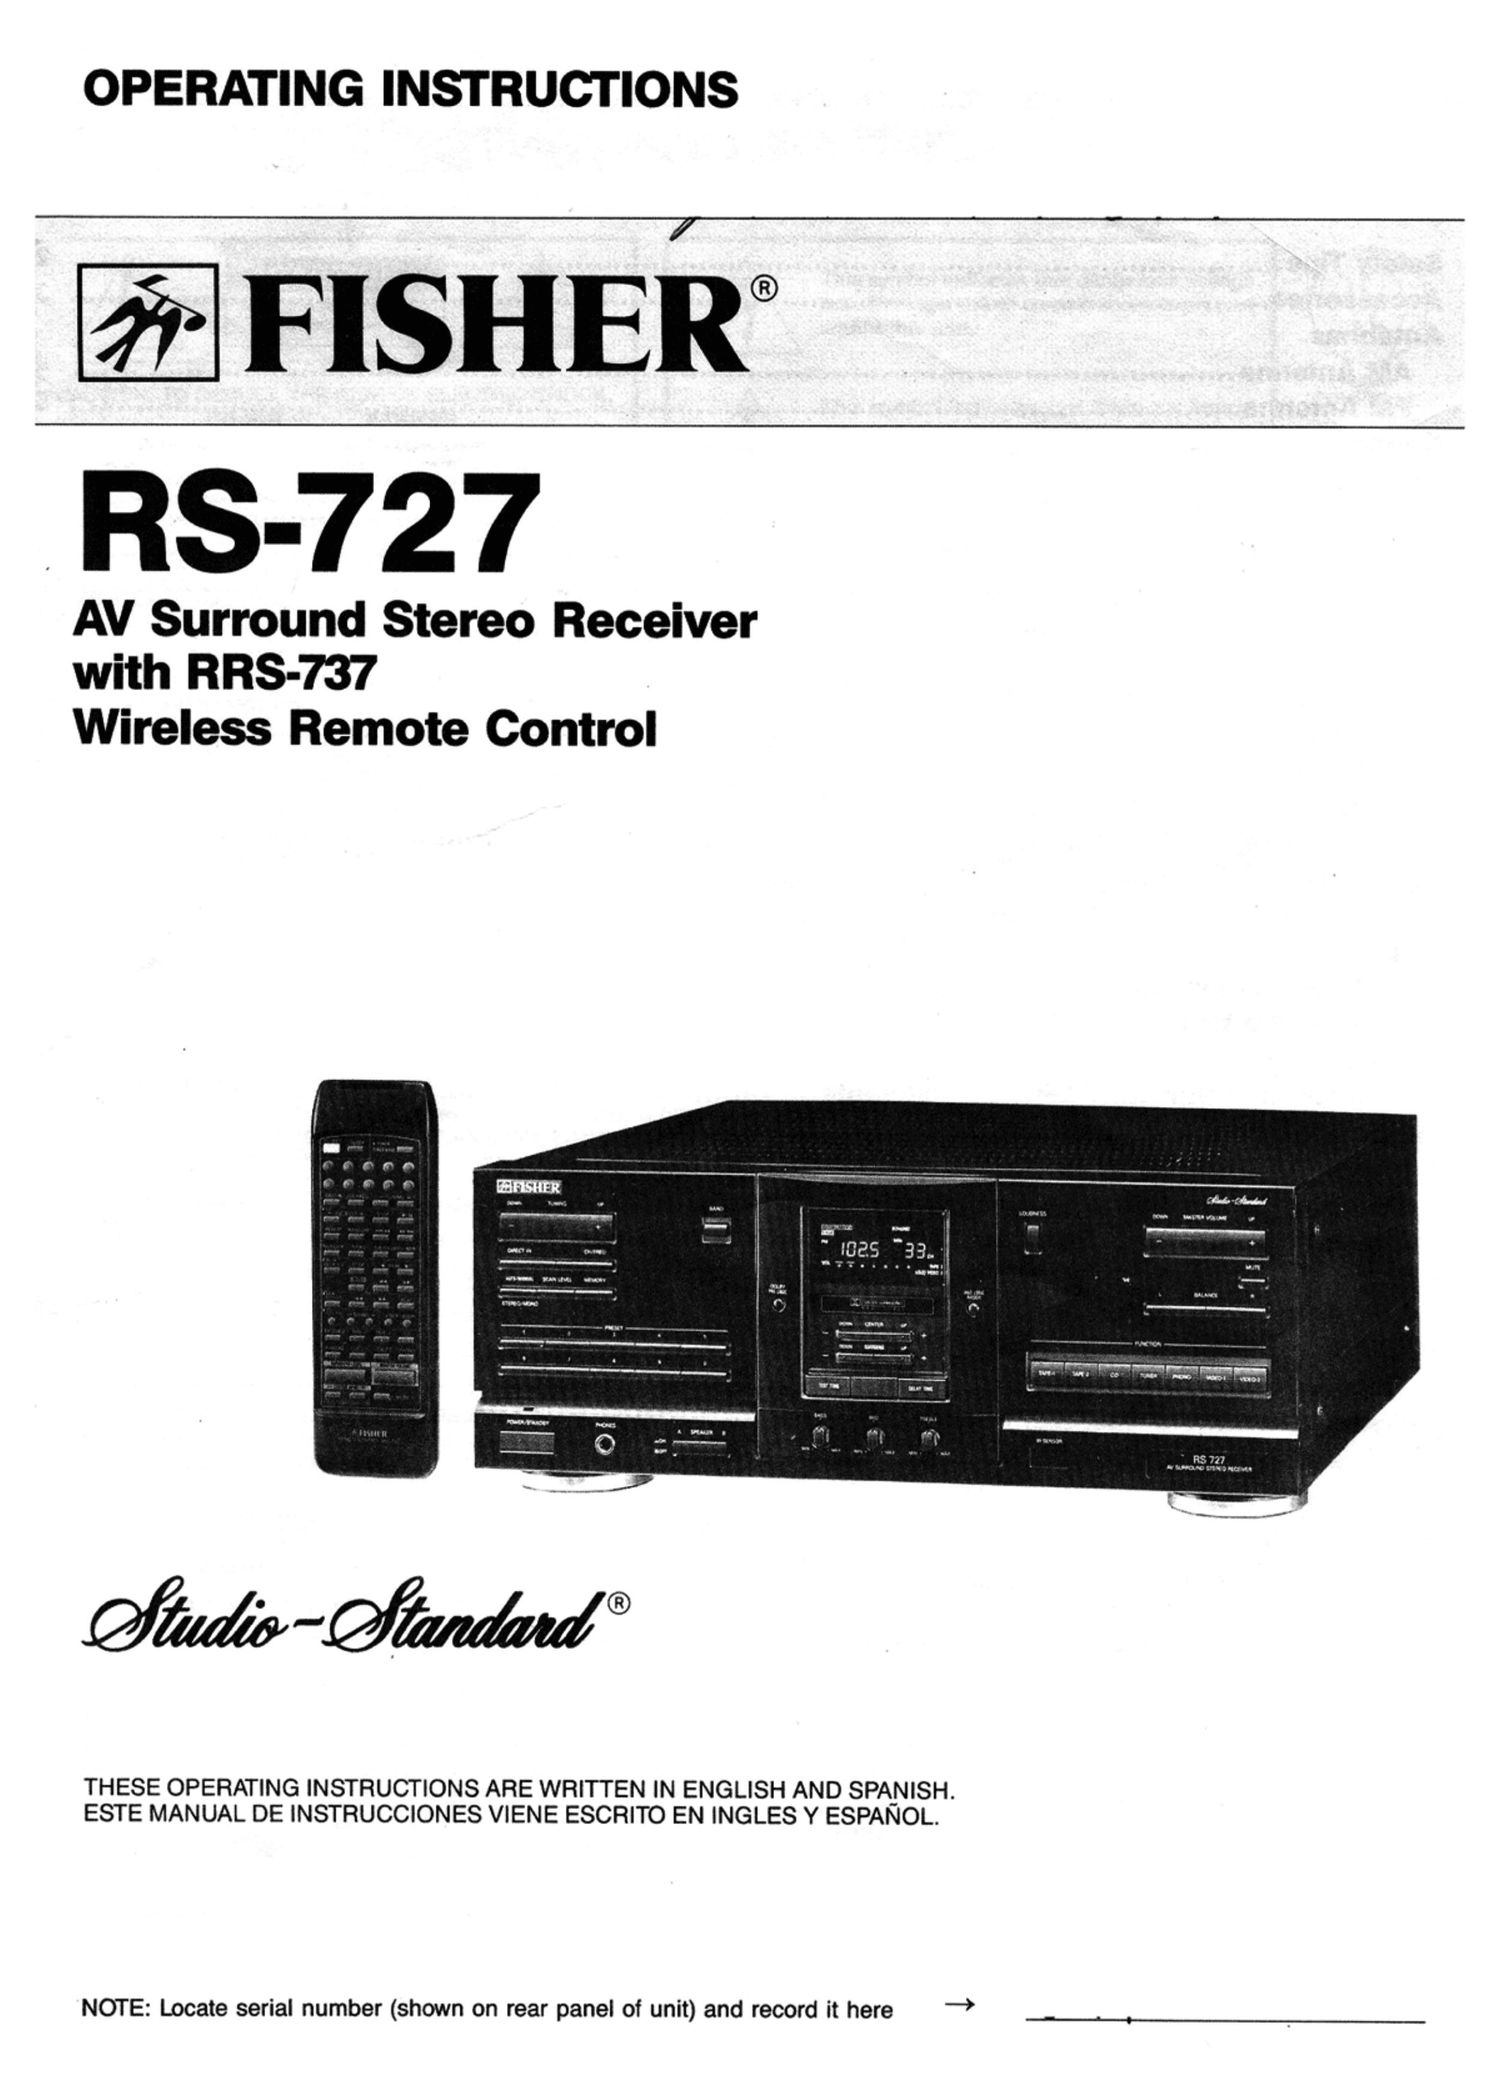
Fisher RS 727 Owners Manual

This is the 25 pages manual for Fisher RS 727 Owners Manual.
Read or download the pdf for free. If you want to contribute, please mail your pdfs to info@audioservicemanuals.com.

Page: 1 / 25
left right
Fisher RS 727 Owners Manual

Extracted text from Fisher RS 727 Owners Manual (Ocr-read)


Page 1

OPERATING INSTRUCTIONS

FISHEiz®

RS-727

AV Surround Stereo Receiver
with HRS-737

Wireless Remote Control

THESE OPERATING INSTRUCTIONS ARE WRITTEN IN ENGLISH AND SPA_N|SH.
ESTE MANUAL DE INSTRUCCIONES VIENE ESCRITO EN INGLES Y ESPANOL.

NOTE: Locate serial number (shown on rear panel of unit) and record it here _*

Page 2

TABLE OF CONTENTS

;
Safety 11ps ............................................................................................................................... 2
Accessories..... ......................................................................................................................... 3
Antennas
AM Antenna .......................................................................................................................... 4
FM Antenna ........................................................................................................................... 5
Connections ............................................................................................................................. 6
Connecting Diagram .................................................................................................................. 7
Speaker Connections ................................................................................................................ 8
Typical AudioNldeo System Connection Diagram ........................................................................ 9
Speaker Placement ................................................................................................................... 10
Front Panel Layout .................................................................................................................... 11
Basic Operation
Function Buttons and Indicators ............................................................................................. 12
Display Panel ......................................................................................................................... 13
Rear Panel Layout ..................................................................................................................... 14
Remote Control
Remote Control Layout ........................................................................................................... 15
Remote Control Battery installation ......................................................................................... 16
Remote Control Operation and Compatibility ............................................................................ 17
Detailed Operation
Dolby Pro Logic
Dolby Pro Logic Mode Selection .......................................................................................... 18
Dolby Test Tone .................................................................................................................. 18
Center and Surround Level Adjustments ........................................ ................................... 18
Tuner Operation ........................................................................................................................ 19
Ustenlng To Other Sources
Listening To Records .............................................................................................................. 20
Listening To Compact Discs .................................................................................................... 20
Ustenlng To Tapes ................................................................................................................. 20
Listening With Headphones .................................................................................................... 20
Recording
Recording With a Cassette Deck ............................................................................................. 21
Dubbing With Tho Cassette Decks ........................................................................................... 21
Recording With A VCR ............ . ............................................................................................... 21
Video Dubbing (From Video-2 to Video-1) ................................................................................. 21
Recording With Separate Video and Audio Sources .................................................................. 21
lioubleshootlng Guide .............................................................................................................. 22
Specifications ........................................................................................................................... 23
Warranty .................................................................................................................................. 32

Page 11

SPEAKER PLACEMENT

IMPORTANT INFORMATION

1. The magnets in conventional speakers produce magnetic stray fields. If this type of speaker is placed too close to the TV. the stray
fields will distort the color of the TV picture. Place conventional speakers at least two feet away from the TV.

2. All Fisher STV, SW and some WS model speakers are stray field compensated. and may be placed near the TV, with one exception.
Do not place any speaker directly on top of the TV.
Suggestion: Try mounting the center speaker on the wall above and behind the TV.

Example 1: Standard placement

F-

Left
Front

Speaker

Audio/Video gm:-
System Z7 P er

. Right

L Front

'0

Vvv

§
A
T

Left

Surround

Speaker

S k
.TV . peaer

A
Right

C Surround

Speaker

NOTE:

Figure 8

This setting is recommended by Dolby Laboratories Licensing
Corporation for the best Dolby Surround results.

Example 2: Diagonal placement

AudioNideo

.,_..-Lelt

Front System
Speaker Center
Speaker
% ' ..
Rig t
. Q Front
Speaker


Omxg

Speaker night
. Surround
Speaker

Figure 9

NOTE:

If the surround speakers are placed slightly higher than the listen-
ing position and tilted downward, this may improve the sound.

Example 3: LeftIRight Surround speakers placed on the
sides

Speaker

Front L F JL- Front
0 TV V

ammo) Q (<- 21:12:...

Speaker Speaker

Figure 10

NOTE:
if the surround speakers are placed slightly higher than the listen-
ing position and tilted downward, this may improve the sound.

-10-

Page 22

RECORDING

RECORDING WITH A CASSETTE DECK
(Tape-1 or Tape-2)

1. Select the source to be used with the FUNCTION selector
buttons.
- Make sure that the TAPE-1 and TAPE-2 indicators are OFF.
If either indicator is ON, press the TAPE-1 or TAPE-2 button
to switch it OFF.

. Prepare the cassette deck for recording following the instruc-
tions supplied with the cassette deck.

. Adjust the VOLUME. BALANCE and BASS and TREBLE con-
trols on the receiver as desired. These controls have no effect
on the recording.

NOTE:

If you have a 3-head cassette deck and wish to monitor the record-

ing, press the TAPE-1 or TAPE-2 button while recording. You can

then monitor the source or tape output using the controls on the

cassette deck.

- Do not press the TAPE-1 button while recording with the tape
deck connected to the TAPE-2 jacks. This will interrupt the
recording. (See the DUBBING section.)

Dubblng from Tape-1 to Tape-2

1. Load the cassette to be used as the source into the cassette
deck connected to the TAPE-1 jacks.

Load a blank cassette into the cassette deck connected to the
TAPE-2 jacks.

. Press the TAPE-1 button.
- The signal from TAPE-1 is transferred to the input jacks of
TAPE-2.

. Follow the instructions supplied with the cassette decks for
recording and playback.

. Adjust the VOLUME, BALANCE, BASS and TREBLE controls
on the receiver as desired. These controls have no effect on the
recording.

NOTE:
Dubbing can only be performed from TAPE-1 to TAPE-2. It is not
possible to dub from TAPE-2 to TAPE-1.

RECORDING WITH A VCR
(Video-1 or Video-2)

1. Select the source to be used with the FUNCTION selector
buttons.
- Make sure that the TAPE-1 and TAPE-2 indicators are OFF.
If either indicator is ON, press the TAPE-1 or TAPE-2 button
to switch it OFF.

. Prepare the VCR for recording following the instructions sup-
plied with the VCR.

. Adjust the VOLUME, BALANCE and BASS and TREBLE con-
trols on the receiver as desired. These controls have no effect
on the recording.

2.

-21-

Dubbing from Video-2 to VIdeo-1

1 . Prepare the component connected to the VIDEO-2 terminals for
use as a recording source. (Load a prerecorded video cassette)
Prepare the component connected to the VIDEO-1 terminals for
recording. (Load a blank video cassette, select externals input,
etc.)
. Press the VIDEO-2 button.
- The video and audio signals from the VIDEO-2 component
are sent to the VIDEO-1 component.
. Begin recording with the component connected to the VIDEO-
1 terminals.
- Do not press the FUNCTION or VIDEO FUNCTION buttons
while dubbing, or the recording will be interrupted.

2.

Recording with separate video and audlo sources

1 . Prepare the component connected to the VIDEO-2 terminals for
use as a recording source. (Load a prerecorded video cassette).

Prepare the component connected to the VIDEO-1 terminals for
recording (Load a blank video cassette).

. Press the VIDEO-2 button.
- The video and audio signals from the VIDEO-2 component
are sent to the VIDEO-1 component.

. Press the FUNCTION button for the desired audio source
(PHONO. TUNER or CD).
- The audio signal from the selected source is sent to the com-
ponent connected to VIDEO-1.
- The VIDEO source does not change.
- Do not press the FUNCTION or VIDEO FUNCTION buttons
while dubbing. or the recording will be interrupted.

NOTE:
The video signal from VIDEO-2 appears at the VIDEO-1 output ter-
minals unless the VIDEO-2 FUNCTION button has been pressed.

2.