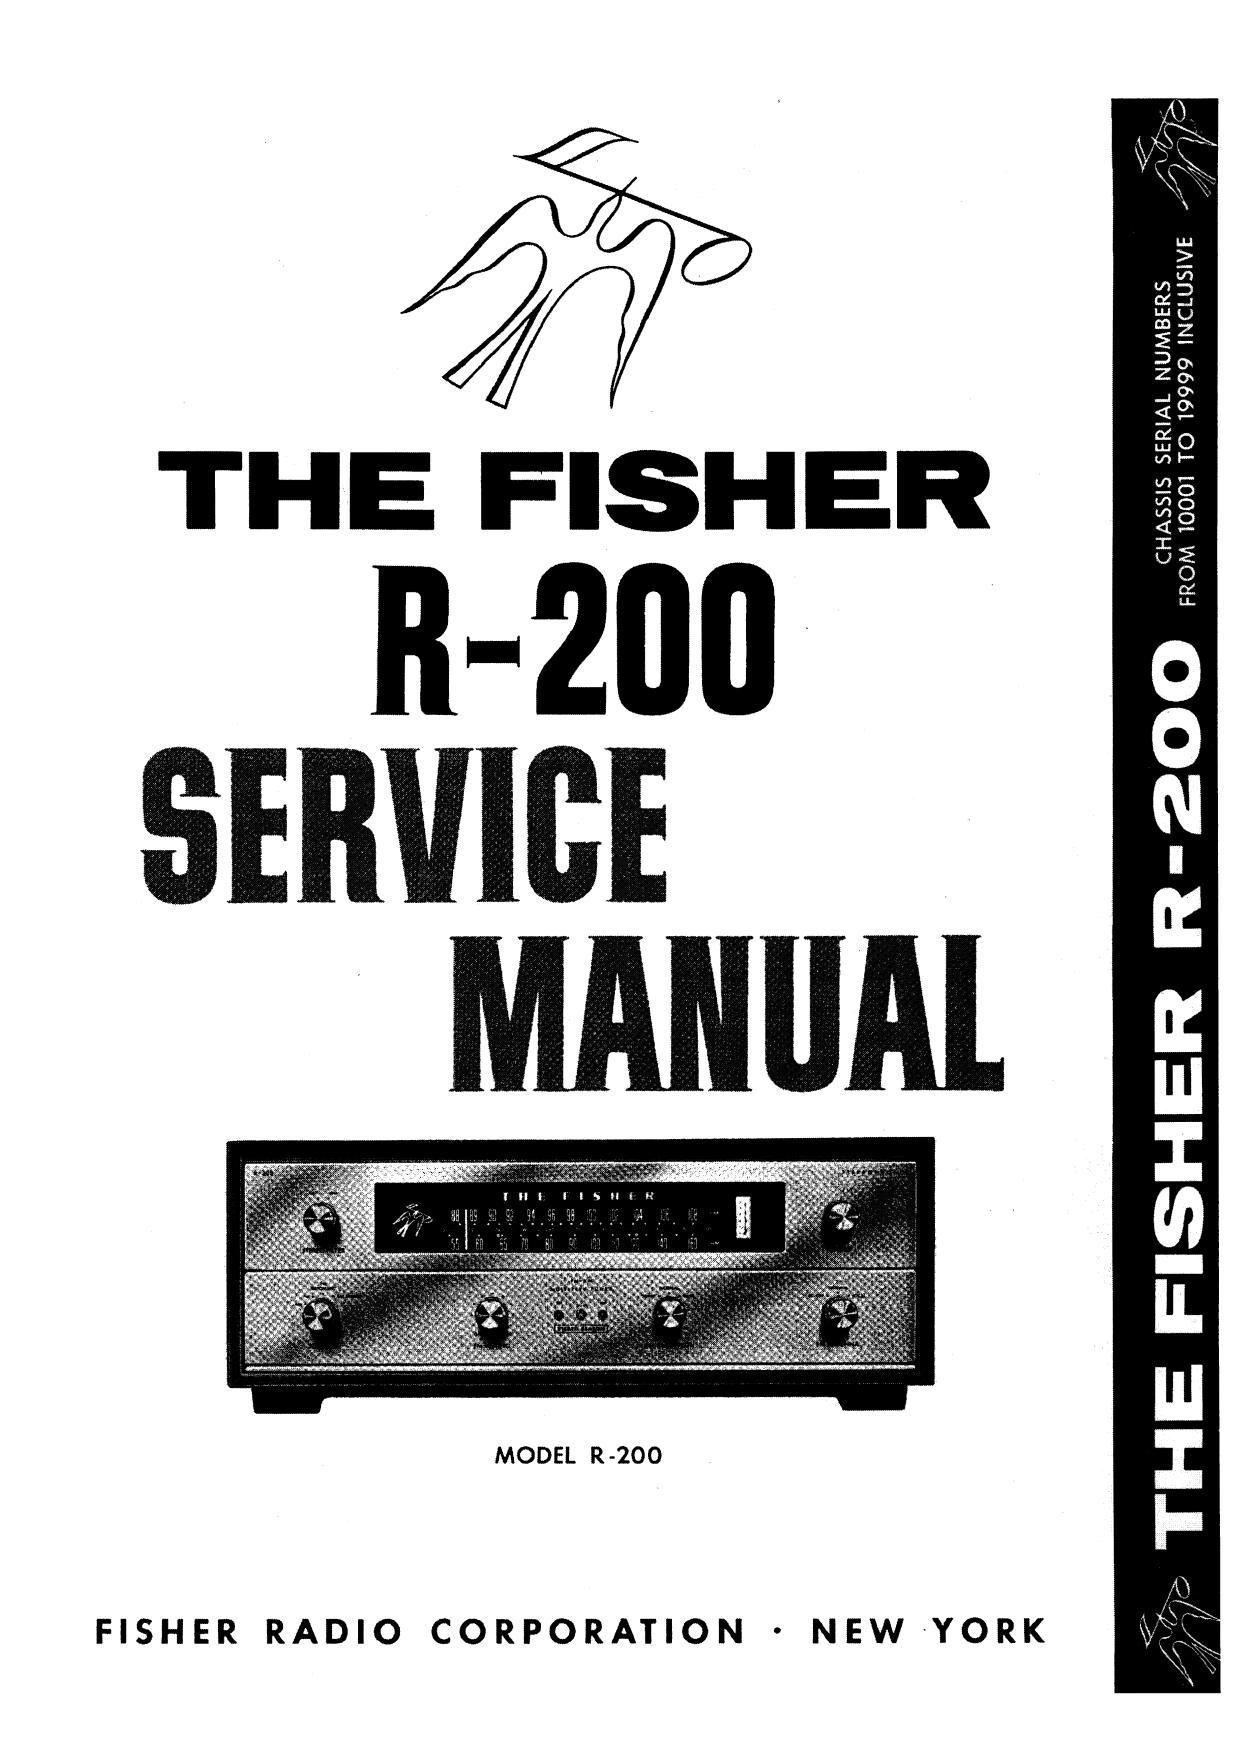
Fisher R 200 Service Manual

This is the 10 pages manual for Fisher R 200 Service Manual.
Read or download the pdf for free. If you want to contribute, please mail your pdfs to info@audioservicemanuals.com.

Page: 1 / 10
left right
Fisher R 200 Service Manual

Extracted text from Fisher R 200 Service Manual (Ocr-read)


Page 1

THE FISHER

R-ZIIII
SERVIBE
MANUAL

CHASSIS SERIAL NUMBERS
FROM IOOOI TO 19999 INCLUSIVE

llll IIsHiN

MODEL R-200

O
O
3
I
n:
I
I
L
IL
I.
I
I-

,~.
_/

«/

FISHER RADIO CORPORATION ' NEW'YORK

Page 2

AM

FM

ALIGNMENT INSTRUCTIONS

CHASSIS SIGNAL GENERATOR MEASURING INSTRUMENT ALIGNMENT
I STATION
STEPS BANDWIBTN SELECTOR SELECTUR COUPLING FREQ. MOD. TYPE CONNECTION ADJUST INDIOATION
Point of no Audio Gen. with IV ou ut MinImum ou II!
I some AM signal and no connected thru 100K rostistor 10 KC None L haugiiuttout - mm mm
interterence to junction of R53 and R54 9 D 9 5 and 10. 5 Kc
Point of no AM RF Gen. connected thru DC VTVM .
. . . . 19 AM - ~ 16 24. 22 Maxrmum
2 SHARP AM 3- not and no .OI-ut can. In series with 455 KC to the unctron of -
in erterence not lead to vs. Pin 7 3° 9- 531m I254 "P 3' mm 933" Im
Point oi no A Sweep Gen. connected 30 KC 8 t Adjust sli htly
3 NORMAL AM sI nal and no tltru .al-ut cap. in series 455 Kc cop ' ° 16 bottom tors nuns r cal
inxterierence with not lead to V9. Pin 7 sweep Left In" output ycurve I
AM Gen. connected thru -
. . Scope to Leit Main out ut. check tors no wave-
4 SMARP AM ooo Kc 23m; muggy" ow xc aflgérs oc vrvu to the unctlim L3, L3. L1 mm mu nlaxilnum
AM antenna terminal ' of R53 and 54 negatlve voltage
AM Gen. connected thru -
Sco o to Lett Main on ut. check for sure vravr
5 SHARP AM 1400 KC 12:; fig: ,;:j§;'° moo Kc 33mg 009ku to me uncilin mévzacfsr tom and Imam"
AM antenna terminal ' of R53 and 54 negative voltage
5 Repeat steps 4 and 5 for proper dill calibration and maximum output.
NOTE: For steps I to 3 remove Tube V1.
- Point at no Z7 ZS top. Voltage Between
FM Mutln - FM Generator connected connect VTVM '
1 ~ FM sI nal and no . 10.7 MC None 29 hottom -15 and -30 volts.
switch CF in orlerooco to Pm 1 oi V5 to TSP 3 L MD See Note 3.
Not lead of DC VTVM to
m Mut W °' M m c t ted viiiat emu": ii i z m'
III . com or connec o um: um no em r In: on
' . .7 M .
z with (JP FM 3" Effigy u, p... 1 of v5 m 6 None rifiglggmnzgtgtzmn 19 m zero center sale
TSP 3 and sad.
. Point at no FM Gen. connected to With no voltage Between
FM Mutm . DC VTVM 15 B Z!
3 - FM signal and no on rounded tube shIeId 10.7 MC None ' ' -(l.5 and -l volt,
vaItclI 0F "Mfume, 5 ol V2 I TSP 2 "J a bottom adjust for maximum
FM Gen. connected thru two -
. - 19% FM DC VTVM to TSP 2 Check for true navotonn
4 313x32 FM 90 MC lfi'gmgfifln 533:2" 90 MC (22.5w Dev.) and scope to {2 '[g' and adjust for maximum
FM antenna terminal: at 400 cps. Lelt Mam output ' negative voltage
FM Gen. connected thru M
. . 31% in DC VTVM to TSP 2 Check for sine mstonn
s mgflp m we no lfimigfll {5:3}? 106 uc (2.5 In: Dev.) and xpopa to 313;,- and mum Inr maximum
FM antenna terminals It 500 cps. Left Minn output negative voltage
6 Repeat steps 4 and 5 for proper dial calibration and maximun uIItnIIL

Read These Instructions With Extreme Care Before Attempting Alignment.

CHASSIS: Turn the station selectors completely counter-
clockwise, without forcing. Dial pointer should be at zero
mark on logging scale. If not, reset the dial pointer. Dis-
connect the external antennas and the AM antenna link.
Swing AM Ferrite Loop antenna rearward to operating
position. When using an oscilloscope for alignment, set the
output level controls for no overload, as shown by the prop-
er waveform shape. Set FM Antenna switch to NORMAL.

SIGNAL GENERATORS: The signal generator equipment
must be able to supply the following: FM RF 22.5 KC
deviation at 400 cps; AM RF modulated 30% at 400cps;
AM [F with 30 KC sweep for AM bandwidth adjustment;
audio oscillator accurately calibrated for l and 10 KC audio
output for testing the 10 KC AM whistle filter.

MEASURING INSTRUMENTS: DC VTVM, AC WVM,
and scope for alignment.

ALIGNMENT: Allow the chassis and test instmments to
warm up for at least fifteen minutes. Adjust the line voltage
for 117 volts AC, 50-60 cycles. Use fully insulated tools;
a small screwdriver for all trimming capacitors; a K-tran
tool for 21, 22, Z3, Z4, ZS and 26; a hex tool for Z7, ZS,
Z9, L2, L3, L5, L6, L8, L9 and L14.

NOTES:

1 -For AM alignment short out C91.

2-For calibrating both the AM and IM-RF. use as low on output
voltago as possible from your signal generator.

3 -Da¢reuso FM signal generator output while adjusting FM-IF
transformers so that DC VTVM shown notud voltage.

4 -The center frequency should be kept constant for FM-IF, limiter
and ratio detector alignment.

5- adiustmont of muting oscillator is accessory, odiuxt it for
3MC with a Griddlp Meter.