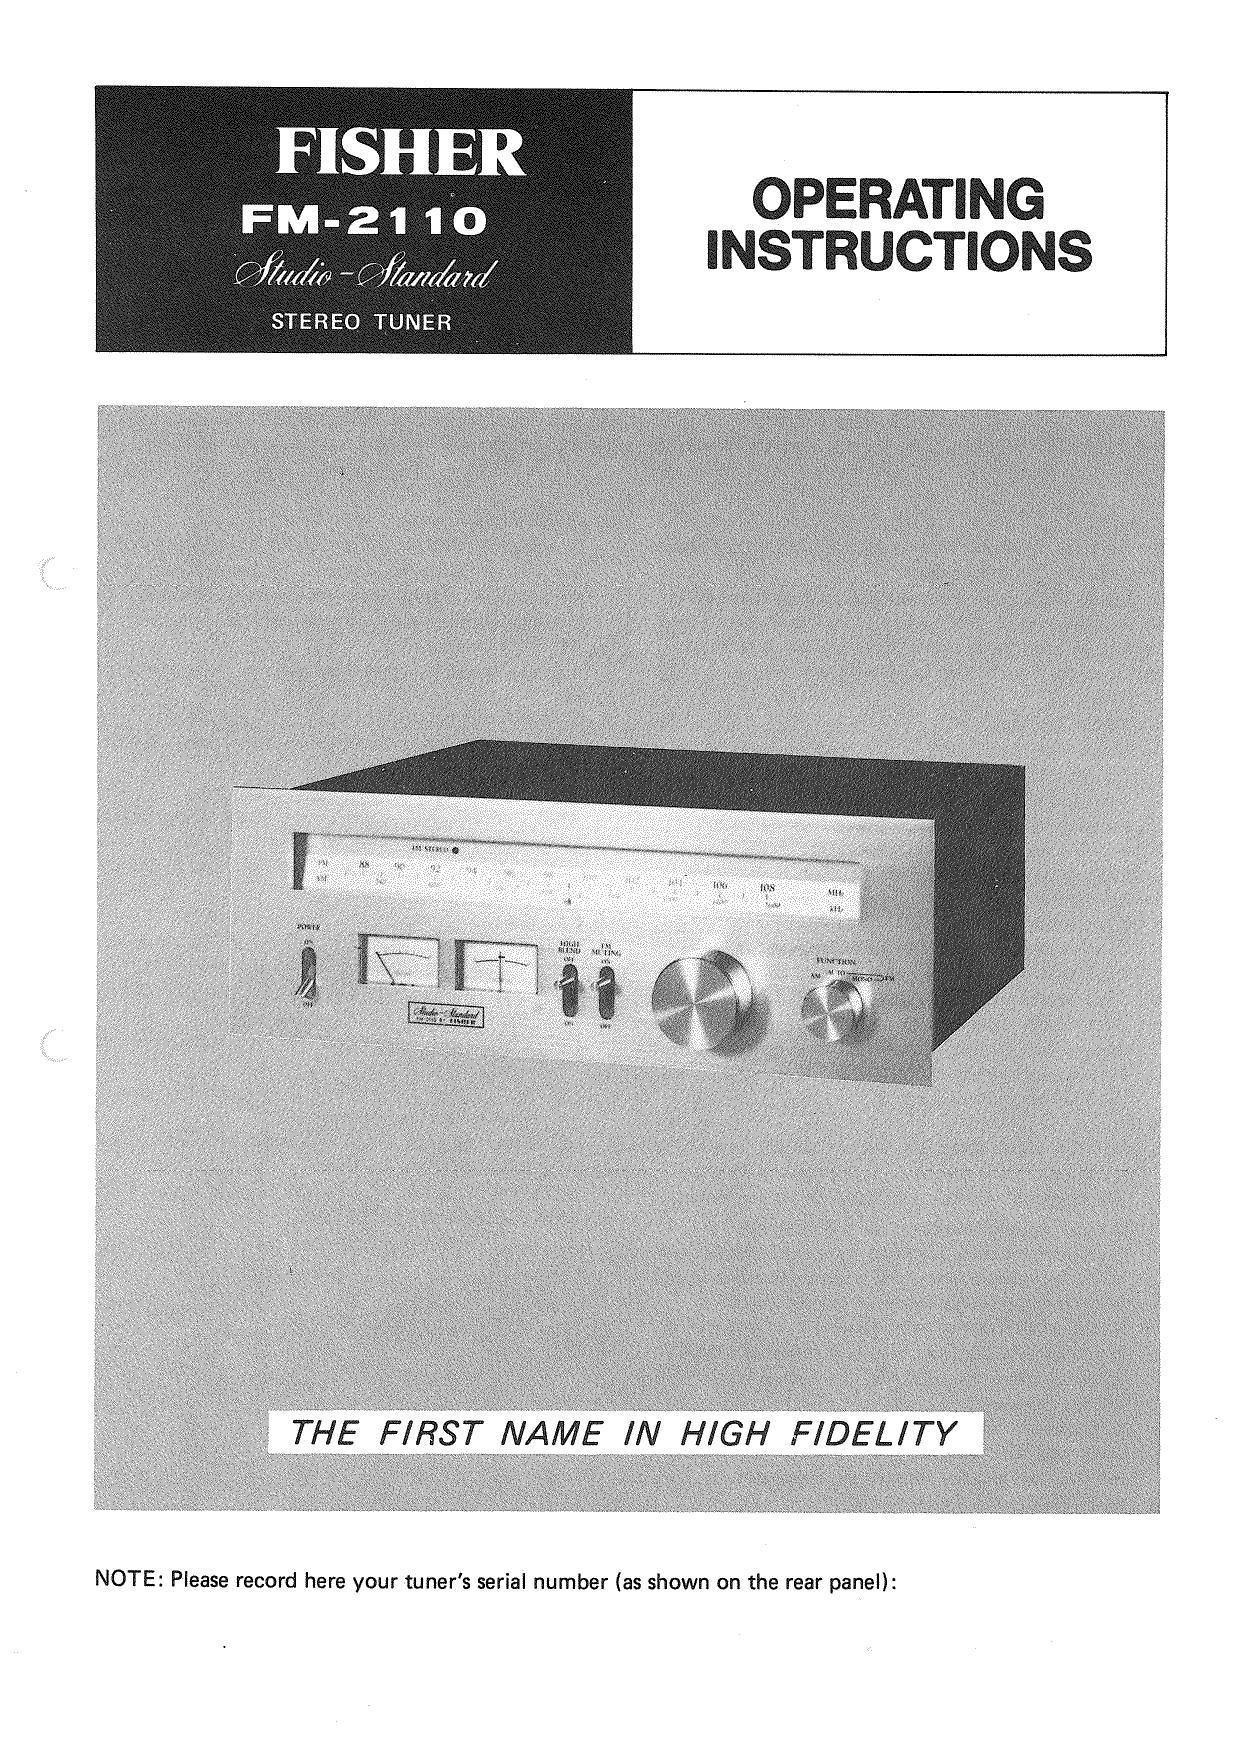
Fisher FM 2110 Owners Manual

This is the 8 pages manual for Fisher FM 2110 Owners Manual.
Read or download the pdf for free. If you want to contribute, please mail your pdfs to info@audioservicemanuals.com.

Page: 1 / 8
left right
Fisher FM 2110 Owners Manual

Extracted text from Fisher FM 2110 Owners Manual (Ocr-read)


Page 1

OPERATING
INSTRUCTIONS

rz/

k/illél

_(I

[J

R
EV,
H y
S
I
F

C/fl/Ifl

STEREO TUNER

we,

34:3

Please record here your tuner's serial number (as shown on the rear panel)

NOTE

Page 2

INTRODUCTION

This highly advanced tuner was developed by FISHER to give you a means of receiving local or distant FM stations clearly
and reliably. Its performance with regard to sensitivity, selectivity, low distortion and noise suppression is outstanding and

will thus give many years of enjoyable service.

CONNECTIONS TO REAR TERMINALS

While installation is relatively simple, certain precautions must be observed. PLEASE KEEP IN MIND THAT OUR WAR-
RANTY DOES NOT COVER DAMAGE CAUSED BY MISHANDLING, MISUSE, EXCESSIVE LINE VOLTAGE, OR IN-
SUFFICIENT VENTILATION. We therefore urge you to follow the instructions in this section carefully and in sequence.

CAUTION :

2

Do not plug the power cord into an AC outlet until after
all connections have been made.

Be sure to make correct connections, paying attention to
the R (right) and L (left) marks. Connect the lead wires
securely because loose connections will result in unsatis-
factory sound reproduction or cause noise problems

. ANTENNA terminals

(1) Connecting FM antenna
Choose an appmpriate FM antenna, taking into due
consideration the strength of signals to be received and
the prevailing conditions for FM reception.(See page S)

o Dipole antenna
Connect the dipole antenna supplied to the antenna
terminals marked FM-300i'2 (Fig. 1) or. . .

0 Outdoor antenna with 3009 feeder-line (Fig. 2)
Connect the lead-in to the antenna terminals marked
FM-300 $2 the same way as the dipole antenna or. . ;

0 Outdoor antenna with 7552 coaxial cable
To minimize noise interference from engines of motor
vehicles and high-tension power lines, the use of a
759coaxial cable is recommended. Connect it to the
FMJSQ temiinals as in Fig. 3.

NOTE:

In weak signal areas, the use of an FM outdoor
antenna and 7552 coaxial cable is necessary for good
FM reception. Contact a FISHER dealer for advice.

(2) Outdoor single-wire antenna for AM reception

For the reception of faint AM signals in a remote area
or inside a steel-concrete building, the installation of
an outdoor single-wire antenna is recommended.
Spread a vinyl-coated wire about 10 m in length as
illustrated (Fig. 4). An antenna of this kind will pick
up radio waves too faint for the built-in ferrite bar
antenna to receive.

A single-wire antenna stretched along an eave of a
house will also produce good results. The indoor
end of the antenna should be connected to the
ANTENNA terminal marked AM. '

. F ERRITE BAR ANTENNA

This unit is equipped with a ferrite bar antenna for the
reception of AM radio programs. Unless radio signals are
too weak, no external antenna is necessary. When listening
to AM broadcasts, rotate the receiver for the best reception.

. GROUND connection

A ground connection should be made to the system ampli~
fier.

. OUTPUT connection

Connect the output jacks of your tuner to your amplifiers
TUNER or AUX input jacks.

. AC wall outlet

After completing the connections of all system compo-
nents, make sure that the POWER switch on the front panel
of this tuner is set to OFF. Then, plug the power cord
into an AC outlet.

. AC SELECTOR

THIS UNIT FACTORY ADJUSTED FOR YOUR LOCAL

AC VOLTAGE AS INDICATED BY AC SELECTOR.

TO CONVERT THE UNIT T0 110V 0R 220V OPERA-

RATION, PROCEED AS FOLLOWS:

(1) Before arrangement, be sure to remove the power plug
from an AC wall outlet.

(2) Take off the screw of the guide board and slide the
switch to its other settings

(3) Secure the guide board with other screw after turning
it in the opposite direction.

NEVER T0 LOOSE SCREW 0F GUIDE BOARD AND

OTHER SCREW AT SAME TIME.

WARNING: TO PREVENT FIRE 0R SHOCK HAZARD, DO NOT EXPOSE THIS APPLIANCE TO RAIN OR MOISTURE,