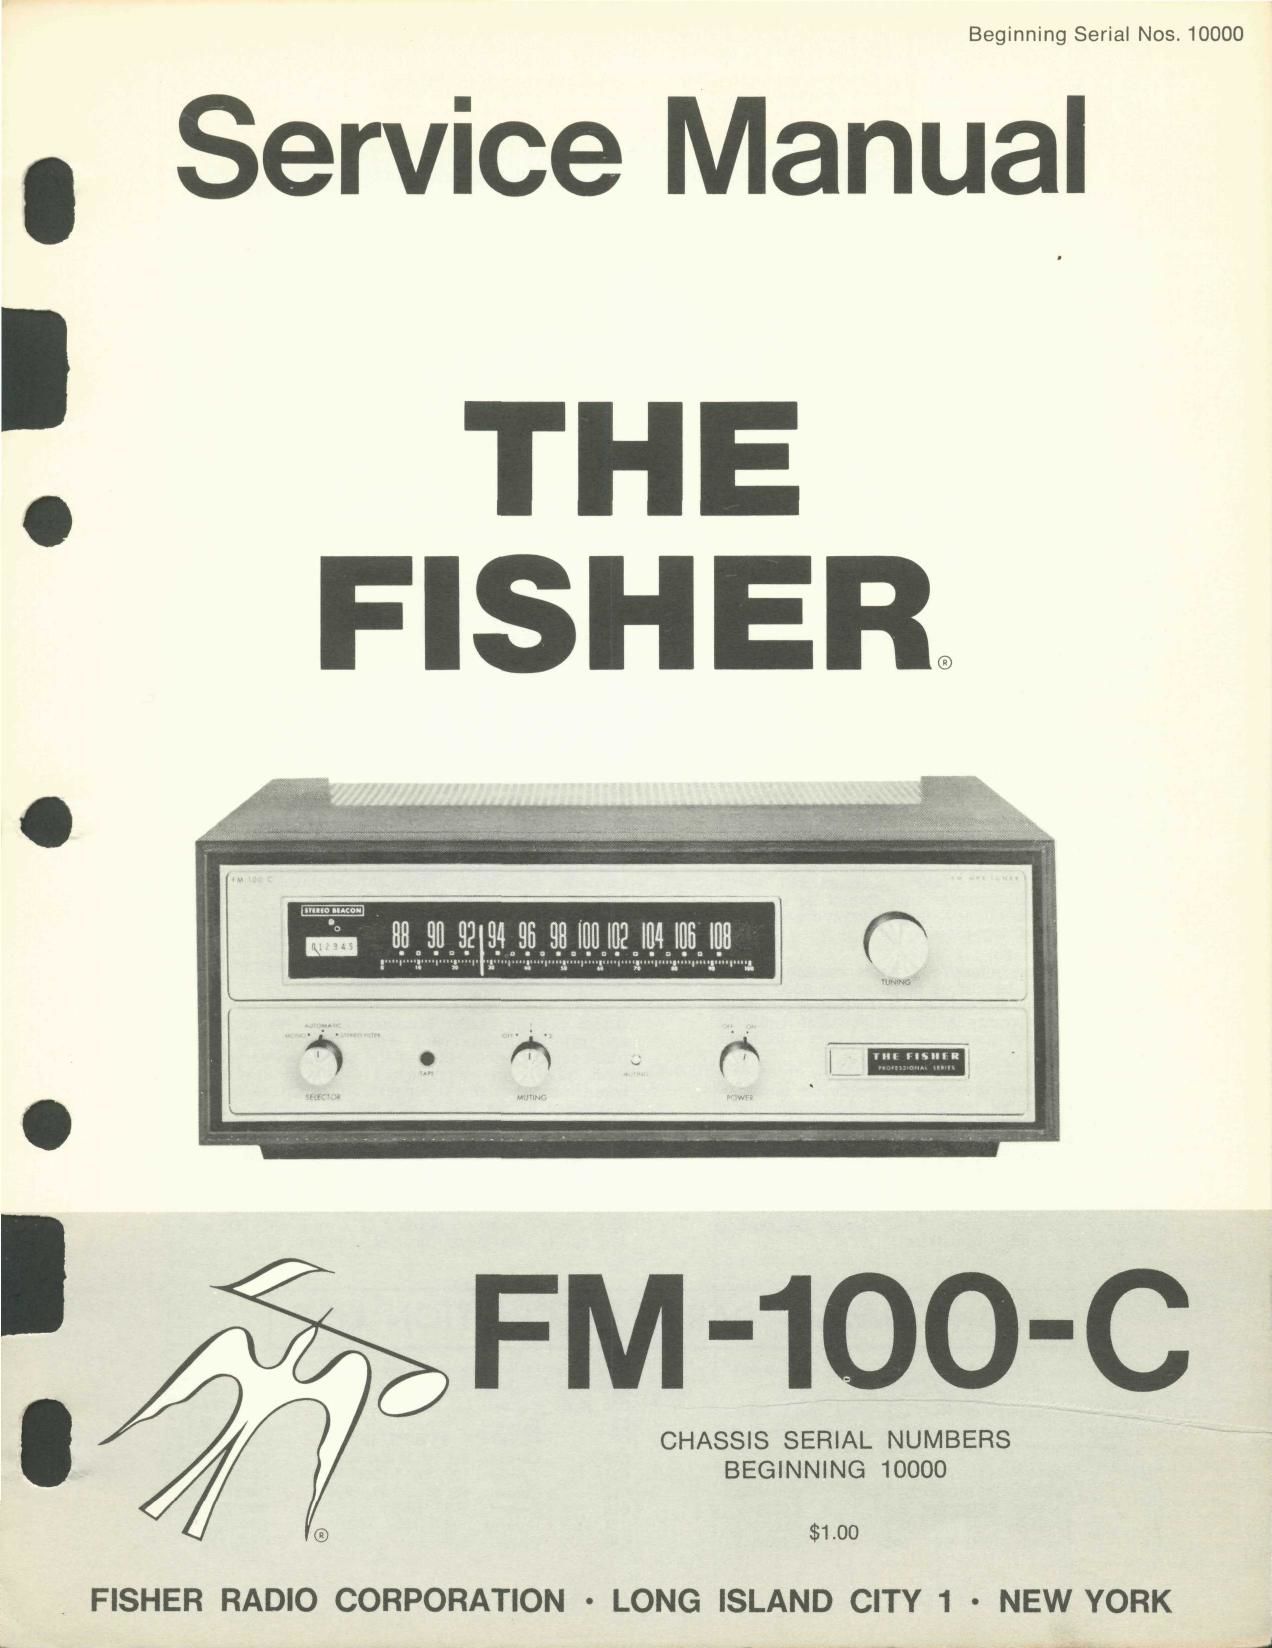
Fisher FM 100 C Service Manual

This is the 9 pages manual for Fisher FM 100 C Service Manual.
Read or download the pdf for free. If you want to contribute, please mail your pdfs to info@audioservicemanuals.com.

Page: 1 / 9
left right
Fisher FM 100 C Service Manual

Extracted text from Fisher FM 100 C Service Manual (Ocr-read)


Page 1

i
Beginning Serial Nos. 10000

. Service Manual

, THE
FISHER

. CHASSIS SERIAL NUMBERS

BEGINNING 10000

® $1.00

. FISHER RADIO CORPORATION - LONG ISLAND CITY 1 - NEW YORK

Page 2

CAUTION: This is a FISHER precision high-fidelity in-
strument. It should be serviced only by qualified personnel -
trained in the repair of transistor equipment and printed circuitry.

- EQUIPMENT AND TOOLS NEEDED -

The [allowing are needed to completely iesv and align modern high-ridelny insirumenrs such as amplifiers, iuners, and receivers.

Test Instruments

Vacuum»Tube Voltohmmeter DC VTVM

Audio (AC) Vacuum-Tube Voltmeter (AC VTVM)
Oscilloscope (Flat to 100 kc minimum)

Audio (Sine-wave) Generator

Intermodulation Analyzer

Sweep (FM) Generator (88 to 108 mc)

Marker Generator

Multiplex Generator (preferably with RF output-

FISHER Model 300 or equal),

Miscellaneous

AdjustableeLine-Voltage Transformer or
line-voltage regulator

Load Resistors (2) -8-ohm, 50-watt (or higher)

Stereo source (Turntable wrth stereo cartridge
or Tape Deck)

Speakers (2) Full-range, for listening tests

Soldering iron (with small-diameter tip)
Fully Insulated from power line.

- PRECAUTIONS -

Many of the items below are included just as a re
minder-they are normal procedures for experienced
technicians. Shortcuts can be taken but often they
cause additional damageito transistors, circmt com-
ponents or the printed-circuit boards

SolderingiA well-tinned, hot, clean soldering iron tip
will make it_ easier to solder without damage to the
printed-Circuit board or the many many circuit com
ponents mounted on it. It is not the wattage of the
iron that counts-it is the heat available at the tip.
Low-wattage soldering irons will often take too long to
heat a connectionepigtail leads will get too hot and
damage the part. Too much heat, applied too long, Will
damage the printed-circuit board. Some Sorwatt irons
reach temperatures of 1,000°F-others will hardly
melt solder. Small-diameter tips should be used for
Single solder connections-«larger pyramid and chisel
tips are needed for larger areas.

a When removing defective resistors, capacitors, etc.,
the leads should be cut as close to the body of the
circuit component as possible. (If the part is not being
returned for in-warranty factory replacement it may be
cut in halfawith diagonalecutting pliers-to make
removal easier.)

9 SpeCIal de-soldering tiplets are made for unsolder-
ing multipleeterminal units like IF transformers and
electrolytic capacitors. By unsoldering all terminals at
the same time the part can be removed with little
chance of breaking the printed-circuit board.

0 Always disconnect the chassis from the power line
when soldering. Turning the power switch OFF is not
enough. Power-line leakage paths, through the heating
element, can destroy transistors.

o Use care when making connections to speakers and
output terminals. Any trayed Wire ends can cause
shorts that may burn out the output transistorsithey
are direct-coupled to the speakers. There is no output
transformeri nothing to limit current through thetran-
Sistors except the fuses. To reduce the possibility of
shorts at the speakers, lugs should be used on the
exposed endsiat least the ends of the stranded wires
should be tinned to prevent frayed _wire ends. The
current in the speakers and output Circuitry is quite
high. Any poor contact or small-size Wire, can cause
power losses in the speaker system. Use 14 or 16 AWG
for long runs of speaker-connecting wiring.

DC-Voltage Measurements-These basic tests of the
transistor circuitry are made without the signal genere
ator. Without any signal input measure the circut volt-
ages-as indicated on the schematic. The voltage
difference between the base and the emitter should
be in the millivolt range-a sensitive DC meter is
needed for these readings. A lowvvoltage range of 1 volt,
full scaleior loweriis needed.

Audio-Voltage (gain) MeasurementsiThe schematic
and printed-circuit board layout diagrams are used.
Input signals are injected at the proper pointsitound
most quickly by using layout of the printed-circuit
board instead of the schematic. An AUDIO (AC) VTVM
connected to the test points should indicate voltages
close to those values shown in the boxes on the sche-
matic. Many of the signal levels in the input stages
are only a few millivoltsithey can not be read on the
AC ranges supplied on most Vacuuchube AC/ DC Volt-
ohmmeters (VTVMs). Even with a 1-volt range a signal
level of 100 millivolts (.lvolt) Will be the first 1/10
of the meter scale. A reading of 1 millivolt (.001 volt)
will hardly even move the meter needle.

MAIN CHASSIS PARTS

DESCRIPTION LIST

CAPACITORS

10% Tolerance for all fixed capacitors, unless otherwise
noted or marked GMV (guaranteed minimum value). All
capacitors not marked uF are pF (uuF).

Symbol Description Part No.
C1 Ceramic, 21, 5%, N750, 1000V C50070-32
C2 Ceramic, 1000, GMV, 500V C50089-2
C3 Ceramic, Feed rhru, 1000, GMV C592-187

C4 Ceramic, 1000, GMV, 500V C50089-2

C5 Ceramic, 8, 5%, NPO, 1000V C50070-45
C6 Ceramic, Trimmer C662-123
C7A, B. C Variable,FM Tuning C966-117-1
C8 Ceramic, Trimmer C662-123
C9 Ceramic, B, 5% NPO, 1000V C5007D-45
C10 Ceramic, 24, 5%, N150, 1000V C50070-8
C11 Ceramic, 100, 5%, N1500, 1000V C50070-l9
C12 Ceramic, 68, 5%, N750, 1000V (150070-35
C13 Ceramic, 1000, 1000V (350072-13
C14, 15 Ceramic, 100, N1500, 1000V C50070u6
C16 Ceramic, Trimmer C662~123

,
'
I