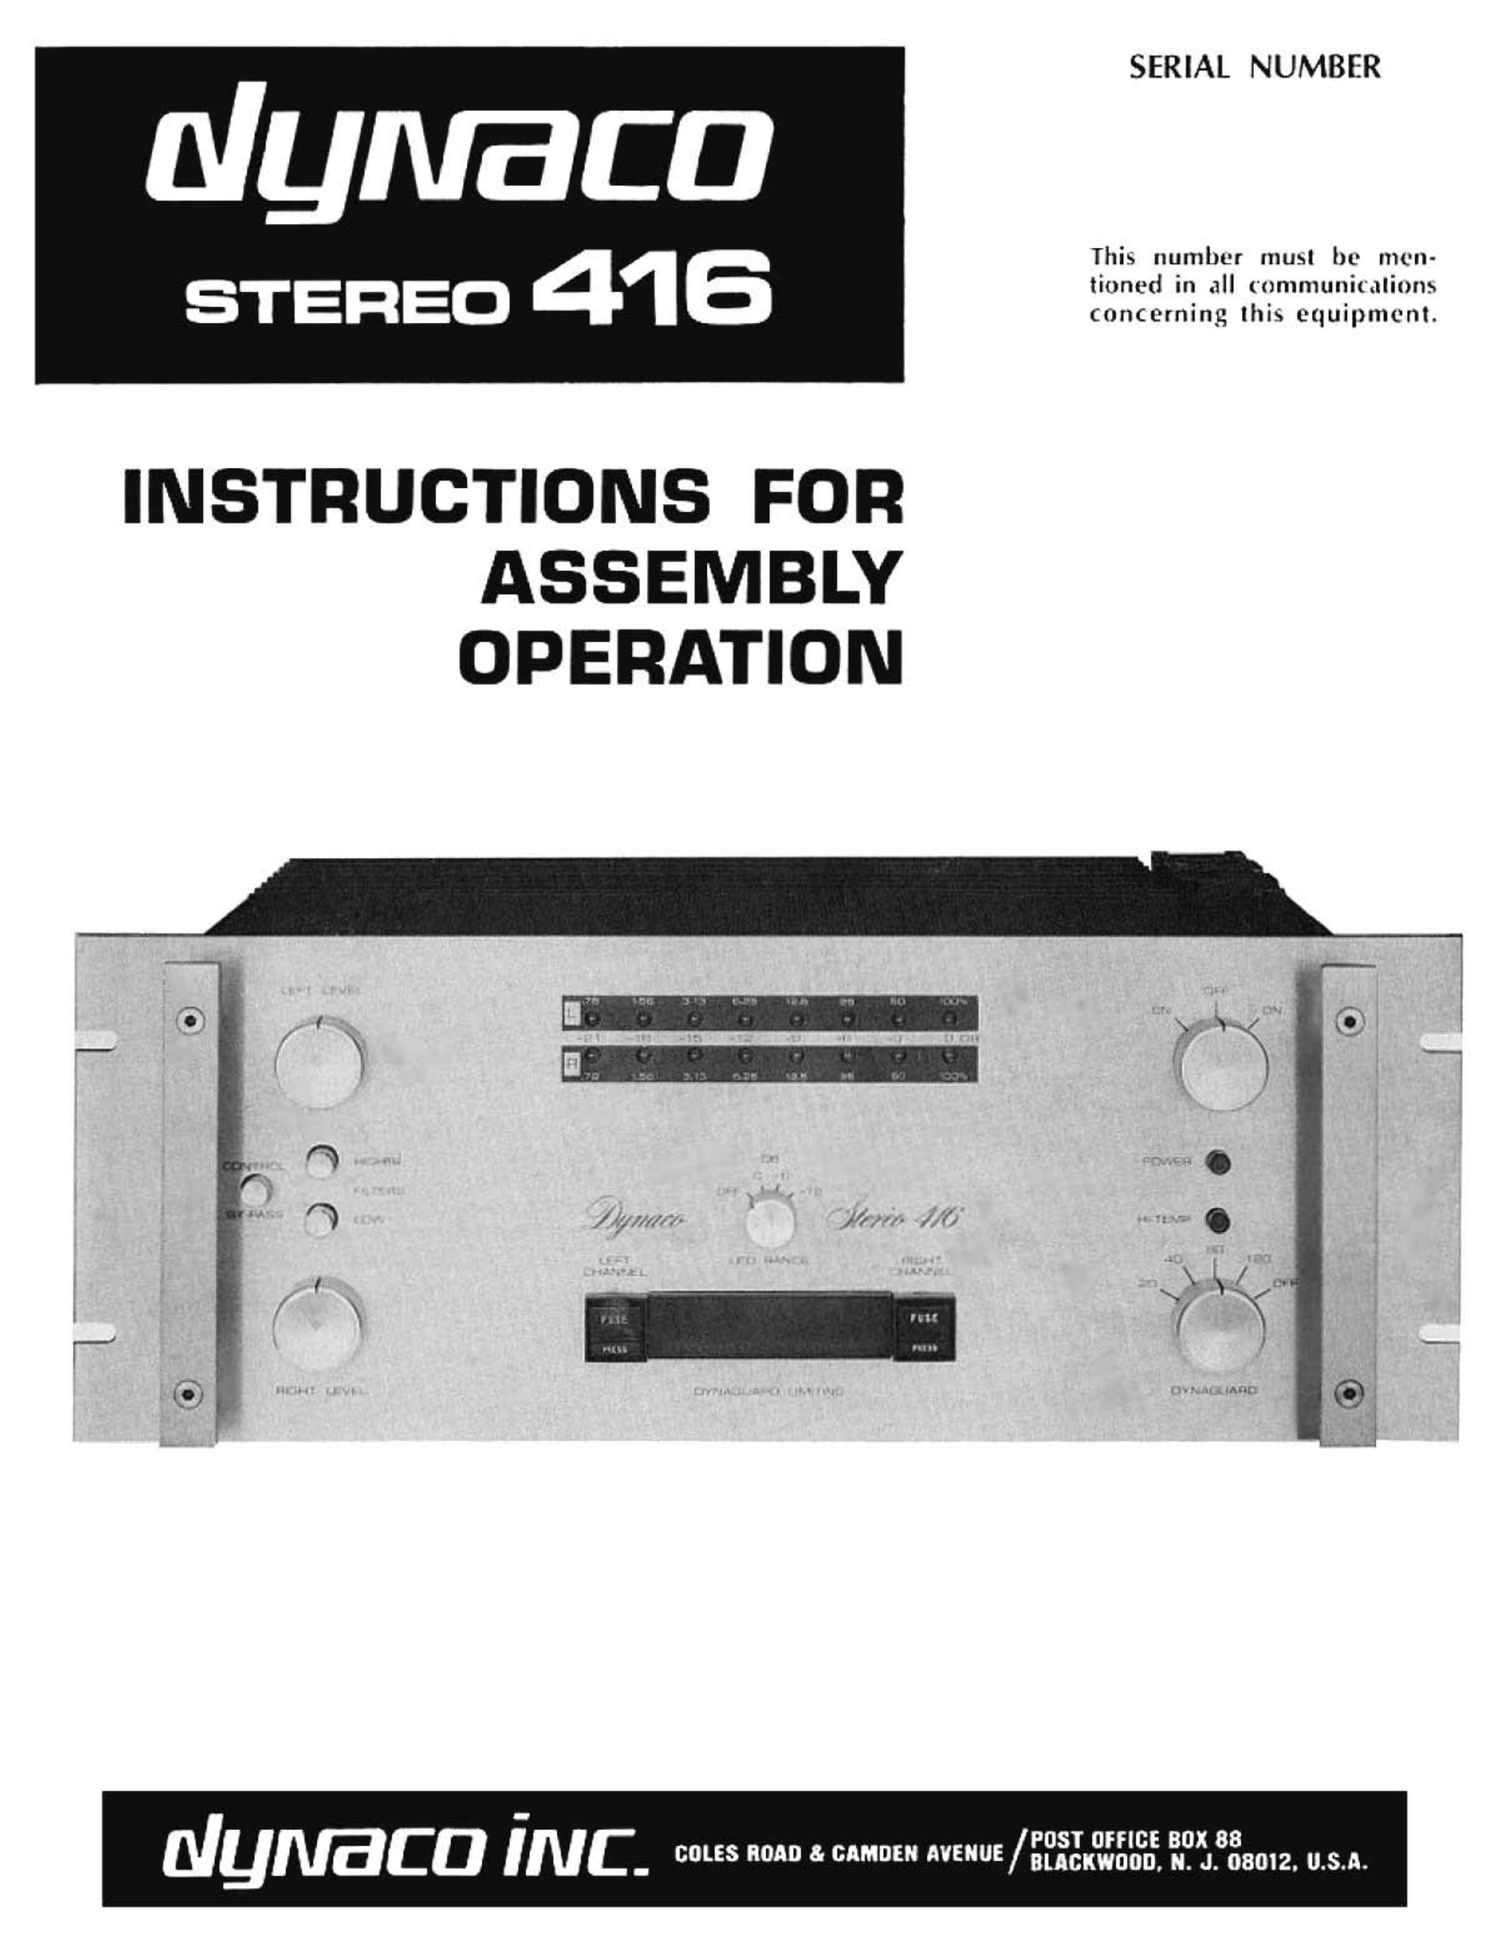
Dynaco Stereo 416 Service Manual

This is the 39 pages manual for Dynaco Stereo 416 Service Manual.
Read or download the pdf for free. If you want to contribute, please mail your pdfs to info@audioservicemanuals.com.

Page: 1 / 39
left right
Dynaco Stereo 416 Service Manual

Extracted text from Dynaco Stereo 416 Service Manual (Ocr-read)


Page 1

SERIAL NUMBER

dymaca

This number must be men-

s ' EREO 4 '6 tinned in all mmmunimliuns
concerning Ihis (wipmcm.

INSTRUCTIONS FOR
ASSEMBLY
OPERATION

/I';"///7//7" [4/7- ///

POST OFFICE 00x 88
unfit-U I N C - COLES 0 3' "9 "5" /0ucxw000. N. J. 08012. 0.5.0.

Page 2

. j u.

SPECIFICATIONS
Power Output Ratings:

less than 0.25% total harmonic distortion at any power level up to 200
watts continuous average power per channel into 3 ohms (300 watts per
channel into 4 ohms; 100 watts per channel into 16 ohms) at any ire-
quency between Iii Hz and 20 kill with both channels driven. Distortion
reduces at lower power levels.

Power at Clipping. finale Channel. 2500 Hz, less than 1% distortion:

235 watts @ 8 ohms; 350 watts @ 4 ohms; 450 watts @ 2 ohms; 135 watts
@ 16 ohms.

Intermodulation Distortion:

Less than 0.1% at any power level up to 200 watts rms per channel into 8
ohms with any combination oi test frequencies. Distortion reduces at
lower power levels.

Hall-Power Bandwidth:

100 watts per channel at less than 0.25% total harmonic distortion from
5 Hz to 35 kHz into 8 ohms.

Frequency Resporse:

#0. -1 dB, 8 Hz to 50 lri-lz @ 1 watt into 8 ohms.
10.5 dB, 20 Hz to 20 kHz @ 200 watts.

Hunt and Noise:

Greater than 95 dB below rated output. lull spectrum:
Greater than 100 dB below rated output. 20 Hz-Zo kHz.

hput:

Normal: $0.000 ohm load: Control By-Pass: 20,000 ohm load;
1.6 volts for 200 watts @ 8 ohms.

slewing late:

0 volts per microsecond.

Damping Factor:

Greater than 00 to 1 kHz into 8 ohms;
Greater than 30 to 10 kHz into 8 ohms.

Channel Separation:
Greater than 60 dB by IHF standards.

Connectors:

inputs: phone jacks. Outputs: color coded 3-way binding posts with
standard it" spacing.

Dineruloru:
19" wide; 14" deep; 7" high.

3} _-_, ,, .

WARNING: TO PREVENT FIRE OR SHOCK HAZARD, DO NOT EXPOSE THIS EQUIPMENT T0 RAIN 0R MOISTURE.

Weight:
Shipping weight 59 lbs/27 kilos. Net weight 53 lbs/25 kilos.
fewer Consumption:

120 v.a. quiescent; 17 amps maximum; 50/60 Hz, 120 vAC.

'Measurttd in actordance with the Federal trade Commission's trade Regulation rule on Power
Output Claims tor Amplifiers.

TYPICAL PERFORMANCE CURVES

To arrive at typical curves, four channels were evalu-
ated on all bases. In each case, the curve shown is the next-
to-the-worst of the four. Therefore, do not: expect moi: cor-
relation between curves.

HIM HBOIMIINCI CURVE

il l I it at
J. I I 1
.03 -
.0!
g .0! 0-.-- Iml 5.) lie Ill Ill"
l3
3
M '- \

~
.0l r u-._.
----~-~--- ---.
Idol Nat-.- quluo b "no in It. Help l-ltahnuh shield-Ia In.
it no "1 wit two in
5 I I T r
.0. .. nun-um I
-m I;
:35 b -- -I II [15
E on... | II"
I
1'
.GI It-
tut! nun-ail. Denoti- u. Ws.hltthnnrh firm. II-tln M
.II I m to lot no
.0! l t r
.5. at -
.3.

5

"MUCH Ilium a. tuner Md. Itfi thunk dim. II on. hu

2 Bob01605@aol.com

Page 23

14( )gepare a 23" black wire. Connect one end to DS #9
l 2).

15( )Prepare a 23" red wire. Connect one end to DS #3
(S-2). Twist lightly together these red. green and
black wires from DS, and pass the group under cir-
cuit board PC-29 between the control RV and the
adjacent switch spacer.

All of the wires on the front panel which will subsequently
connect to holes on the P029 circuit board will pass through
this opening next to RV. However, for clarity in tracing indi-
vidual wires, the pictorial diagram differs from actual place
ment by showing these wires going direct to the hole on the
components side of the circuit board. In fact. all of these
wires should come up behind (to the left of) the board, and be
connected from the back (circuit side).

16( )Fsrepare a 23" red wire. Connect one end to DS #6
«2).

17( ) Prepare a 2" black wire. Connect one end to DS #8 (3).
Connect the other end to DS #2.

18( )Prepare a 22" black wire. Connect one end to DS#2.
(8-2). Twist this wire lightly together with the red
wire from step 16, and place them under the circuit
board with the previous group at RV. The pictorial
diagram differs for clarity.

19( )Psrepare a 22" green wire. Connect one end to DS #7
i )-

20( )Prepare a 2 " red wire. Connect one end to DS #1 (S).
Twist this wire lightly together with the green wire
from step 19, and place them under the circuit board
at RV. The pictorial diagram differs for clarity.

21( )Select the red and green twisted pair from under the
board at RV, and connect the red wire to hole #17 on
P029 (8). Connect the green wire to hole #14 (S).

22( )Select the red and black pair at RV and connect the
blacgl: wire to hole #7 (S). Connect the red wire to hole
#4 ( ).

23( )Select the red, green and black group at RV and con-
nect the green wire to hole #3 (3). Connect the red wire
to hole #2 (8). Connect the black wire to hole #1 (S).

24( )Prepare a 5% red wire and a 5%" black wire. Twist
these wires tightly together uniformly throughout
their length (about 3 full turns every 2"). Connect one
end of the red wire to hole #21 {8). Form a small hook
in the corresponding end of the black wire and
squeeze it around the projecting terminal in hole #22.
Keep it close to the board at the base of the terminal
and solder this connection.

This was the first of 4 black wires which will be connected
in like manner to this projecting terminal #22. As each wire
is added, keep it close to the previous wire to allow room for
other connections. It is best to solder each wire individually
to be sure of a good ground connection, although the final
step will indicate that all 4 wires are to be soldered. Do not
use ltoo much heat, or the terminal could be dislodged from
t e o e.

25( )Connect the red wire of the short red and black
twisted pair to RV lug #2 (S). Connect the black wire
to RV lug #3.

26( )Prepare a 9" black wire and a 9" green wire. 'I\vist
these wires tightly together as before, and conned
the green wire to hole #23 (S). Connect the black wire
to hole #22 (8). At the other end connect the green
Wire to LV #5 (5). Connect the black wire to LV #6.
This pair should be placed against the front panel
toward RV.

27( )Prepare a 5%" red wire. Also prepare a 5%" black
wire. but remove the insulation from only one end.
Start with the two prepared ends, and twist these
wires tightly as before to within 56: of the other end of
the red wire. The small amount of remaining black
wire should be twisted around the red Wire to form a
circle of insulated wire (the black wire acts as a shield
for the red signal wire). Connect the black wire on the
prepared end to hole #22 (S). Connect the red wire to
hole #20 (S). At the other and. connect the red wire to
control by-pass switch CS lug #4 (S).

The lugs on switch CS are more fragile than the other lugs
in this kit. Do not attempt to bend a hook in the end of the
wire before inserting. Simply push the straight wire end in
the lug hole, solder. and then cut off excess wire.

28( )Prepare an 8" green wire. Also prepare a 71%" black
wire, but remove insulation from only one end. Mt
these wires tightly as before to within 1%" of the other
end of the green wire. Twist the black around the
green wire to form a circle. Connect the black wire on
the prepared and to hole #22 (5-4). Connect the green
wire to hole #19 (S). At the other end, connect the
green wire to CS lug #1 (S). Position these wires
against the front panel toward CS.

29( )Strip about it of wire here from the roll of black wire.
Feed the bare wire through CS lug #6 to CS lug #12.

solder both. and cut the excess wire.

30( )Similarly connect CS lug #3 to CS lug #9. Solder both.
and cut the excess wire.

31( )Prepare a 2% red wire. Connect one end to RV lug #1
(3). Connect the other end to CS lug #10 (S). Position
this wire away from the front panel.

32( )Prepare a 3" green wire. Connect one end to LV lug #4
(S). Position this wire against the front panel, and
connect the other end to CS lug #7 (S).

33( )Prepare a 12" green wire. Pass one and under the
board at RV and connect it to hole #16 (3). Connect
the other end to DL lug #2 (S).

34( )Prepare a 131/2 black wire. Pass one end under the
board at RV and connect it to hole #13 (8). Connect
the other end to DR lug #4 (S).

35( )Prepare a 16" green wire and an 18" black wire. Start
with two ends even, and twist these wires lightly to-
gether to within 3" of the other end of the green wire.
With the uneven ends near the center of the panel,
pass the even ends under the board at RV. and con-
nect the green wire to hole #11 (8). Connect the corre-
sponding end of the black wire to hole #10 (S).

24 Bob01605@aol.com