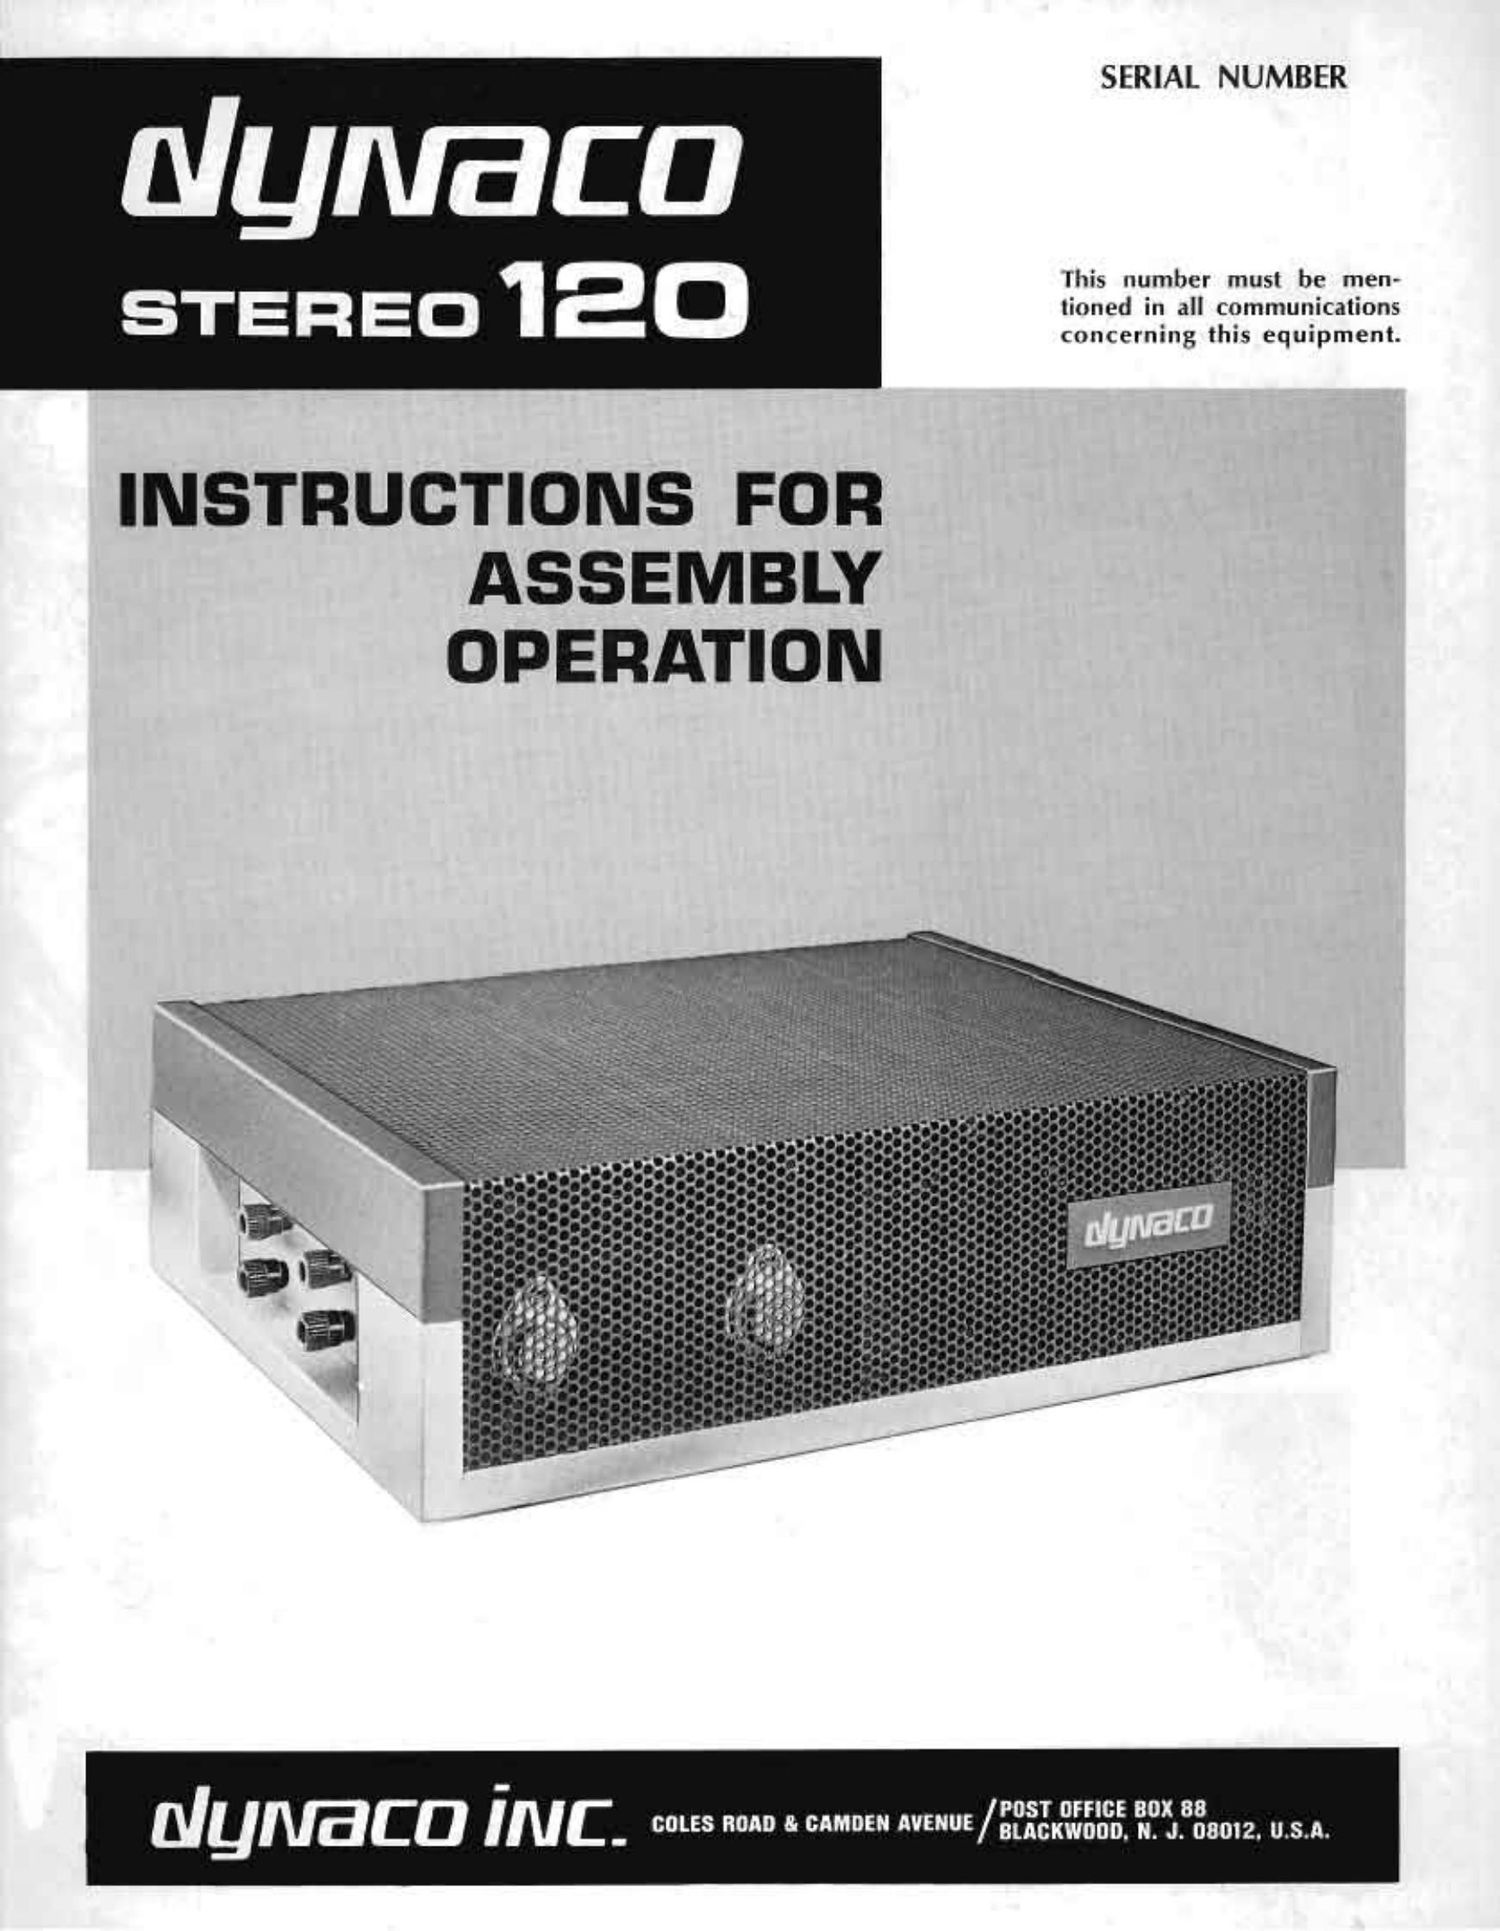
Dynaco ST 120 Owners Manual

This is the 26 pages manual for Dynaco ST 120 Owners Manual.
Read or download the pdf for free. If you want to contribute, please mail your pdfs to info@audioservicemanuals.com.

Page: 1 / 26
left right
Dynaco ST 120 Owners Manual

Extracted text from Dynaco ST 120 Owners Manual (Ocr-read)


Page 1

SERIAL NUMBER

NyNaca

This number must be men>

STEREO 120
concerning this equipment.

INSTRUCTIONS FOR
ASSEMBLY
OPERATION

POST umc: BOX 88
Numca INC. 5 0 8' MM" E""E/aucanno. N. J. 08012. U.S.A.

Page 2

ID

CONTENTS

Operating Instructions ...................... 3 Assembly Instructiom . . .................... 7
Technical lnlormatitin t . . r ................ 5 Schematic Diagram .. .. .................... 12
Grant Description ..................... 5 In Case of Difficulty ....................... 19
Perlormance Testing V . . , ............... 5 Sen/ice lnmrmation for the Technicran ......... 20
Dynaco Preamplifiers ................... 6 Factory Service and Warrantv ................. 22
4-Dimensiunal Sound Svslem v ......... fi Pictorial Diagram . . ......... Back Cover Foldoul
Rel Volt (-HUUIIIIITIIR 3 Parts lixt ........................... Back Cover
SPECIFICATIONS

FREQUENCY RESPONSE: 5 Hz to 100 kH7 :05 ill).

POWER OUTPUT RATING: ht) watts IWOFRgI, ('on-
Iinuous power pvr tliiiiiiiel min 8 Ohms at any
irequency between .45 H/ and l'i kHz til la» than
IL'IOJ'CI total liaii'mi'ilt tlistiiltinn. Distortion (ICI-
CFC-35135 at lower PUVI'Ef levels. lhis is. In ;I('([1F(l-
dHLE Witli FTC. rating t'tIIIIIH-ITHEHIS, INLlLlLllDR
tire-r(iiiililinmng,

INTERMODUIATION DISTORTION: LL25: than twain
(ll any [)(i\\il lit-vol up It: hll warn pt (imnrwl
into 8 ulmis mtli am, (tiriibiiiation cit IC'SI TI'IffttlLfT
(test [)Isliiiitiun rttlzitm .2! lower piiwCI' levii'h

3 00 H 3

lkHz

NOISE: 95 (lb below rated uulput umwjightml with
ulmrtetl input; IUO Cll'i down lay lHF \tantlards.

DAMPING FACTOR: Greater than 40 trom .20 Hz to
10 kt IL

SEPARATION: More than 3'0 rlh from 20 Hz to 20
kill.

INPUT: Inuiiuii (tiIlHN'I 1.5 volts in: ()0 watts output.
SEMICONDUCTOR COMPLEMENT:

1r) (litidLS
SIZE: i;'." \ who" x 4". WEIGHT: 2U lbs
MAXIMUM POWER CONSUMPTION: 400 wallk.

13 transixtnrs,

leHz

SQUARE WAVE PERFORMANCE: This is a good indication of linearity from
10 Hz to 100 kHz, SINCE good square wave reproduction requrres baridWidtli
in excess 0t li 10m to 10 times displayed frequency.

PkHz

INPUT~OUTPUT LINEARITY AT 60 WATTS

20 kHz

TONE BURST:

4 cycle 20 kHz through amprifier at 60
watts is indistinguishable from gener-
ator [below].

Page 7

To balance the system for 4-D playback, disconnect the
ground return from the front, switch the preamp to MONO
and play a record with the volume control at its most-used
setting. Adjust the balance control and the tone controls
for minimum speaker output. Reconnect the center ground,
and return the preamp to stereo operation Ior, preferably
with the "diamond" pattern. to the 6 db blend position
otlered in Dynaco prenmpa, which ensures full separation
for this arrangementl.

The same front swuker connection enables it to be used
as a remote speaker as an alternative, or as a center-till
when the side speakers are unusually far apart, for it
reproduces a combined mono ( L&R) signal.

An alternative. more conventional rectangular speaker
placement (in the corners of the room) may be achieved
with the inexpensive Dynaco Quadaptor, available from
your dealer. The Quadaptor includes a rear speaker level
control. and switching facilities.

CONNECTIONS FOR 240 VOLT AC LINE

The FA-iO-t power transformer supplied in the Stereo
120m beconnectedforaZdOvoltAClineaswellnsfor
the standard 120 volt AC line, which is how the transformer
is connected unless this manual is stamped 240 volt". The
transformer has dual primary windings, and they are 00n-
nocted in parallel for 120 volts, and in series for no volts.
Step326and290n page lZandthediagramsonpazesm
and 20 of this manual detail both arrangements.

The 3 ampere alo-blo fuse supplied with 120 volt wiring
should be replaced with a 1.5 ampere slo-blo fuse when the
amplifier is wired for 240 volt use.

The Stereo l20 is designed for use with either 50 Hz or
60 Hz current.

ASSEMBLY INSTRUCTIONS

GENERAL ASSEMBLY INFORMATION

Assembly of the Stereo 120 is exceptionally simple when
compared to other kits. The pmaaaembled etched circuit
boards have saved you much of the work, and the assembly
that remains is arranged in an open, uncluttered layout
that makes wiring quick and easy. The construction time
will be only a few hours, but it is best to work slowly and
carefully rather than worry about the time.

When you unpack your kit, check ed the components
against the parts list at the back of the manual. You can
identify unfamiliar parts by matching them to the pictorial
diagram or photograph.

Have the proper tools at hand before starting assembly.
You will need a pencil-type. soldering iron of 30- to 60-watt
rating with a small tip, long nosed pliers, diagonal cutting
pliers. a medium-sized screwdriver, and 60/40 rosin core
solder not larger than Via diameter. You will also find a
damp sponge or cloth helpful to wipe the tip of the iron
clean periodically. An inexpensive wire shipping tool is
helpful, but some people prefer a single-edged razor blade
for removing the insulation.

If you have a soldering gun, it should be used with care,
especially when working on the circuit boards. Not only
can a gun provide more heat than is necessary, with some
risk that an unskilled user might damage the board, but
because it requires some time to heat each time the trigger
is squeezed, many users tend to make poor solder connec-
tions simply because they do not wait long enough for it to
reach its operating temperature each time.

You should realize that delicate components such as
transistors are less likely to be damaged in the soldering
process if you use a hot iron a short time, rather than a
cooler iron for a longer period. You will also make a better
connection with the hot iron. If you keep the iron clean by
wiping the tip frequently. and occasionally add a small
amount of solder to the tip, it will aid the transfer of heat
to the connection. Do not allow too much solder to build
up on the tip, though. or it may fall onto adjacent circuitry.

A good solder connection does not require a large amount
of solder around the joint. A well-made connection looks

smooth and shiny because the solder [Iowa into the joint
when both parts are hot enough.

There are four steps to making a good solder «attraction:
I. Make a good mechanical connection.
2. Hoot both parts with the tip of the iron at the junction.
3. Apply solder to the junction until it melts and flows.
4. Allow the connection to cool undisturbed.

ALL SOLDERING MUST BE DONE WITH A GOOD
GRADE OF ROSIN CORE SOLDER.

Under no circumstances should acid core solder be used.
Unmarked solder, cheap solder or any of doubtful origin
should be discarded, and separate solder fluxes should
never be used. The warranty is voided on any equipment in
which acid core solder or acid type fluxes have been used.
Silver solder is not suitable. The recommended solder is
60/40 (60% tin. 40% lead) ROSIN CORE. Do not conv
fuse this with 40/60, which is harder to use.

When the instructions refer to firming a wire. apply
the iron to the bored wire end, and after a moment. touch
thcsoldertothewiresothatthesolderlightlycoatsthe
wire. This makes it easier to get a good connection when
the wire is inserted into an eyelet, for example.

Whenever one wire is to be soldered to a connection such
as a lug or a transistor lead, the instructions will indicate
this by the symbol «8). if more than one wire in to be
soldered to the same point, the instructions will no state.
If no symbol is shown. do not solder; further connections
will be made to that point before soldering is called for.

Components such as resistors and capacitors are marked
individually with their values, or with a color code. The
color code will be given in the instructions when needed.
The first color band on a resistor is the one nearest the end.

A number of steps begin, Connect one end of a wire
. . . ". with the length of wire specified. In each arse, first
cut a piece of the correct color wire to the specified length,
and them remove about 1/4 of insulation from each end
before making the connection- This is easiest with wire
strippers. but diagonal cutters can be used if you are care
fulnottonickthewireandwmkenit. Withstrandedwire
such as transformer leads and line cords, be particularly
careful not to cut the strands when stripping the ends.

Page 9

The next 5 steps describe the installation of the large
capacitor mounting brackets. In each case, refer to the
pictorial diagram for the correct placement of the clamp
on the bracket, and also for the direction of insertion of
the clamping screw. This will facilitate servicing access if
required in the future. All mounting screws are installed
from the outside (bottom) of the chassis, the capacitor
bracket put in position, followed by a terminal strip if one
is specified. Then use a lockwasher «or ground lug], and
fasten with a not One #6 screw and nut referred to in
each of these steps is to be installed without a lockuxwhcr
in the bracket clamp before mounting. Because the brack-
ets are flexible. you will find that the capacitors will be
most secure if they are temporarily slipped into each
bracket for sizing as the bracket mounting bolts are tight-
ened. While squeezing the bracket around the capacitor,
tighten all the mounting bolts. starting first with the bolt
farthest from the clamp. Then remove the capacitor. Do
not remove- Hw outer insululion from any capacitor.

5( ) With four #6 screws and nuts. two #6 lockwashers
and the ground lug, install the largest diameter
(2%") bracket for (212. Note the location near the
center of the chassis of the ground lug which goes
on one of the mounting screws.

6( ) With three #6 screws and nuts. and two lock-
wasbcrs, plus the shorter of the two terminal strips.
install the 11/2 diameter bracket for C9 at the rear
of the chassis. This is the. middle size of those re-
maining. The termiruil strip is installed on the.
screw nearest the rear of the. chassis.

7( )With three #6 screws and nuts, and two lock-
washers, install the smallest diameter bracket for
Cll on the right side of the chassis.

8( )With four #6 screws and nuts, and three lock-
washers. install one of the 2 diameter brackets
near the center of the. chassis

9t ) With four #6 screws and nuts, and three lock-
washers, plus the remaining (longer! terminal strip.
install the second 2 diameter bracket at the. front
of the chassis. The terminal strip is installed on the
front motmting screw adjacent to the binding posts.

10f ) Cut an 8 black wire. Connect one end to the right
channel black binding post lug. Connect the other
end to the ground lug on the (312 bracket in the
center of the chassis.

11f ) Cut another 8 black wire. Connect one end to the
left black binding post lug. Connect the other end
to the ground lug on the 012 bracket.

12( )Trim both leads of one 4.7 ohm resistor (yellow-
violet-M-silver) to 3/4". Connect one lead to the
right black binding post lug. Connect the other end
to the adjacent lug #1 of the 2-lug terminal strip.

13( )Trirn both leads of one 0.1 mfd capacitor to 1/2.
Connect one lead to the same lug #1 of the terminal
strip. Solder the two leads to the lug. Connect the
other end to the lug of the right red binding post.

14( )Trim the leads of the remaining 4.7 ohm resistor
( yellowwiolet-m-silver) to 3/4. Connect one lead
to the left black binding post. lug. Connect the
other end to the adjacent lug #2 of the 2-lug termi~
nal strip.

15(

16L

17(

123i

)Trim the leads of the remaining 0.1 mfd capacitor
to V2". Connect one lead to the same lug #2 of the
terminal strip. Solder the two leads to the lug.
Connect the other end to the lug of the left red
binding post.

) Cut a 6% black wire and a 7 green wire. Twist
these together so that the wires are even at one end.
The. even ends will be connected now. Connect the
black wire to the ground (short) lug of the right
input socket (S). Ionnect the green wire to the
long lug of the right input socket. (S) . These wires
should project upwards from the chassis when they
are soldered in place.

.l Cut a 3% green wire and a 31/2 black wire. Twist
these together so that the wires are even at. one end.
The even ends will be connected now. Connect the
black wire to the ground f. short) lug of the left input
socket. f S). Connect the green wire to the long lug
of the left input socket. (S). These wires should
also project upwards when soldered.

)There are two coils of heavy gauge insulated wire
supplied in your kit. These are to be wound tightly
around the 2" output capacitors C7 (right and
left). To facilitate the forming of these coils and
their installation, you will use a smaller electro-
lytic capacitor C9 (' 1000 mid) as a form. To do
this. strip one end of one of the coils 1A. Form a
hook on this end, and engage the hook with either
one of the lugs on the capacitor 09. Form two
right angles, as shown in Detail B. so that the wire
comes over the side of the capacitor and starts in a
clockwise direction when looking at the top (lug
end] of the. mpacitor. Wind the wire tightly, with
the turns as close together as possible until all of the
wire is used. You must hold the start" while you
wind. This is the most tedious part of the kit. Take
the time to do a good job. When you release your
hold, the wire will spring loose to form a larger di-
ameter coil. Disengage the hook from the lug and
slide the coil off. You will new install this coil on
one of the two 2" diameter (3300 mfd @ 50 volts)
capacitors C7. With the hook at the top, wind or
guide the preformed coil onto this capacitor. one
section at a time, as though you were threading it
on. Patience will reward you with a neat job. With
care, you can avoid deforming the coil and keep it
snug. When the coil is all on the capacitor, slide it
around so that it is convenient to engage the black
capacitor lug with the hook and crimp the hook
through the lug. Keep the turns snug.

Detail B