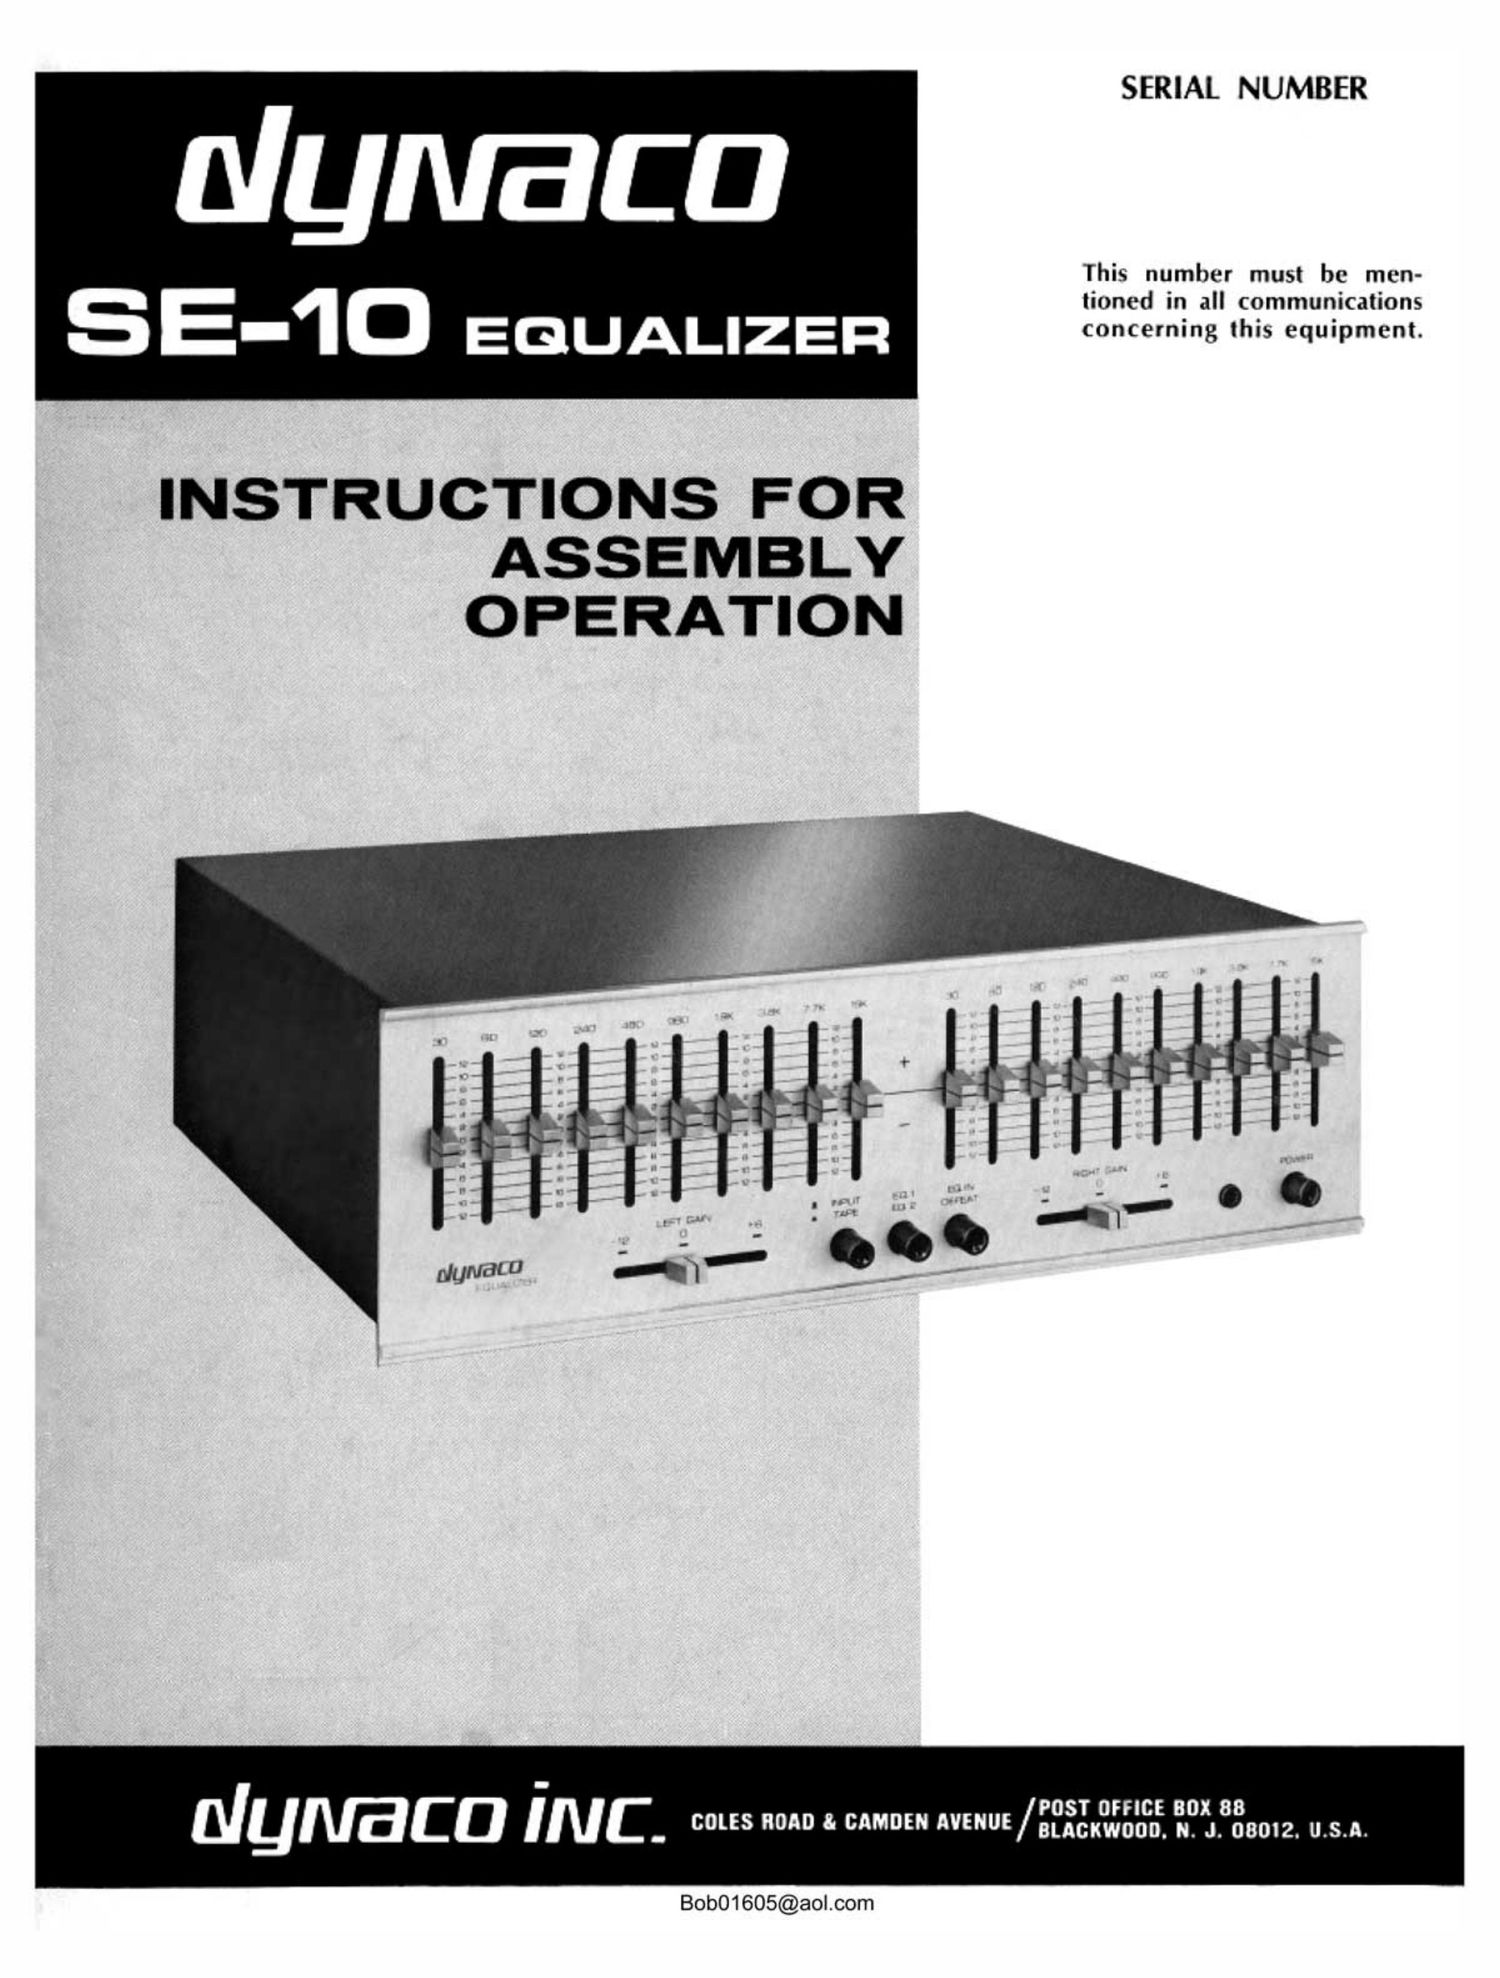
Dynaco SE 10 Service Manual

This is the 23 pages manual for Dynaco SE 10 Service Manual.
Read or download the pdf for free. If you want to contribute, please mail your pdfs to info@audioservicemanuals.com.

Page: 1 / 23
left right
Dynaco SE 10 Service Manual

Extracted text from Dynaco SE 10 Service Manual (Ocr-read)


Page 1

SERIAL NUMBER

nlymaca

This number must be men-

tioned in all communications
5 E-1D EGUALIZEFI

INSTRUCTIONS FOR
ASSEMBLY
OPERATION

POST umcs aux 88
diEU INC- cows 0 05" ME"lE/amcuwoou. N. J. 08012. U.S.A.

BobO1605@aol.com

Page 2

CAUTION: For continued protection, replace power fuse with the same type and rating as indicated.

WARNING: TO PREVENT FIRE OR SHOCK HAZARD, DO NOT EXPOSE THIS EQUIPMENT TO RAIN OR MOISTURE.

TYPICAL EQUALIZER RESPONSE CHARACTERISTICS

SPECIFICATIONS

Slide Controls at zero, 2 volts tms output,
into 10k ohm load paralleled with 1000 pt.

Equaliw range:

Maximum Output:

Total Harmonic Distottion:
lnteunodulalion Distortion:
fnquenq Response:
Galn:

Hunt and Noise:

Input Impedance:

Output Impedance:
Inputs:

Outputs:

:12 dB at octave intervals from 30 Hz to 15 kHz
8 volts

0.04% (typically less than 0.01%)

0.02% (typically Iess than 0.005%)

it d8, 10 Hz to 35 kHz

-12 dB to +6 d8

85 dB below 2 volts output [10 Hz to 80 kHz)
50k ohm

600 ohms

Tape Monitor, Line 1, line 2

Tape Out (same as Line 1 input), line 1, Line 2

SINGLE SLIDE CONTROL
BOOST CU RVES
(invert diagram for cut curves)

o o a x
\ §§§S§8§ 3:53:13:
09
\ H2
96 x
.3 \1_ +9
3 A / +6
-s r-
'9 +3
-.2 \.
20 so too 500 m at Ion 20K 03

Bob01605@aol.com

Page 4

line 2 In / line 2 Out

This input and output combination is identical in opera-
tion and function to Line 1 In/Lfne 1 Out, except for the
tape monitor facility. It permits the switchable connection
of a second program for equalization purposes-«to a tape
deck, for example, to provide equalization during the re-
cording process, without the necessity of plugging and un-
plugging cables. It can also be used to switch equalization
between two high fidelity systems.

AC CONNECTION AND POWER SWITCH

There are two AC convenience outlets. One switches on
and off with the front panel rowan switch, and the other
remains on if the equalizer is connected to a constant source
of AC line voltage. We suggest connecting the line cord of
the SE-lO to a switched" convenience outlet on the preamp.
since it is likely that you will wish it to turn on and off
with the rest of the high fidelity system. With the front
panel rowan switch pushed in, the SIB-10 will turn on and
off with the main power switch for the system. However,
you may turn the SE-iO on or off at any time without ex-
periencing transient thumps or noises, which are typical of
other equaliser designs, because the SEN incorporates an
all-solid state transient suppression circuit.

The small amount of heat in the SE-lo is generated by
the power transformer and the integrated circuit voltage
regulators. No ventilation holes in the equalizer are sup-
plied, and therefore normal air circulation provides adequate
ventilation. It is perfectly satisfactory, for example, to house
the SE- 10 in a wood cabinet, such as the Dynaco single and
double walnut cabinets.

FRONT PANEL CONTROLS AND SWITCHES

The following descriptions of the controls and switches
on the front panel of the equalizer will function as described
when the audio cables have been connected between the
preamplifier, control amplifier or receiver and the SIS-10, as
described in the INSTALLATION portion of this manual.

Input I Tape Switch

This button switch replaces the tape monitor circuit switch
on the preamplifier. It enables direct comparison of the
program source with the same signal played back from the
playback amplifier of a tape deck. This feature is effective
when recording through the high fidelity system to a tape
deck which has separate record and playback heads (known
as &hea " decks), and when the deck is designed for si-
multaneous playback during recording.

In its normal released (out) position, the INPUT/TAPE
switch provides the program source. When pushed in, this
switch permits listening to the just-recorded signal from the
tape deck. This switch should be pushed in only when
monitoring a recording or when listening to the playback
from the tape deck. Otherwise, the lNPUT/IAIE switch
should remain in its normal out position.

If the PAT-5 preamplifier is used, the INPUT/TAPE switch
on the 83-10 becomes yet a third tape monitor circuit for a
third tape deck. should you own more than two. its opera-
tion is as described above.

EQ. 1 I EQ. 2 Switch

This button switch chooses between the Line I and Line 2
input and output combinations on the back panel of the
SE-IO. Normally this switch remains out to provide equal-
ization for the high fidelity system (whose hookup is to the
Line 1 connections). When pushed in, it provides equaliza-
tion to the Line 2 connections. If there are no connections
to the Line 2 input and output combination, this switch may
be used as a by-pass for the entire equalizer (audio and
equalizer circuits).

If you wish to provide equalization for a tape deck which
is connected to the Tape In and Tape Out monitor sockets
on the SE- l0, first connect a short audio cable (per channel)
between Tape Out and Line 2 In on the equalizer. Then use
Line 2 Out as the tape out. When thus connected and the
so. Use. 2 switch is pushed in, the equalized signal is fed
to the tape deck. When this switch is released (out), the
equalizer is connected to the high fidelity system.

When using the SE-lO with the PAT-5 preamplifier, you
may easily provide tape feed equalization. Connect be-
tween Tape Out on the PAT-5 and Line 2 In on the SE-lo.
Line 2 Out is now the tape output, and when the no. l/BQ.
2 switch is pushed in, the equalized signal is fed to the tape
deck. When released (out), the equalizer connects to the
high fidelity system.

EQ. In I Defeat Switch

This button switch determines whether the equalizer cir-
cuits are active or by-passed. When this switch is normally
released (out) , the audio and equalizer circuits of the SE-lO
are connected and active. When this switch is pushed in,
the equalizer circuits are disconnected, irrespective of the
positions of the octave slide controls. The audio portion of
the circuit remains connected, however, when this switch
is pushed in.

Equalizer Octave Slide Controls

There are 10 individual slide controls for each channel,
which operate only when the EQ. Irv/DEFEAT switch is in its
normal out position. The center of the frequency of boost
or cut is indicated on the front panel above each slide con-
trol. Those on the left side adjust the left (or A) channel;
those on the right side adjust the right (Or B) channel. The
lowest center of frequency boost or cut is 30 Hz, which in-
creases in octaves to the highest center frequency, 15,360 Hz
(which is indicated on the front panel as 15K).

The flat" or "0" position is centered, with increasing
action (boost) toward the top of the front panel, and de-
creasing action (cut) toward the bottom. The amount of
boost and cut is :12 decibels (dB) from center, and is
nominally indicated in 2 dB increments.

When using a slide control, each control will have some
influence on adjacent octaves. Therefore, if a slide control
is altered by more than 2 dB, it will probably be helpful
to also change the slide controls above and below it to a
lesser extent to achieve an overall smooth boost or cut.

Do not position all the slide controls at full boost or full
cut in an attempt to obtain 12 dB of uniform boost or out
In their extreme positions, the overall frequency response is
not flat, but rather scalloped shaped every octave, as can be
seen in the curves on page 2 of this manual.

Bob01605@aol.com