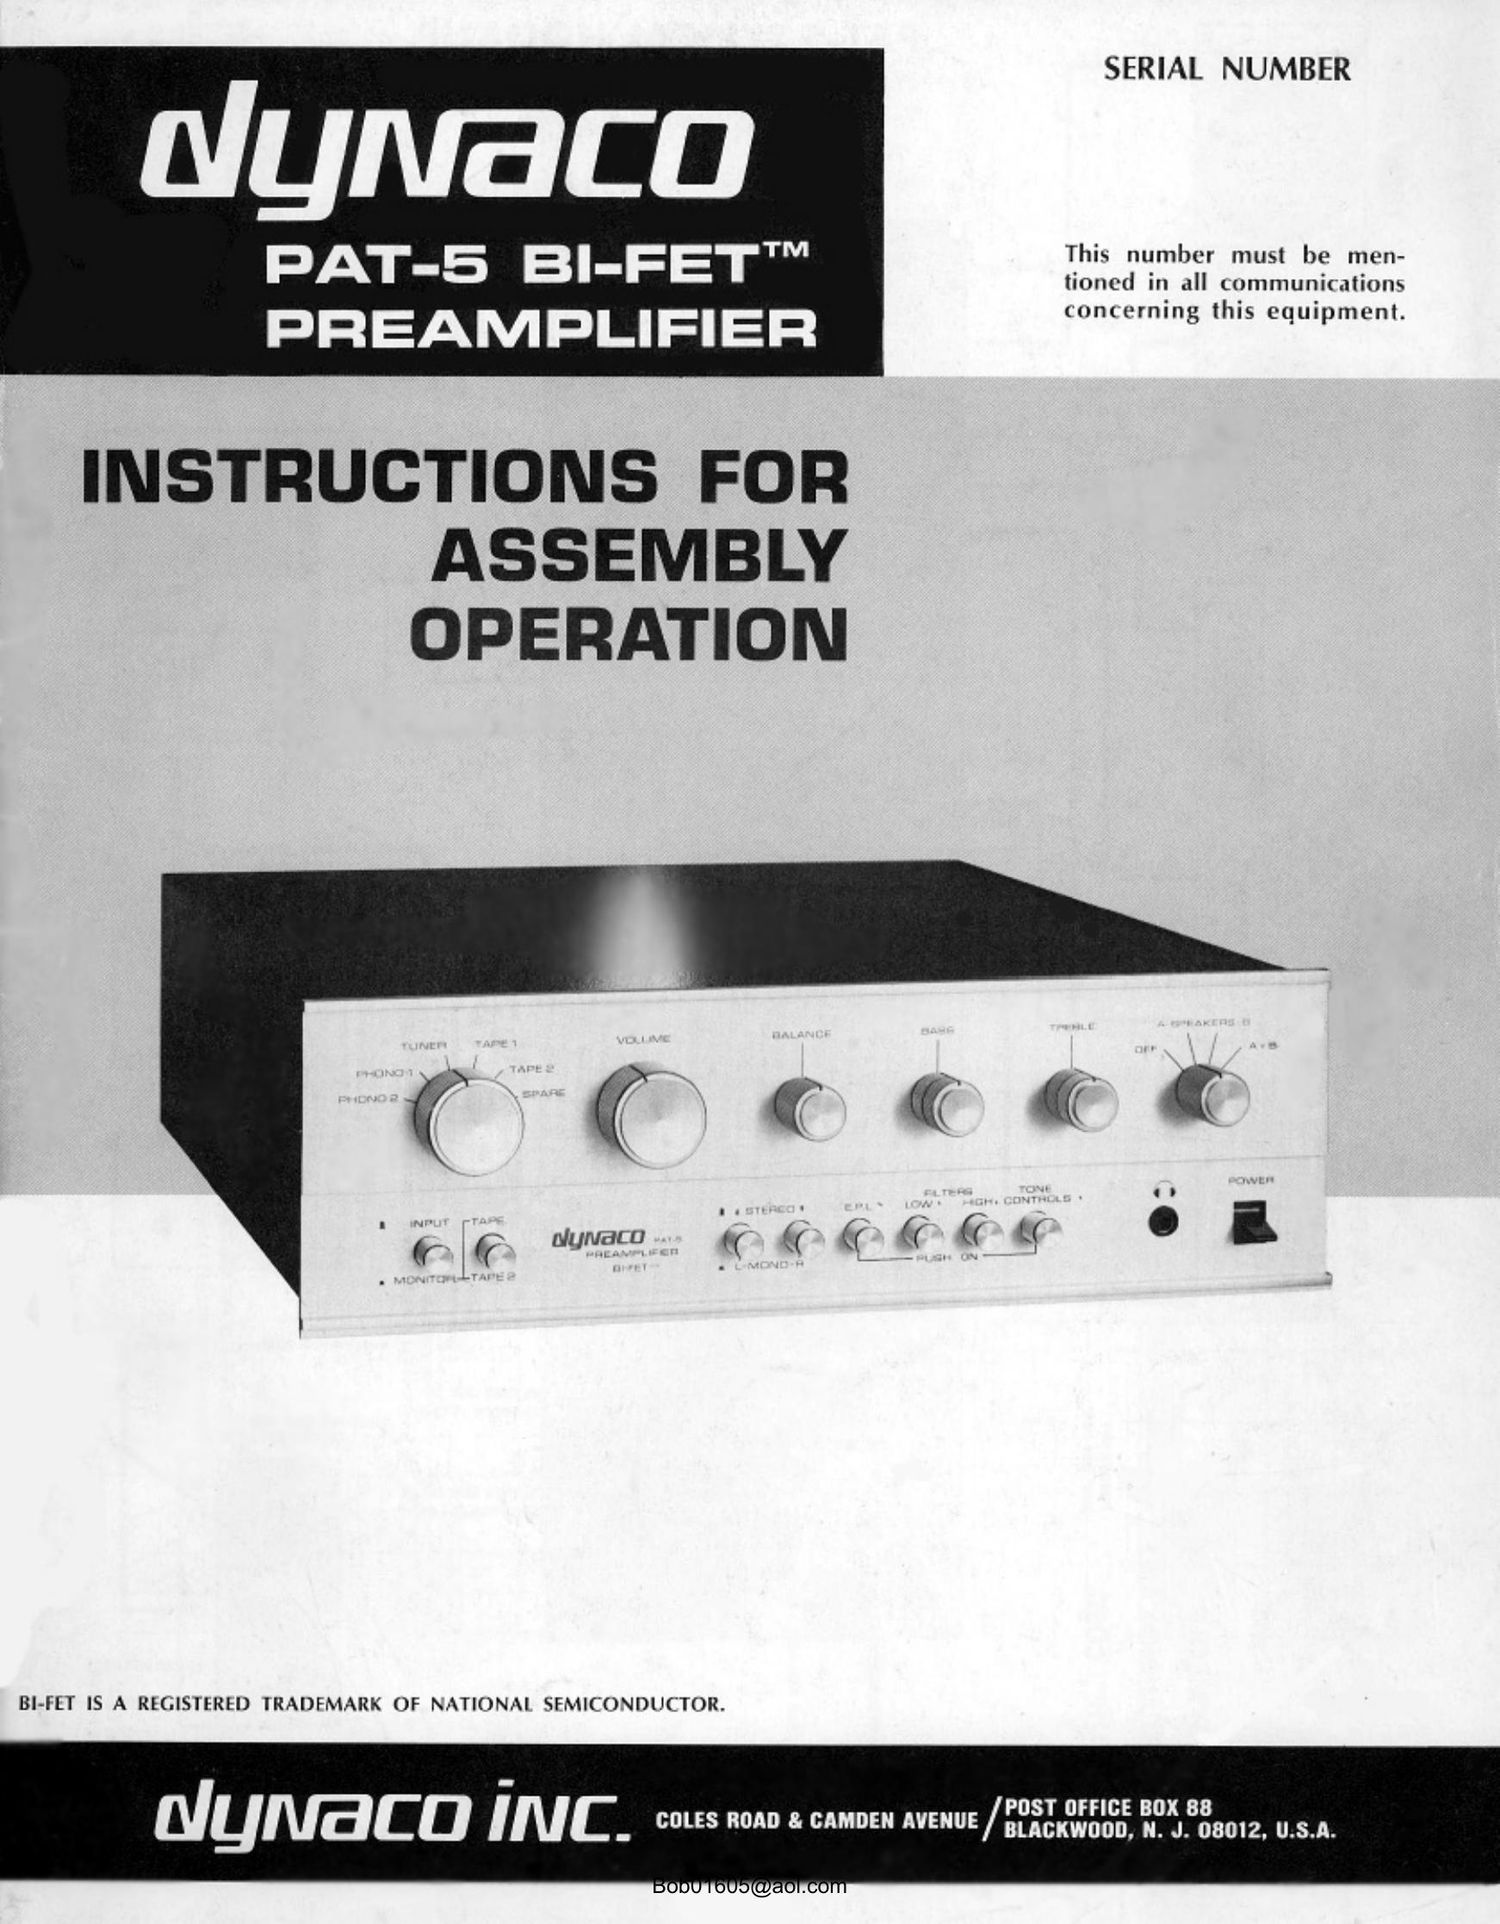
Dynaco PAT 5 Service Manual

This is the 36 pages manual for Dynaco PAT 5 Service Manual.
Read or download the pdf for free. If you want to contribute, please mail your pdfs to info@audioservicemanuals.com.

Page: 1 / 36
left right
Dynaco PAT 5 Service Manual

Extracted text from Dynaco PAT 5 Service Manual (Ocr-read)


Page 23

46( )Connect the free end of the black wire from VOL
lug #1 to eyelet M on the front board (S). See
that the three black wire; to eyelets #2, #3 and #4,
which are connected together, are securely soldered.

47( )Prepare a 51 black wire, and connect one end to
VOL lug #4 (8-2). Connect the other end to eye
let #4 on the rear board (S). See that the three
black wires to eyelets #2, #3 and #4 are securely
soldered.

Set the chassis and back panel assembly aside for a
moment.

48( )Select both PC-33 boards, and lay the boards com-
ponents side down with the eyelets toward you.
Add a small amount of additional solder to each of
the nine eyelets. Once soldered, clean out solder-
filled eyelets #4 and #8 on each board with a tooth-
pick to make future connection easier.

49( )Prepare two 21/2 yellow wires, but remove %" of
insulation from one end of each wire, and the usual
amount from the other. Connect the longer prepared
end of one wire to eyelet #1 on one of the boards
from the foil side (S). Allow Wis of bare. wire to
be exposed on the foil side (a future step will hook
a wire around this bare section). Connect the other
end to eyelet #6 [8). Similarly solder the second
wire between eyelets #1 and #6 on the other PC-33
board. Also expose the of bare wire on the foil side
at eyelet #1. Position these wires under the row of
eyelets on the foil side.

50( )Select two U-shaped brackets, 8 sets of hardware,
and the boards. Install the brackets on the com-
ponents side of the boards so that the boards face the
same way, with the row of eyelets at the top. Firmly
tighten the hardware.

51( )Place the chassis assembly in front of you, and
mount the bracket and board assembly in the
chassis so that the components face to the front
and the foil side to the rear. The four twisted
pairs of wires from the back panel should pass
under the assembly, and the four single wires from
the back panel to the selector switch should pass
to the right of the assembly, between it and the
selector switch. Use two sets 0! hardware. Insert
the screws from outside (under) the chassis.

52( )Prepare a 2 yellow wire, and connect one end to
eyelet #8 on the front PC-33 board from the foil
side. Connect the other end straight across to eye-
let #8 on the rear PC»33 board from the compo-
nents side. Solder both eyelets.

53( )Prepare a 7% blue wire, and connect one end to
eyelet #7 on the front board from the components
side (S). Position the wire under the selector
switch, and connect the other end to AF lug #6 on
SS (S).

54( )Prepare a 71/4 yellow wire, and connect one end
to eyelet #7 on the rear board (S). Position the
wire under the selector switch, and connect the
other end to BF lug #6 on 88 (S).

55( )Prepare a 2" blue wire, and connect one end to
eyelet #2 on the front board (S). Connect the
other end to CR lug #5 on SS.

56( )Select a 220 pt capacitor, and cut its leads to 3/3.
Connect one lead to CR lug #5 on SS (S-2). Con-
nect the other lead to CR lug #6 on SS.

57( )Prepare a 2%" black wire, but remove 35-3 of insula-
tion from one end and the usual amount from the
other. Connect the longer prepared end to eye-
let #3 on the front board (S). ."m" of bare wire
should be exposed on the foil side (the next step
will hook a wire around this bare section). Connect
the other end to CB lug #6 on SS (S-3) .

58( )Locate the blue and black wires twisted together
from GS lug #2 and T-l lug #1. Form a small hook
in the end of each, and connect the black end to
the bare wire protruding from eyelet #3 on the front
board (S). Connect the blue end to the bare wire
protruding from eyelet #1 on this board (S). Be
certain these wires do not touch any other parts of
the etched circuitry, and that eyelets #1 and #3 are
securely soldered.

59( )Prepare a 2" yellow wire, and connect one end to
eyelet #2 on the rear board (S). Connect the
other end toDR lug #5 on SS.

60( )Select the remaining 220 pf capacitor, and cut its
leads to %. Connect one lead to DR lug #5 on
SS (8-2). Connect the other lead to DR lug #6
on SS.

61( )Prepare a 2%" black wire, but remove %" of insula-
tion from one end and the usual amount from the
other. Connect the longer prepared end to eyelet #3
on the rear board (S). *3/10 of bare wire should be
exposed on the foil side. Connect the other end to
DR lug #Son SS (8-3).

62( )Locate the yellow and black wire twisted together
from GS lug #5 and T-1 lug #3. Form a hook in
the end of each, and connect the black end to the
bare wire protruding from eyelet #3 on the rear
board (S). Connect the yellow end to the bare wire
protruding from eyelet #1 on this board. These wires
should not touch any other parts of the board, and
eyelets I] and #3 should be secume soldered.

This completes the wiring of the selector switch. The
following lugs on SS are unconnected: AR lugs #10 and
#11; BR lugs #10 and #11; CF lugs #1, #2, #3 and #4;
DP lugs #1, #2, #3 and #4. AF lug #2 and AR lug
#8 are connected together; BF lug #2 and BR lug #8 are
similarly connected. AF lug #5 and AR lug #9 are con-
nected together; BF lug #5 and BR lug #9 are similarly
connected together. All other connected lugs should not
touch any other lug, or the frame of the switch.

23

Bob01605@aol.com