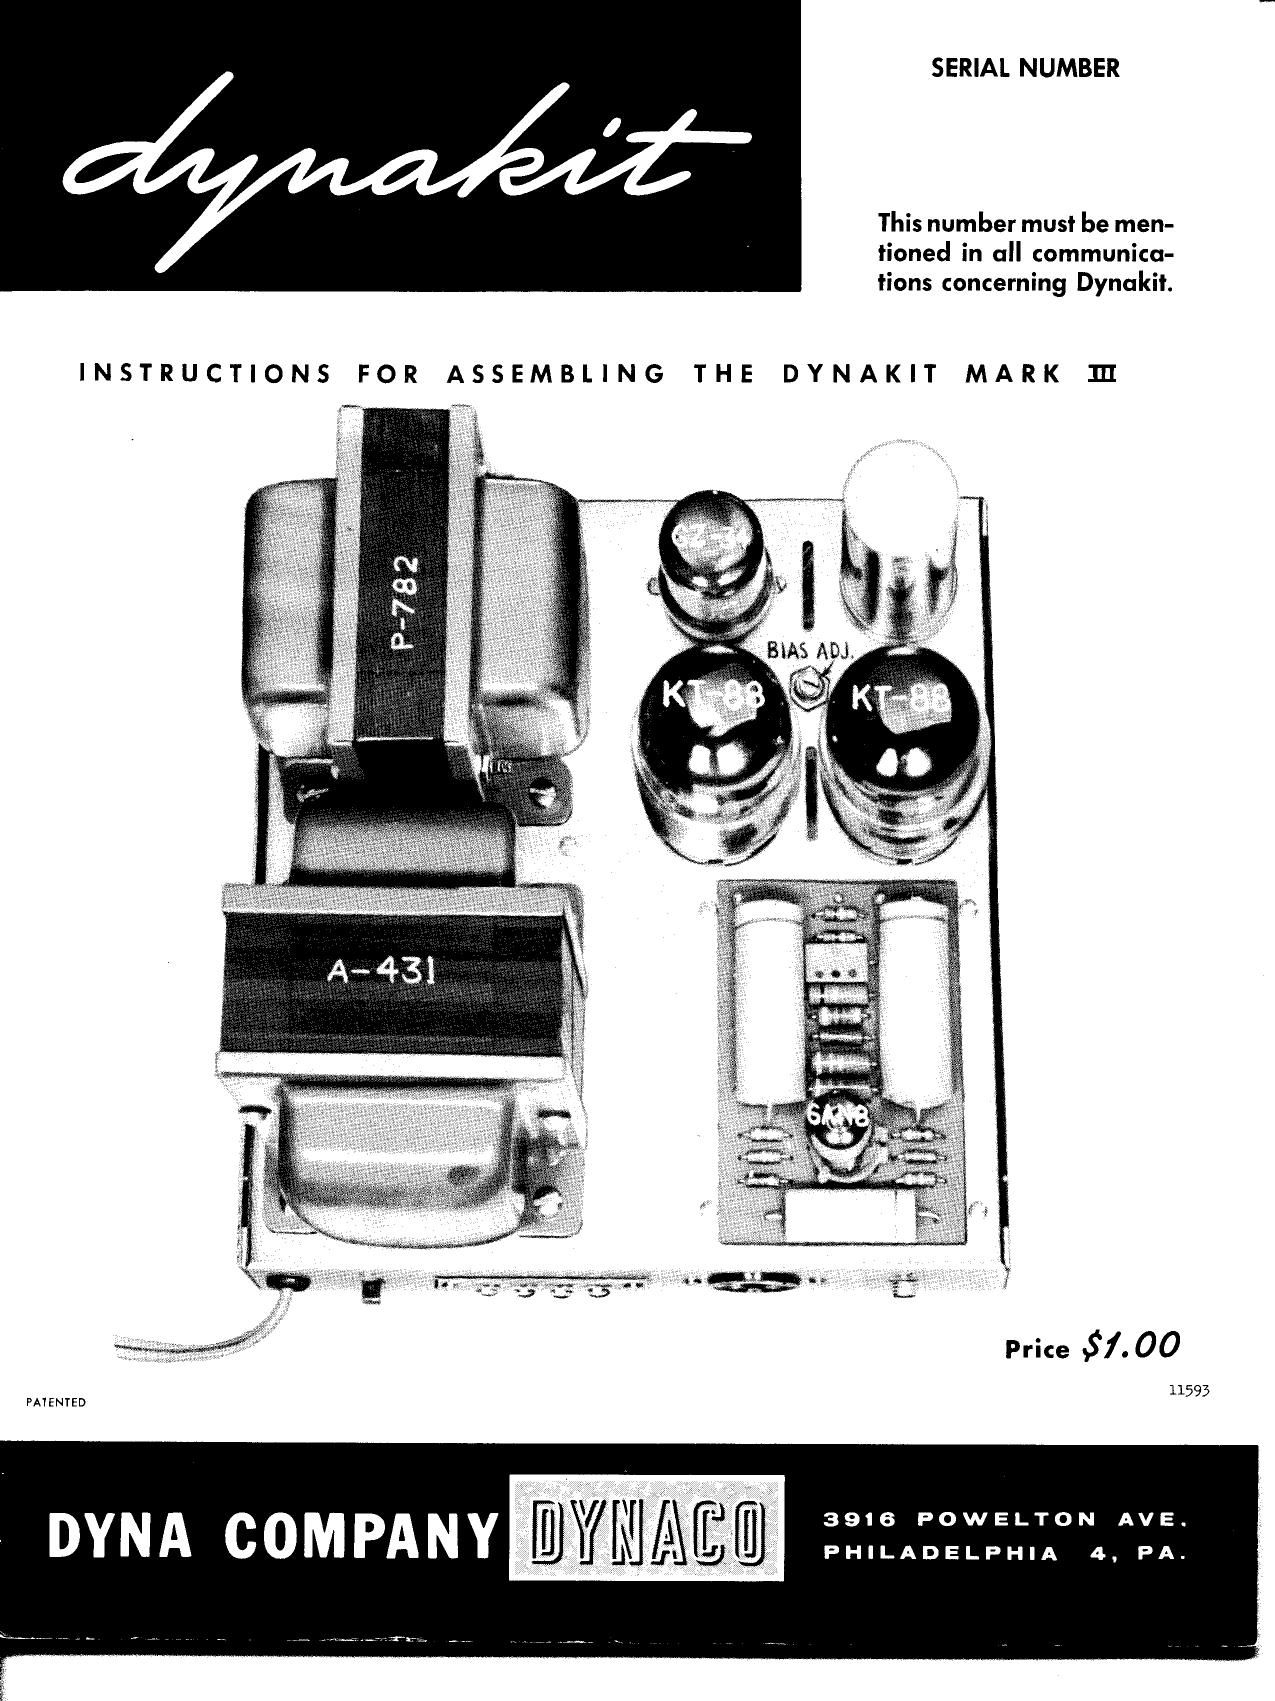
Dynaco Dynakit Mk3 60W Schematic

This is the 16 pages manual for Dynaco Dynakit Mk3 60W Schematic.
Read or download the pdf for free. If you want to contribute, please mail your pdfs to info@audioservicemanuals.com.

Page: 1 / 16
left right
Dynaco Dynakit Mk3 60W Schematic

Extracted text from Dynaco Dynakit Mk3 60W Schematic (Ocr-read)


Page 1

SERIAL NUMBER

This number must be men-
tioned in all communica-
tions concerning Dynakii.

INSTRUCTIONS FOR ASSEMBLING THE DYNAKIT MARK 111

Price 5/. 00

11593
PAIENTED

3916 POWELTON AVE.

PHILADELPHIA 4. PA.

Page 4

GENERAL INSTRUCTIONS

The mechanical and physical arrangement allows rapid
and bug-free assembly using only soldering iron (small tip), pliers,
Wire cutters, and screw driver. This rapid assembly is made possible
through the use of a pre-assembled printed circuit board on which most
resistors and paper capacitors are mounted. Construction of your
Dynakit will usually take about three hours.

Check the contents of the carton against the attached
parts list. Make sure all the parts are on hand and familiarize yourself
with the contents. Any shortages should be called to the attention of the
dealer from whom you purchased the Dynakit, and he will supply you
with the necessary components. However, if your package was received
sealed, there should be no shortage of any of the items.

Read through all the instructions before starting any of
the assembly. Where reference is made to a specific part, identify this
part so that you will recognize it when the time comes to mount it. Note
the color coding which permits you to identify resistors. Where the in-
structions specify resistors, they will specify the correct color combin-
ation so that you can be sure of using the correct resistor at each point.
Other items are either marked or can be identified from the pictorial
material.

It is recommended that these instructions be followed
step-by-step to insure correct assembly with a minimum of effort.

NOTE: ALL SOLDERING MUST BE DONE WITH ROSIN CORE
SOLDER.

Do not use acid core solder which is injurious to electronic parts. Dyna
Company will assume no responsibility for any units in which acid core
solder has been used. Use a good grade of 50-50 or 60-40 rosin core
solder. Whenever a connection is to be soldered, the instructions will
specify (S). Otherwise the wires should be brought to the proper points
and crimped in place to hold until soldering is specified. Solder con-
nections should be made carefully, using the minimum amount of heat
necessary to get a soldered connection. If connection points are clean,
all the required soldering can be done with a small pencil type iron.
Leads should be crimped in place so as to make a secure mechanical
connection before the solder is applied.

The iron should be applied to the joint and held there until
the solder melts and flows over the joint. It is important to heat the
joint to the point where solder in Contact with it will melt. Otherwise
solder will not properly adhere to the joint, and a poor connection will
result. Test each joint after soldering by pulling gently on the associated