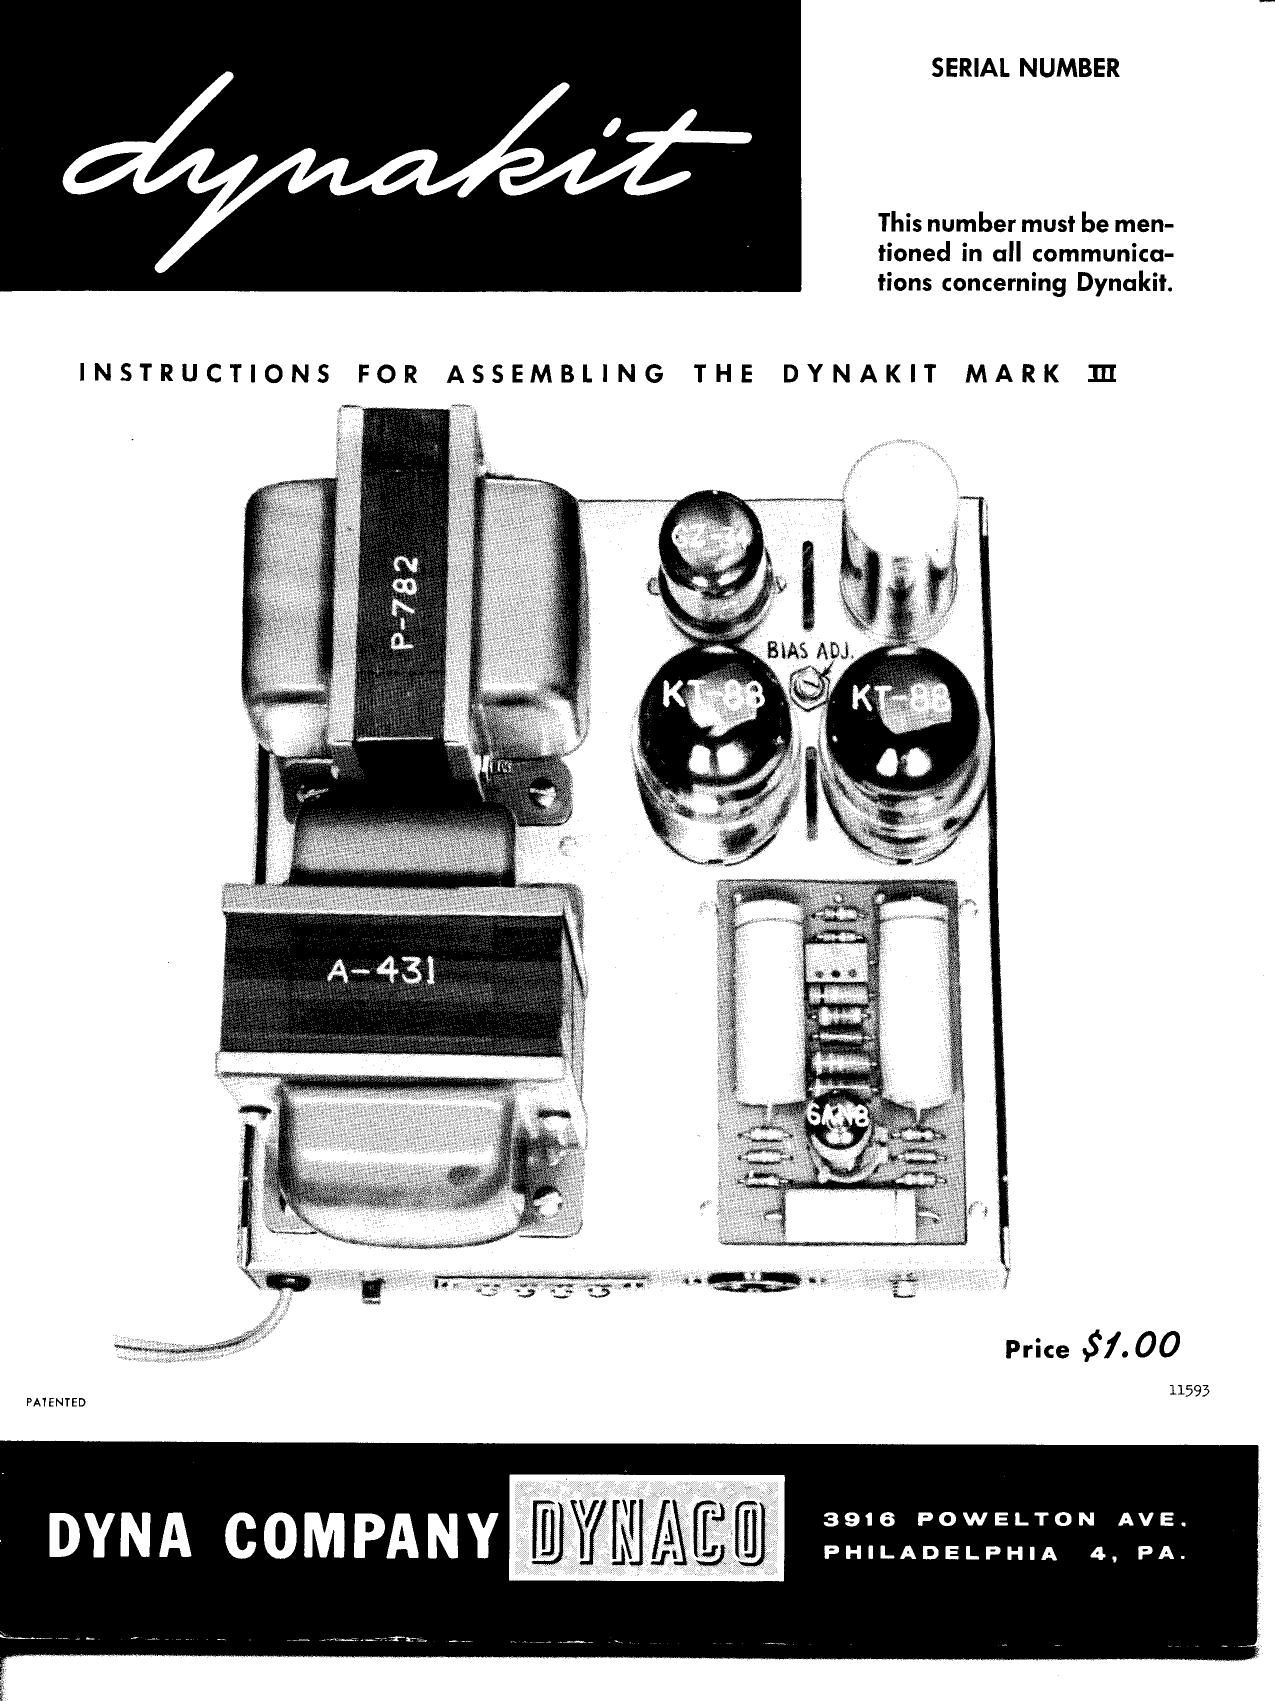
Dynaco DYNAKIT MK 3 Owners Manual

This is the 16 pages manual for Dynaco DYNAKIT MK 3 Owners Manual.
Read or download the pdf for free. If you want to contribute, please mail your pdfs to info@audioservicemanuals.com.

Page: 1 / 16
left right
Dynaco DYNAKIT MK 3 Owners Manual

Extracted text from Dynaco DYNAKIT MK 3 Owners Manual (Ocr-read)


Page 1

SERIAL NUMBER

This number must be men-
tioned in all communica-
tions concerning Dynakii.

INSTRUCTIONS FOR ASSEMBLING THE DYNAKIT MARK 111

Price 5/. 00

11593
PAIENTED

3916 POWELTON AVE.

PHILADELPHIA 4. PA.

Page 6

( ) Mount (3-354 choke using #8 screws, nuts, and lockwashers.
Note that the two leads should be on side of choke which faces toward where
the quadruple section capacitor is located.

( ) Mount A-43l output transformer using #8 screws, nuts and
lockwashers. See pictorial diagram for correct orientation of transformer
leads below the chassis. Use cable clamp and dress leads under it as
shown in pictorial diagram.

Please note on pictorial diagram the identification of the vari-
ous parts and their respective terminal numbers. These identifications
will be used when specifying connections.
Make the following connections from the output transformer:

( ) 1. Connect blue wire to pin #3 of V2 (5).

( ) 2. Connect green wire to pin #4 of V2.

( ) 3. Connect blue-white wire to pin #3 of V1 (5).

( ) 4. Connect green-white wire to pin #4 of V1 (S).

( ) 5. Connect red wire to condenser lug #2.

( ) 6. Connect yellow wire to screw terminal #4.

( ) 7. Connect orange wire to screw terminal #3 (S).

( ) 8. Connect brown wire to screw terminal #2 (S).

( ) 9. Connect black wire to screw terminal #1.

( ) Mount P-782 transformer with #8 screws, nuts and lockwash-
ers. See pictorial diagram for correct orientation of transformer leads
below the chassis.

Make the following connections:

( ) 1. Connect long black wire to switch lug #1 (S).

( ) 2. Connect short black wire to closest lug on fuse holder (S). ,

( ) 3. Connect one red wire to pin #4 of V3 (5).

( ) 4. Connect other red wire to pin #6 of V3 (S).

( ) 5. Connect one yellow wire to pin #2 of V3 (S).

Page 13

preamplifier equipment. If noise is evident on listening, unplug the audio
input cable to the Dynakit and note whether the noise decreases. If it does,
the fault is in the associated equipment which should be serviced in order
to correct it.

However, if hum or noise persists with the input disconnected,
the wiring and all solder connections should be checked. If the kit is prop-
erly wired, hum and noise may arise from a faulty tube. An occasional
6AN8 tube is noisy, and this can only be tested by substitution of another
tube procured locally. If a change in a tube improves the noise level, the
factory will replace the tube if it is returned during the 90-day guarantee
period.

It is recommended that the KT~88 tubes be replaced in matched
pairs if a single tube fails after a period of use. Combining an old with a
new tube may lead to unbalance which results in excessive hum level.

The 3 amp fuse in the Dynakit normally will not blow from on-
off cycling or line voltage surges. If it blows, it generally indicates incor-
rect wiring of the kit or failure of some component. Since some service is
generally indicated in the event of fuse failure, the fuse is located within
the chassis where it is readily available during routine trouble shooting.
The fuse should not be changed until there is at least a visual inspection of
the wiring and components (and a check of tubes if possible).

The Dynakit is designed to operate at a line voltage of 117
volts ac. It can be used in the range of 110 to 124 volts. Operation outside
this range is not recommended since lower than 110 volt operation results
in increased distortion, while component failures can be expected with line
voltage in excess of 124 volts. It is suggested that either a voltage adjust-
ing device or a voltage regulator be used under conditions where line volt-
age falls outside the recommended range. It is also suggested that the Dyna-
kit be operated with the tubes in vertical position only.

GUARANTEE AND FACTORY SERVICE

All components of your Dynakit are guaranteed for a period of
90 days from date of purchase. In addition, Dynaco transformers, which
represent about one-half the value of the kit, are guaranteed for a period of
one year provided that their leads are maintained at the original length.
Therefore, if transformers are returned to the factory for checking or re-
placement, they should be carefully unsoldered and removed without cutting
the leads. I

Defective parts of the Dynakit will be replaced without charge
during the guarantee period if returned to Dyna Company either directly or
via the dealer from whom the kit was purchased. Many dealers carry
Dynakit spare parts on hand to facilitate replacements. After the guarantee
period has expired, parts are charged for at regular net prices.

In the event that the assembled kit does not function properly
or breaks down after some use, Dyna Company will service the kit for a