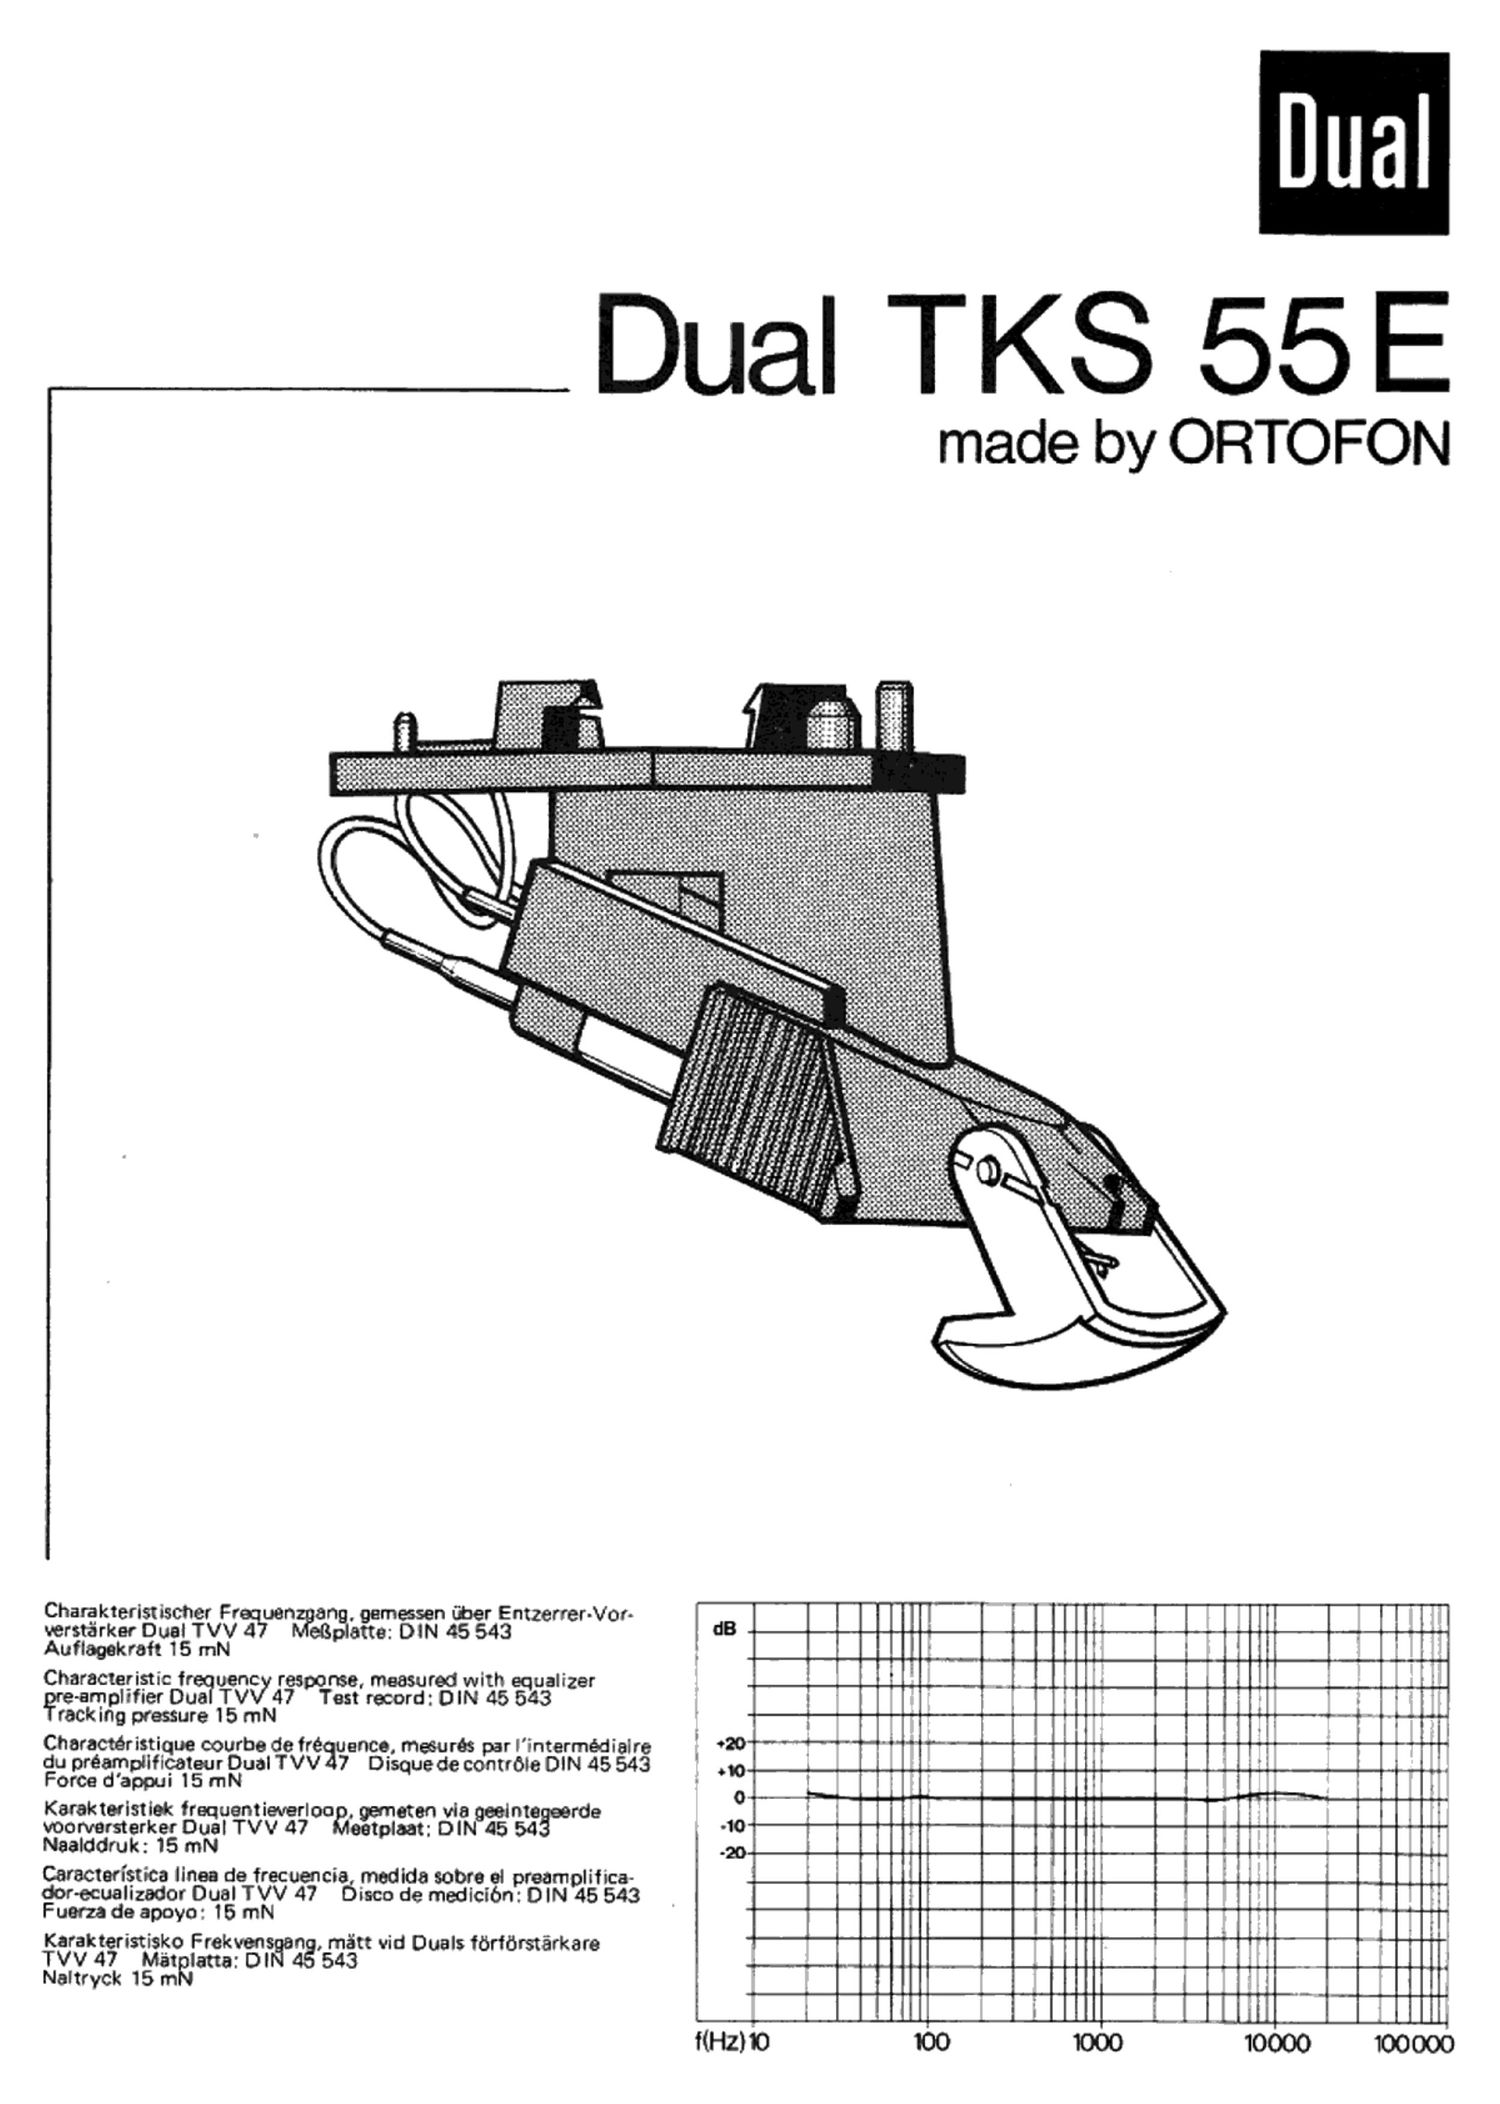
Dual TKS 55E Owners Manual

This is the 4 pages manual for Dual TKS 55E Owners Manual.
Read or download the pdf for free. If you want to contribute, please mail your pdfs to info@audioservicemanuals.com.

Page: 1 / 4
left right
Dual TKS 55E Owners Manual

Extracted text from Dual TKS 55E Owners Manual (Ocr-read)


Page 2

Fig. 2

Dieses Gerat ist mit dem ultraleichten (ultra low mass) HiFi-
Mamet-Tonabnehmersystem Dual TKS 55 E bestuckt. Durch
die Verringerung der Masse auf ca. 1f3 derjeni r iiblicher HiFi-
Magnet-Tonabnehmersysteme warden beson ers ginstige Ab-
tasteigenschaften erreicht.

Austausch des Tonabnehmersystems

Das komplette TonabnehmerSystem k6nnen Sie vom Tonarm
losen, indem Sie den Tonarmgriff nach hinten drficken. Halten
Sie dabei das Tonabnehmersystem fest. da es nach Offnen der
Verriegelung herunter fallt (Fig. 1).

Der Tonarmgriff lam sich jedoch nur nach hinten fiihren, wenn
die Sicherungsschraube "S" zuvor entfernt wurde (Fig. 2).
Zum Wiedereinsetzen Iegen Sie das Tonabnehmersystem so von
unten an den Tonarmkopf, dais die beiden Vorderkanten bfindig
sind. Bitte achten Sie darauf, dais das Tonabnehmersystem ab-
solut plan am Tonarmkopf anliegt, bevor Sie den Tonarrngriff
zur Arretierung nach vorne ziehen (Fig. 2). Eventueil Siche-
runwchraube wieder eindrehen.

Abtastnadel

Die Abtastnadel ist durch den AbSpielvorgang natiirlichem Ver-
schleifS auSgeSetzt. Wir empfehlen daher eine Uberprfifung der
Diamant-Abtastnadel dieses Tonabnehmersystems nach ca.
300 Spielstunoen. Ihr Fachhandler wird dies gem kostenlos fiir
Sie tun. Abgenutzte oder beschadigte (abgesplittertel Abtast-
nadeln meiBeln die Modulation aus den Schallrillen und zerstoo
ren die Schallplatten. Verwenden Sie bei Ersatzbedarf nur die
in den techniscnen Daten angefiihrte Ori inal-Nadeltype. Nach-
geahmte Abtastnadeln verursachen h6r re Oualitatsverluste
und erhohte Schallplattenabnutzung.

Denken Sie bitte daran, dais der Nadeltréger mit dem Abtast-
stift aus Diamant aus physikalisohen Grfinden sehr grazil und
deshalb zwangslaufig empfindlich gegen StoB, Schlag oder un-
kontrollierte eriihrung sein muis.

Austausch der Abmstnadel

Dazu losen Sie das Tonabnehmersystem vom Tonarmkopf, wie
vorstehend beschrieben.

Nun ziehen Sie die Abtastnadel - wie in Fig. Sgezeigt - nach
vorne ab. Das Einsetzen der Abtastnadel erfolgt in gleicher Weise.

This unit is equipped with the Dual TKS 55 E ultra-low mass
Hi Fi magnetic cartridge. By reducing the mass to approximately
1/3 of that of ordinary HiFi magnetic cartridges, especially
good tracking characteristics are ac ieved.

Removal of the pick up system

You can release the complete pick up system from the tone-
arm by pushing the tonearm rip backwards. At the same time,
hold the pick up System as it falls out after the catch is ope-
ned (Fig. 1).

However. the tonearm grip can only be moved backwards if
the locking screw "8" has been removed previously (Fig. 2).
When refitting, place the cartridge onto the head shell from
below so that both front edges are flush. Please ensure that all
sections of the cartridge are in contact with the head shell
before ulling the tonearm lift to the front in order to lock it
(Fig. 2 . If necessary, you should screw in the safety screw.

Stylus

The stylus is subject to natural wear as a result of playback. We
recommend therefore checking the diamond stylus of this pick-
up cartridge after approximately 300 playing hours. Your Spe-
cialist dea er will be pleased to do this for you free of charge.
Worn or damaged (Splinteredi styli will chisel the modulation
out of the grooves and destroy your records.

If required, please use only the original stylus type specified in
the technical data. Imitation styli will cause perceptible loss in
quality and increased record wear.

Please notice that the needle carrier with a diamond stylus,due
to size, is very sensitive to shocks,vibrations or sudden impacts.

Replacing the stylus

In order to repIBCe the stylus, you must release the cartridge
from the head shell as deSCribed above.

You must now remove the stylus las shown in Fig. 3) from the
front.When refitting the stylus, you should follow the identical
procedure.