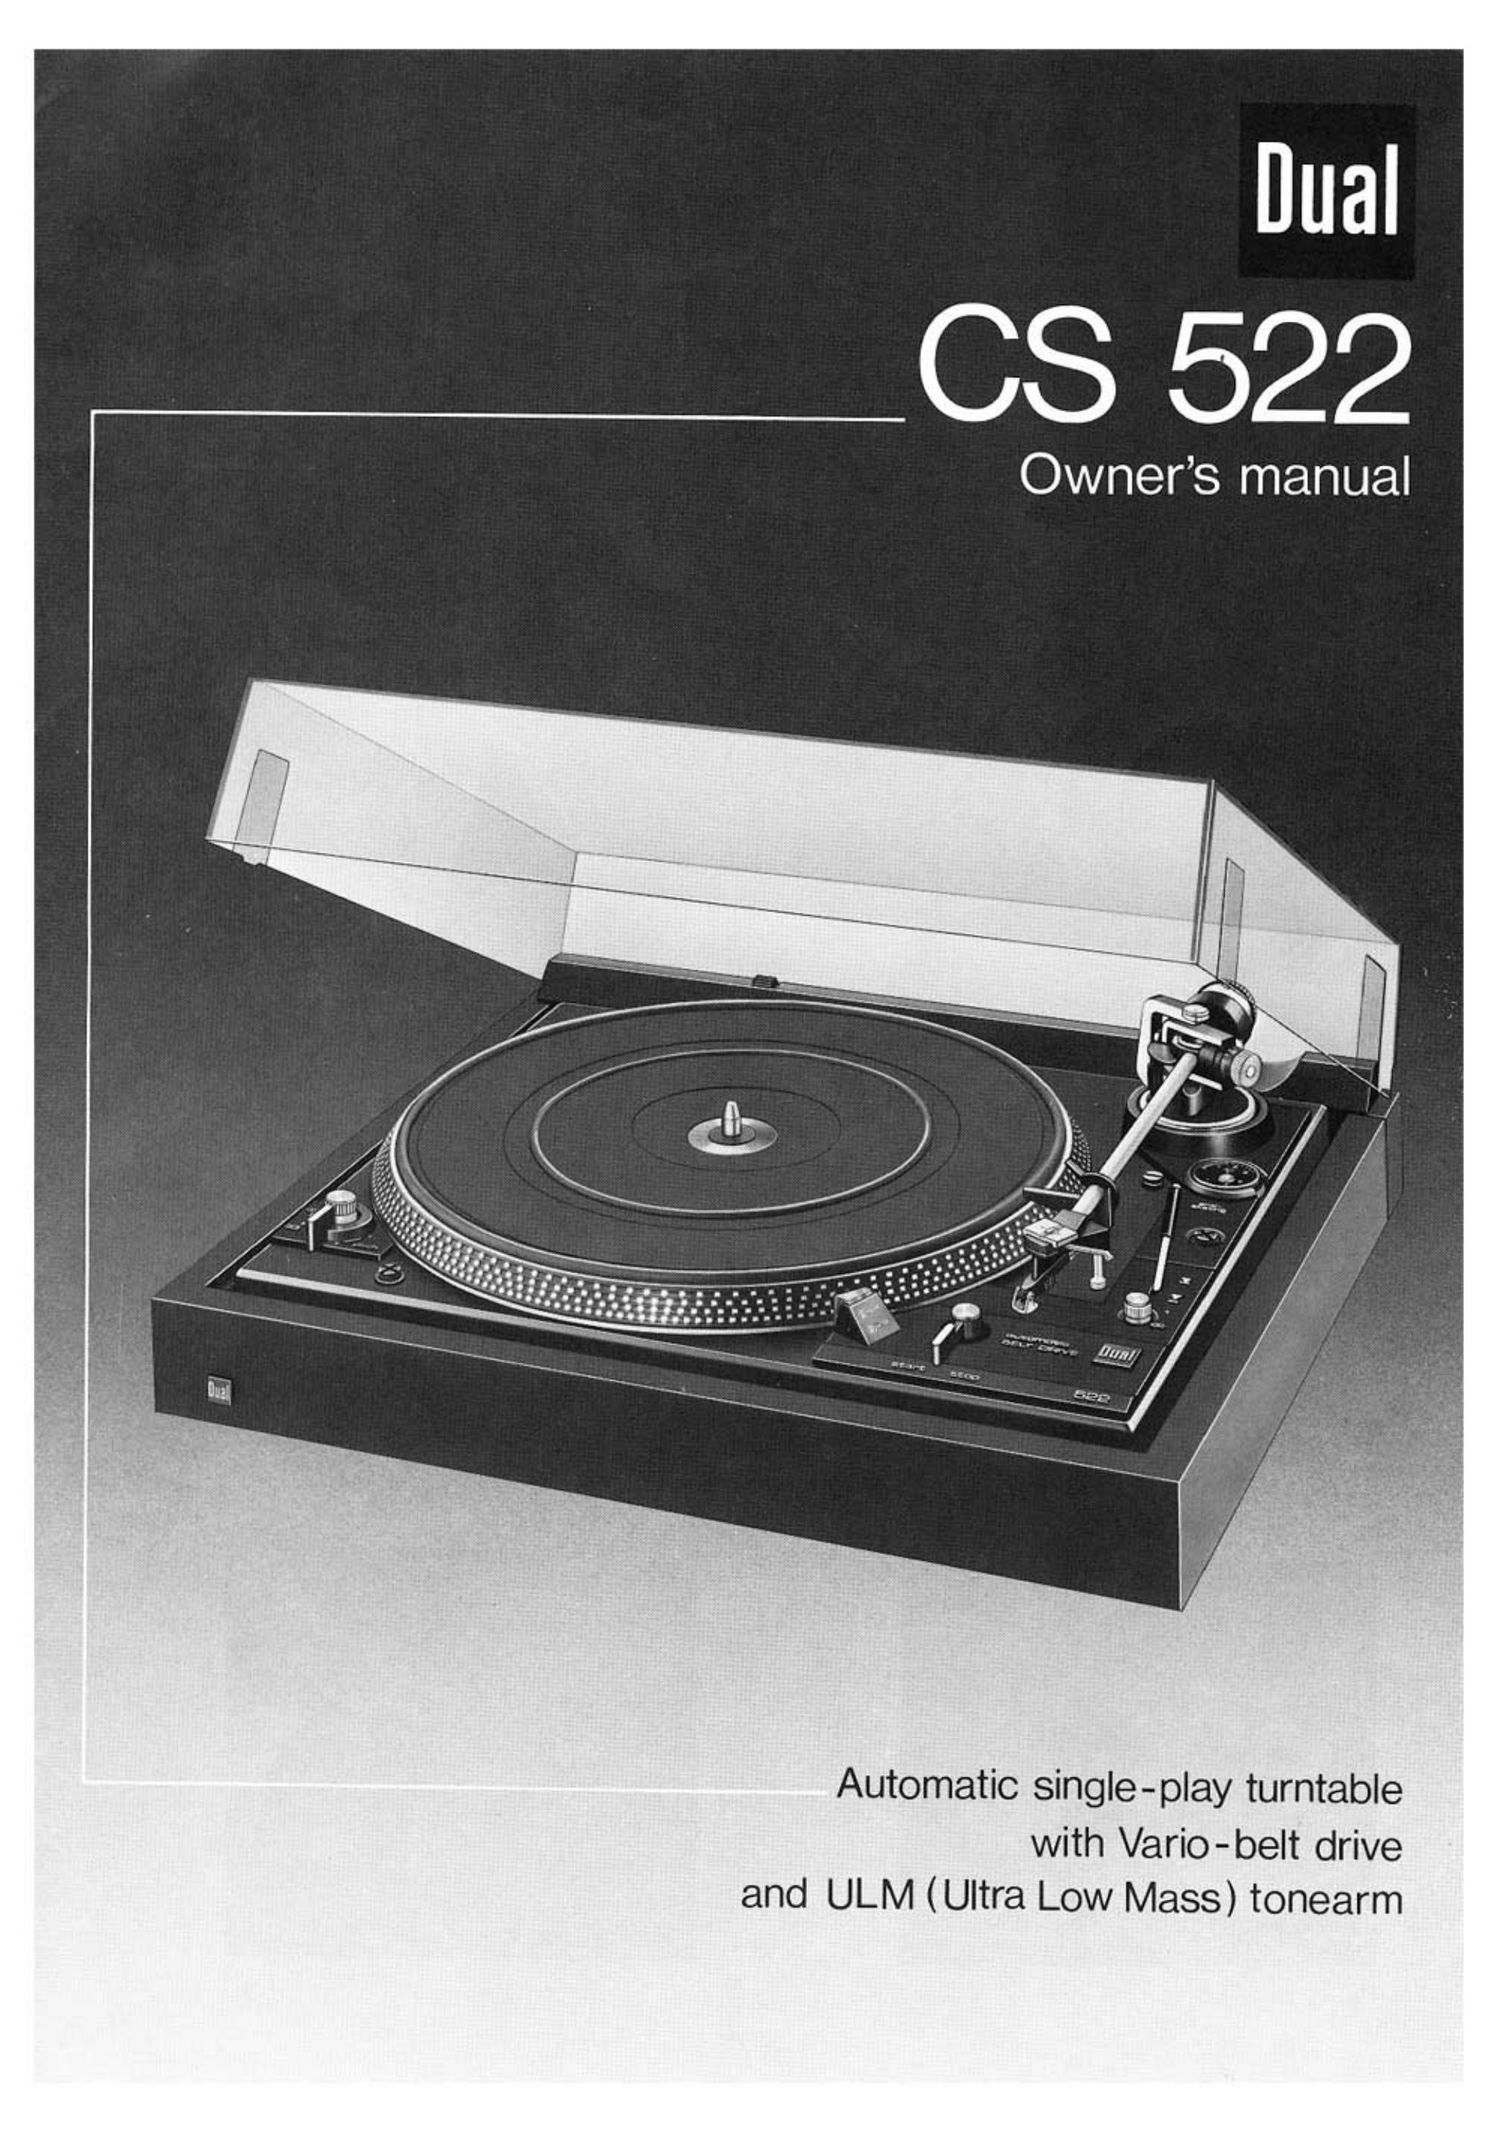
Dual CS 522 Owners Manual

This is the 9 pages manual for Dual CS 522 Owners Manual.
Read or download the pdf for free. If you want to contribute, please mail your pdfs to info@audioservicemanuals.com.

Page: 1 / 9
left right
Dual CS 522 Owners Manual

Extracted text from Dual CS 522 Owners Manual (Ocr-read)


Page 1

Dual

CS 522

Owners manual

Automatic single-play turntable

with Vario-belt drive
and ULM (Ultra Low Mass) tonearm

Page 2

I Introduction

You now own one of the finest turntables made today, one which will make
your records more enjoyable than ever before.

In addition to your turntable's superb performance, you will appreciate its
ease and simplicity of operation and in time, its long-lasting reliability.
Before proceeding with the installation, please read through this manual
carefully. This will help prevent any problems from incorrect installation or
imprecise tonearm settings.

If you should have any questions about your Dual '5 operation or performance,
please contact us. We would also appreciate you comments on the enclosed
warranty card.

We appreciate your selection of Dual and hope you will have countless hours
of musical enjoyment.

Contents
Page
Features of the Dual CS 522 lnside flap
Installation
Unpacking and setting up 6

Attaching the dust cover

Connections to power supply

Connections to amplifier

Installing cartridges

Removing ULM cartridge

Installing 1/2-inch cartridges

Balancing the tonearm

Applying tracking force 7
Applying anti-skating

Operation
Automatic start
Cue-control start
To interrupt or stop play
Continuous play
Pitchcontrol and strobe
Adjustment of tonearm indexing
Cue-control height adjustment 8
Removing the platter
Replacing the drive belt
Stylus care
Servicing
Technical data
Illustrations for installation of cartridge 9

WARNING: To prevent fire or
shock hazard, do not expose this
product to rain or moisture.

Page 7

Slightly lift the Dual emblem located at the right front corner
of the ChaSSlS and move it outward. The adjustment screw (8)

will then be visible through the opening.

Adjustment of tonearm indexing for 12" (30 cm) records.

Move speed selector (17) to "45 and correct the setting by
turning the adjustment screw slightly (use a suitable screwdriver).
if the stylus sets down too far inside the lead-in groove, turn
the screw clockwise. If the stylus sets down too far outside the
lead-in groove, turn the screw counterclockwise.

Adjustment of tonearm indexing for 7" (17 cm) records.

Move the speed selector ((7) to "33" and proceed as indicated
above for 12" records.

Cue-control height adjustment

The height of the stylus tip over the record in the raised posi-
tion I can be varied approximately 1/4" (6 mm) by turning
the adjustment screw (4).

Do not exceed this range as the tonearm movement may be

impeded .

Removing the platter

The platter is secured to the shaft by the decorative center
ring. To remove the platter, press the ring slightly downward
and turn it clockwise approximately 600 until it releases. The
platter can now be lifted off. To place the platter again, reverse
the above procedures, turning the ring c0unterclockwise.

Replacing the drive belt

Remove the platter as described above and set the old belt
aside. Place the new belt around the drive platter of the turn-
table. with the textured (ground) side of the belt on the inside.
Then slip the belt around the Vario-pulley and inside the guide
fork. Finally, lower the platter onto the shaft and seCure with
the decorative center ring.

Stylus care

In normal use, every stylus is subject to wear and tear. We
recommend that yours be inspected periodically, and cer-
tainly after approximately 300 playing hours in the case of
diamond styli. Worn or damaged (chipped) Styli will grind the
modulation out of the grooves and damage your records. For
replacement, obtain only the stylus type recommended in the
Technical Data for your cartridge. lmitations can cause noticeable
loss in sound quality and rapid record wear.

Please keep in mind that the stylus and cantilever are ne-
cessarily quite delicate in order to provide quality perfor-
mance. They are extremely sensitive to harsh handling, ac-
cidental blows, etc. Take the cartridge in the holder to your
Dual dealer for inspection of the stylus. (Removal of cartridge
holder is described above).

Servicing

Your Dual has a limited warranty of two years from date of
purchase against manufacturing defects or faulty parts.

Should your unit require service, please write to our service
department (address on the back cover), describing your
complaint.

During the warranty period, the Dual will be serviced without
charge under the conditions stated on the warranty card.
Note. Only factory-authorized service stations should service
the Dual; any servicing by anyone else will void our warranty.
After it has been serviced, your turntable will be shipped
back to you.

Technical data

Current AC 50 or 60 Hz, changeable by changing motor pulley
Line voltage (15 or 230 V, changeable

Drive Dual lG-pole synchronous motor: precision flat belt for
flywheel drive

Power consumption approx. 8 watts

Starting time (to each nominal speed) approx. 2.5 seconds at
33 1/3 rpm
Power consumption at 220 V, 50 Hz: approx. 75 mA

at 117 V,60 szapprox.140 mA
Platter Non-magnetic, detachable, 1 kg, 304 mm rb
Platter speeds 33 1/3 and 45 rpm
Pitch control variation at both platter speeds
Adjustment range at 33 (/3 rpm approx. 1 semitone (6 %).
Speed control
with illuminated stroboscope for platter speeds 33 l/3 and
45 rpm, 50 and 60 Hz.
Sensitivity of the illuminated strobe for 0.1 % speed deviation
6 division markings per minute at 50 Hz.
7.2 division markings per minute at 60 Hz.
Total wow and flutter

DlN : 0.07 %
WRMS : 0.04 %
Rumble

(according to DIN 45 500)

Unweighted 48 dB

Weighted 70 dB

Tonearm Distortion-free "ultra-low-mass", aluminum tubular

tonearm in 4-point gimbal bearing

Effective tonearm length 221 mm

Offset angle 240 4

Tangential tracking error 0.160/cm

Tonearm bearing friction (referred to stylus tip)
0.07 mN (0.007 9)

Adjustable overhang 5 mm