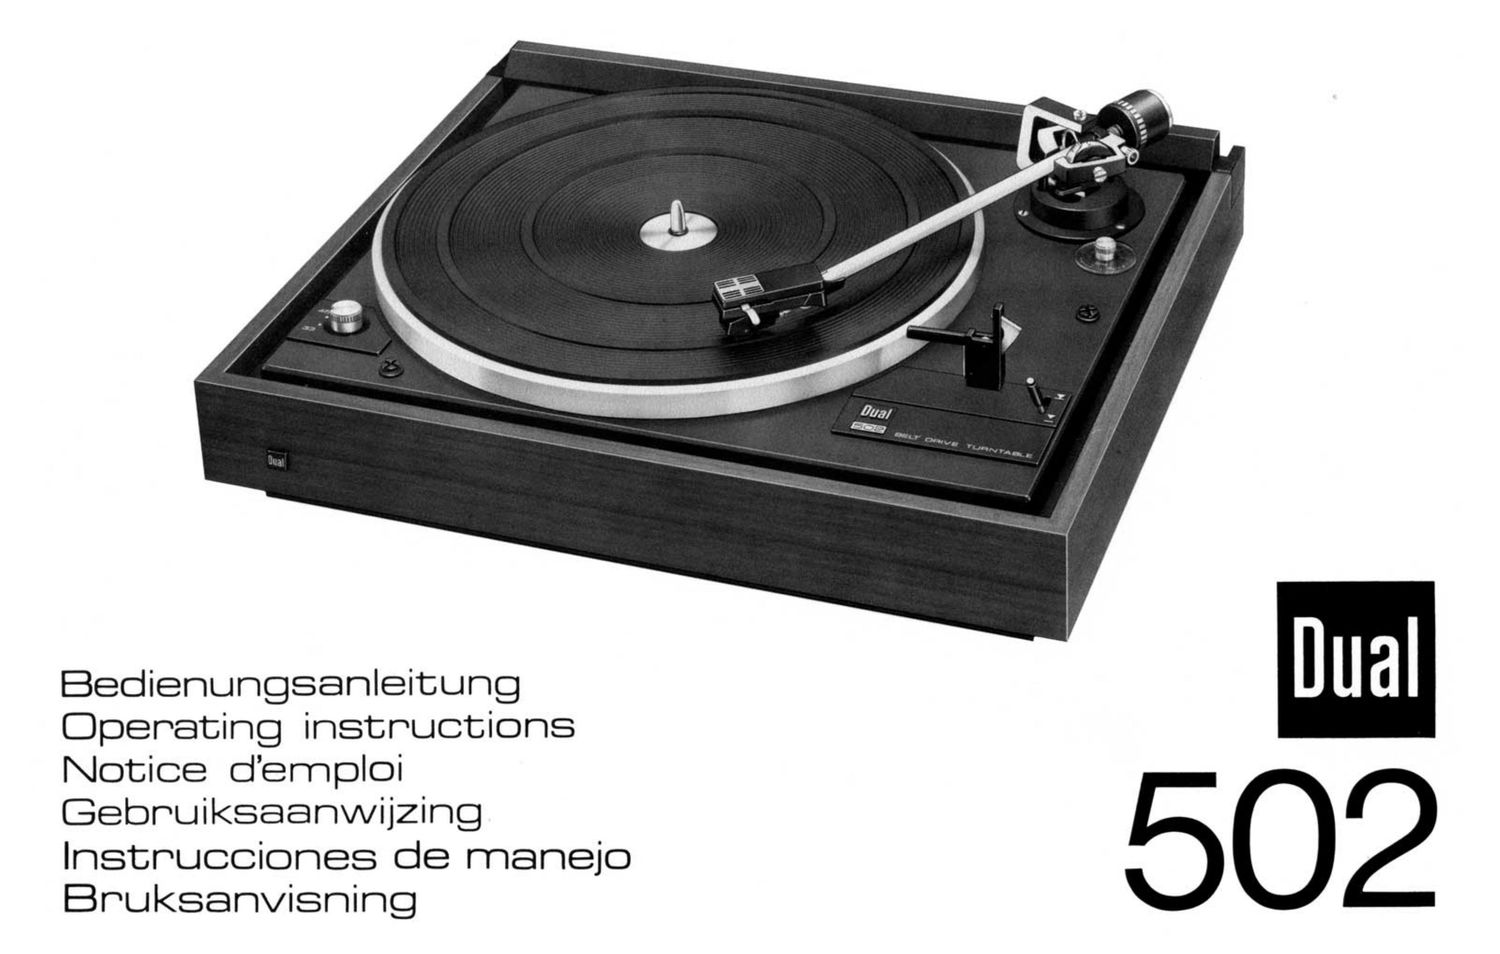
Dual 502 Owners Manual

This is the 30 pages manual for Dual 502 Owners Manual.
Read or download the pdf for free. If you want to contribute, please mail your pdfs to info@audioservicemanuals.com.

Page: 1 / 30
left right
Dual 502 Owners Manual

Extracted text from Dual 502 Owners Manual (Ocr-read)


Page 2

Sehr geehrter Schallplattenfreund

Die Bedienung Ihres neuen Plattenspielers ist sehr einfach. Trotzdem bitten wir, diese
Anleitung zu Iesen, bevor Sie das Gerat in Betrieb nehmen.

Die fiir die erstmalige lnbetriebnahme notwendigen Hinweise finden Sie auf den Seiten 6
bis 14 dargestellt, wéhrend die eigentliche Bedienung des Gerates auf der Seite 14 erklart
ist. Eine Gesamtabbildung mit Kurzbeschreibung aller Bedienungselemente finden Sie auf
den ausklappbaren Umschlagseiten.

Diese Anleitung soll gleichzeitig technisches Handbuch Ihres Gerates sein und Ihnen die
vielen Besonderheiten erlautern. Aus diesem Grunde empfehlen wir auch die iibrigen
Seiten lhrer Aufmerksam keit.

Wir wiinschen Ihnen nun viel Freude mit Ihrem Dual 502.

Cher ami discophile

L'emploi de votre nouvelle platine est trés simple. Cependant, nous vous conseillons de
lire la mode d'emploi avant de vous en servir. Les instructions de premiere mise en service
se trouvent pages 7 a 15. Les instructions propres a l'appareil se trouvent page 15. Sur la
derniére page de votre couverture dépliable, se trouve un schéma d'ensemble avec une
description de tous Ies éléments. Nous voudrions que ce mode demploi soit votre manuel
technique on vous trouverez expliquées Ies nombreuses particularités que reoéle cette
platine inhabituelle et exceptionelle. C'est la raison pour Iaquelle nous attirons votre
attention sur toutes Ies informations contenues dans ce mode d'emploi.

Nous sommes certains que votre platine Dual 502 sera pour vous une source de satisfaction.

Estimado aficionado a los discos

El manejo de su nuevo tocadiscos es muy sencillo. Sin embargo, le rogamos leer atenta-
mente estas instucciones antes de poner en marcha el aparato.

Las indicaciones necesarias para poner en marcha el tocadiscos por primera vez se detallan
en las paginas 7 a 15, mientras que en las pégina 15 se indium las operaciones para el
servicion normal del aparato. Abriendo Ia parte doblada de esta hoja encontrara una
vista general del aparato con indicacién de todos los elementos de mando.

Este prospecto le informara al mismo tiempo sobre las caractéristicas técnicas que posee
este tocadiscos tan extraordinario. Por este motivo recomendamos también prestar aten-
cidn al resto de la hojas. Por ultimo, le deseamos mucha satisfaccidn con su Dual 502.

2

Dear Music Lover

Operating your new automatic turntable is very simple. However, you should read the
instructions carefully before you operate the turntable for the first time. On pages 6
through 14 you will find instructions showing the steps to be taken before the initial
operation. Page 14 show operating instructions for the unit itself. The last page is foldable
and you will find an overall detailed description of the operating features.

These operating instructions give y0u the technical information regarding the particular
engineering features of this outstanding turntable. For this reason we ask you to read
every page carefully.

Good listening with your Dual 502.

Geachte gram mofoonplatenliefhebber

De bediening uw nieuwe platenspeler is zeer eenvoudig. Toch verzoeken wij u deze
gebruiksaanwijzing aandachtig te lezen, voordat u het apparaat gaat gebruiken. De voor de
eerste in gebruikname nodige aanwijzingen vindt u op de bladzijden 7 tot 15 beschreven
terwijl de eigenlijke bediening op de bladzijd 15 uiteengezet wordt. Een afbeelding
van het geheel met een korte beschrijving vindt u op de uitvouwbare laatste omslag-
pagina's. Deze gebruiksaanwijzing is tevens een technisch handboek voor uw apparaat.
waarin ook de vele bijzonderheden die deze ongewone platenspeler kenmerken worden
uiteengezet.

Het is hierom dat wij ook de overige pagina's van de gebruiksaanwijzing graag in uw aan-
dacht aanbevelen.

Wij wensen u veel plezier met uw Dual 502.

Arade kunder

Denna bruksanvisning fordrar négra minuters uppmarksamhet fran Er sida och vi tycker
att det kan vara val vart den tiden att lasa igenom dessa instruktioner aven om skivspela-
ren i sig sjalv 'ar mycket Iatt att skbta.

Pa utvikningssidorna finner Ni en oversiktsbild med kortfattad presentation av de olika
funktionerna. Dessutom finns varje funktion utforligt forklarad i bade text och bild under
sina respektive rubriker pa sid 15. Aven de tekniska finesserna hos Dual 502 5r beskrivna
i denna bru ksanvisning.

Vi 6nskar Er mycket néje med Er nya skivspelare Dual 502.

Page 18

18

Fig 13

Abtastnadel

Die Abtastnadel ist duri h den Abspielvor
gang naturlichem Verschleil's ausgesetzt Wir
empfehlen daher eine gelegentliche Uber»
prutung, die sich bet DiamantAbtastnadeln
nach ca 300 Spielstunden empfiehlt lhr
Fachhandler wird dies gern kostenlos fur Sie
tun Abgenutzte Oder beschadigte labge-
splittertel Abtastnadeln meitseln die Modula
tion aus den Schallrillen und zerstOren die
Schallplatten Verwenden Sie bei Ersatzber
darf nur die in den technischen Daten des
Tonabnehmersystems empfohlene Nadel»
type Nachgeahmte Ahtastnadeln verur»
sachen horbare Qualitatsverluste und erhohte
SchallpIatten-Abnutzung.

Denken Sie bitte daran, dals der Nadeltrager
mit dem AhtastDiamanten aus phySikali-
5t hen Grtinden sehr grazil und deshalli
.Iwangslaufig empfindlich geqen Stolst Schlag
oder unkontrollierte Berijhrung sein muls.
Nehmen Ste zur Profung der Abtastnadel den
kompletten Tonabnehmerkopf ldas Ab
nehmen vom Tonarm ist vorstehend be-
schrieben) Zum Fachhandler.

Ausbalancieren des Tonarmes

Der Tonarm wrrd durch Verschieben des Ba
lancegewichtes nut dem Dorn zunachst an-
nahernd und durch Drehen des Balancege-
wichtes (8) exakt aushalanciert.

l Auflagekraftskala (7) und Antiskating
skala (10) auf ,,O" stellen.

2 Tonarm entriegeln iind uber die Tonarrn
ablage nach innen schwenken Tonarmlift
(11) in Stellung 1 bringen

3 Wenn der Tonarm Sich nicht von selhst
horizontal einpendelt, Feststellsrhraube
(F) losen und das Balancegewucht mit dem
Dorn so lange verSChiehen, his sich eine
ungefahre Balance ergibt Der Dorn des
Balancegewmhtes ist dann durch Anziehen
der Feststellschraube zu arretieren.

ll. Durch Drehen des Balancegewmhtes die
exakte Balance des Tonarmes herstellen.

Stylus

The stylus IS subject to natural wear during
play We recommend that the diamond stylus
should be checked after playing about 300
playing hours Your Dual dealer Will do this
without charge. Worn or damaged (chipped)
styli will grind the modulation Out ol record
grooves and damage the records, In case of
replacement, obtain only the stylus type re-
commended in the Technical Data for the
cartridge lmitations cause noticeable loss in
sound quality and rapid record wear

Please keep in mind that the stylus holder
with the diamond tip is necessarily quite
delicate in order to provrde quality perform
ance It is, therefore, extremely sensitive to
harsh handling, accidental touch, blows, etc,
Take the cartridge in the holder to your Dual
dealer for inspection of the stylus (Removal
of cartridge holder IS described above l

Balancing the Tonearm

Shifting the counteralance (8) on its shaft
balances the tonearm coarsely, turning the
counterbalance weight balances the tonearm
exactly

1 Set stylus presswe dial (7) and anti-skat
ing dial (10) to "0" (zero)

2 Unlock the tonearm and move it over the
tonearm rest Place the cue-control lever
(11) in 1 posmon

3 It the tonearm does not come to rest hor
rizontally, loosen setscrew (F) and slide
the counterbalance with its shaft until an
apprOximate balance has been achieved.
Then secure the shaft of the counterbal-
ance by tightening the setScrew.

4 Now find the exact balance by turning
the counterweight

Page 21

Le bras de lecture est équilibré, lorsque le
bord ,,A" du profil de la téte et la bord ,,B"
du support du bras sont au meme niveau
(fig. 14), cu lorsquapres une légere pression
verticale exercée sur le bras, oelui-ci revient
de lui-méme a la position horizontale, c'est-
adire qu'au lieu de se soulever jusqua la
butée, il redescend, sans toutefois se reposer
sur son support.

Un équilibrage précis du bras est important,
en particulier dans le cas de cellules avec
petite force d'appui. Le bras ne doit étre
équilibré quune seule fois, cependant il est
conseillé de vérifier cet équilibré de temps a
autre.

Réglage de la force d'appui

Chaque cellule nécessite une certaine force
d'appui permettant dobtenir une reproduco
tion optimale. Cette valeur est indiquée sur
la feuille de caractéristiques fournie pour la
cellule incorporée.

Une force d'appui trop faible provoque des
distorsions lors de passages a forte intensité
sonore. Par contre, une force dappui trop
grande peut endommager aussi bien la cellule
et la pointe que le disque. C'est pourquoi
nous vous recommendons de verifier encore
une fois Iéquilibre du bras avant de régler la
force dappui.

Si Ie bras est exactement équilibré, on regle
Ia force d'appui néoessaire a la cellule en
tournant la graduation correspondante (7).
La force d'appui peut étre réglée de maniére
continue de 0 a 30 mN (0 - 3 g) suivant les
données de la graduation:

1=10mN =1g
2=20mN -29
3=30mN =39

De méme, la sousdivision dans la zone 0 - .

15 mN (0 - 1,5 9) correspond a 1 mN (0,1 9)
et dans la zone 15 - 30 mN (1,5 - 3 g) a
2,5 mN (0,25 9).

Le fonctionnement de l'appareil est sfir a
partir de 5 mN (0,5 9) de force dappui.

De toonarm is uitgebalanceerd wanneer kant
"A" van het toonkop-profiel en kant B" van
de toonarmsteun zich op gelijke hoogte be-
vinden (Fig. 14), of wanneer de arm na Iichte
aanraking uit zich zelf de horizontale positie
inneemt, d.w.z. noch naar boven aantikt noch
naar beneden op de steun Iigt.

De exacte instelling van de toonarm balans is
met name voor toonsystemen die met zeer
lage naalddruk gespeeld moeten worden van
groot belang. De arm behoeft slechts eenmaal
uitgebalanceerd te worden, doch het verdient
aanbeveling de balans van tiid tot tijd te con-
troleren.

Installing naaldkracht

Elk systeem heeft een eigen, juiste naald-
kracht, waarbij een optimale weergave be-
reikt wordt. Van het ingebouwde systeem
vindt U separaat de nodige technische gege-
vens.

Een te kleine naaldkracht kenmerkt zich door
vervorming bij luide passages op de plaat. Is
daarentegen de naaldkracht te groot. dan kan
zowel het element als de plaat beschadigd
worden.

Controleert u daarom voor het instellen van
de naalddruk nog eens de toonarm balans. ls
de toonarm exact uitgebalanceerd dan kan
door het verdraaien van de naalddrukschaal
(7) de voor het toonsysteem benodigde
naalddruk ingesteld worden. De naalddruk is
continu instelbaar van 0 tot 30 mN (0 - 3 p).
waarby de cijfers op de schaal het volgende
betekenen:

1=10mN 91p
2 = 20mN 3 2p
3=30mN =3p

Analoog hiermee is een streepje in het gedeel-
te van0 - 15 mN (0-1,5p) 1 mN (0.1 p) in
het gedeelte van 15 - 30 mN (1,5 - 3 p)
2.5 mN (025 p).

De toonarm werkt bedrijfszeker bij een naald-
kracht groter dan 5 mN (0,5 p).

El brazo estaré equilibrado cuando el canto
"A" de la cabeza se encuentre a la misma al-
tura que el canto "B" del soporte (Fig. 14),
o cuando al hacer oscilar el brazo vertical-
mente éste vuelva a su posicidn horizontal al
encontrarse en reposo. es decir que no debe
tocar por arriba ni apoyarse por abajo.

Un balance precise del brazo es importante
especial mente con capsules de reducida fuerza
de apoyo. El equilibrio del brazo deberé ser
realizado una sola vez. Sin embargo, reco-
mendamos comprobarlo de vez en cuando.

Ajuste de la fuerza de apoyo

Cada capsula reQUiere una fuerza de apoyo
determinada, con la que se consigue la re-
produccidn optima. Este dato va indicado en
la hoja de caracteristicas adjunta para la
cépsula incorporada.

Una fuerza de apoyo escasa origina distor-
siones de la reproduccidn en Ios pasajes
de ,,forte, si, por el contrario, la fuerza de
apoyo es excesiva, se puede dafiar tanto Ia
cépsula, como la aguja o incluso el disco.

Por lo tanto, antes de efectuar cualquier
ajuste de la fuerza de apoyo, compruebe de
nuevo y previamente el equilibrio del brazo.
Con el brazo equilibradoa exactitud, la fuerza
de apoyo necesaria para la capsula utilizada
se ajusta girando la escala de la fuerza de
apoyo (7). La fuerza de apoyo puede ser
adjustada sin escalones entre 0 y 30 mN
(0 y 3 pondios), siendo asi que las cifras en
la escala significan Io siguiente:

1=10mN =1p
2 = 20mN 9 2p
3=30mN 93p

En sentido analogo, cada raya divisoria en la
zona de 0 hasta 15 mN (O - 1,5 p) equivaldra
a 1 mN (0,1 p). y en la zona desde 10$
15 hasta 30 mN (1 ,5-3 p) a 2,5 mN (0,25 p).
A partir de 5 mN (0,5 9) el aparato fun-
ciona con toda seguridad.

Tonarmen ar ratt balanserad nar kanten A pa
monteringsbryggan ligger i nivé med kanten
B pa tonarmsstodet (fig. 14) eller om man
vippar p5 tonarmen i vertikalled skall den av
sig sj'alv pendla tillbaka till horisontallaget.
En exakt utbalansering av tonarmen ar fram-
forallt viktig vid anvéndning av pick-upsy-
stem avsedda fdr lag naltryckskraft. Utbalan-
sering behéver endast ske vid ev utbyte av
pick-up system, men det kan vara bra att
nfigon gang gora en efterkontroll.

Insfillning av nélanliggningskraft

Varje pick-up (nélmikrofonsystem) erfordrar
en bestamd anliggningskraft for optimal ater-
givning. Data for det i verket monterade sy-
stemet finns p5 bifogat datablad. For liten
anliggningskraft medfér, att alla fortepassa-
ger kommer att distorderas. Ar daremot
anliggningskraften for hog kan saval n51 som
skiva skadas.

Kontrollera fore installningen annu en gang
att tonarmen ar utbalanserad.

N'ar tonarmen 5r exakt utbalanserad, stall in
naltryckskraften genom att vrida installnings-
ratten (7) till onskat varde.

Installningen kan géras kontinuerligt mellan
0 - 30 mN (0 - 3 p), och skalans siffermar-
kering betyder.

1=10mN 91p
2=20mN= 2p
3=30mNQ 3p

Analogt darmed ar ett delstreck

inom omrédet 0 - 15 mN (0 - 1.5 p) 1 mN
(0,1 p)

inom omrédet 15 - 30 mN (1,5 - 3 p)

2.5 mN (0,25 p).

Tonarmen ar funktionssaker frén 5 mN

(0,5 p).

21

Page 22

22

Antiskating

Zur Kompensation der SkatingKraft muls
am Tonarm eine in Grr'lee und Richtung ge-
nau definierte Gegenkraft angreifen, Die
Antiskating-Einnchtung (10) lhres HiFi-Plat-
tenspielers erlLillt diese Forderung und er-
laubt eine Vertinderung der Skating-Kom
pensation auch wahrend des Spiels, wrchtig
I B berm Ubergang von trockenen Ium Ab-
spielen von benetzten Schallplatten.
Fur die heute Ublichen bzw. genormten Na»
deltypen sind getrennte Einstellskalen VOI-
handen, entsprechend den aulgedruckten
Sytnbolen:
O > Skala
geeicht fur spharische 1 5 pin-Abtast-
nadeln nach DIN 45 500
O Skala
geeicht fur biradiale lelliptischel
Abtastnadeln mit den Radien 5 -8 x
18 < 22 pm
CD 4 Skala
geeicht fur die Wiedergabe mit CD 4-
Spezial-Tonabnehmersystemen,

Die Einstellung der AntiskatingEinrichtung
hat synchron zur Einstellung der Aullagekraft
zu erfolgen: Drehen Sie bitte die Antiskating-
Einrichtung auf die Ziffer der betreffenden
Skala. die der eingestellten Auflagekraft ent~
spricht, also 2.8. per 12 mN (1,2 p) Auflage
kraft den Antiskating-Drehknopf ebenfalls
out "1.2",

Beim NatSabtasten (Abspielen von mit Fltis
sigkeit benetzter Schallplattel verringert sich
die Skatingkraft um ca. 10 %.

Es wird in diesem Fall empfohlen, die Ein-
stellung entsprechend anmpassen.

Bei abweichender Nadelverrundung kennen
Sie die AntiskatingEinstellung der Tabelle
entnehmen.

Airfladel raft Vet rundungsradien in pm
ntN 2' p 1 1 13 17 19

") 0,5 0,60 0,55 0,45 0,40
10 1,0 1,10 1,05 0,05 0,00
15 1,5 1,6') 1,5. 1,45 1,40
20 2,0 2,15 2,05 1,05 1.90
25 2,5 2,65 2,513 2,41,) 2,40
30 3 0 2,95 2,00

Antiskating

To compensate for skating force, a counter
force, precisely defined in weight and direi,
tion, must be applied to the tonearm, The
antiskating mechanism (10) of your turn
table fulfills this requirement and allows the
change of the skating compensation even
while a record is being played, for example,
when playing a moistened record after a dry
record

Separate calibrations are provided for the
stylus types used almost exclusively today,
according to the imprinted symbols.

0 ,, scale
calibrated for conical 15 micron
stylus DIN 45 500
O a scale
calibrated for biradial (elliptical)
styli radii, E) -8 x 18 ~22 microns
CD 4 - scale:
calibrated for playing special CD 4
cartridges

The setting of anti-skating compensation
corresponds to the setting of stylus pressure,
Turn the anti-skating knob to the number on
the appropriate scale which corresponds to
the stylus pressure you have set. That is, for
a stylus pressure of 12 mN (1 2 grams). set
the anti~skating knob also at "1 2",

When playing records moistened with a clea-
ning agent, the skating force is reduced by
approximately 10 11-). In such cases we re-
commend a corresponding 10 70 decrease in
antiskating compensation.

For other stylus tip diameters, choose the
correct antiskating setting from the table
below.

Styl is pressure 1i-)(1ll()1HIVUS1|Ddlfln101s'ta

in um

mN 5 p 11 13 17 19
5 0,5 0,60 0,55 0,45 0,40
10 1,0 1,10 1,05 0,95 0,90
11; 1,5 1,60 1,85 1,45) 1,40
20 2,0 2,1) 2,05 1,95 1,00
2) 2,5 2,05 2,55 2,45 2,40
30 3,0 2,95 2,90