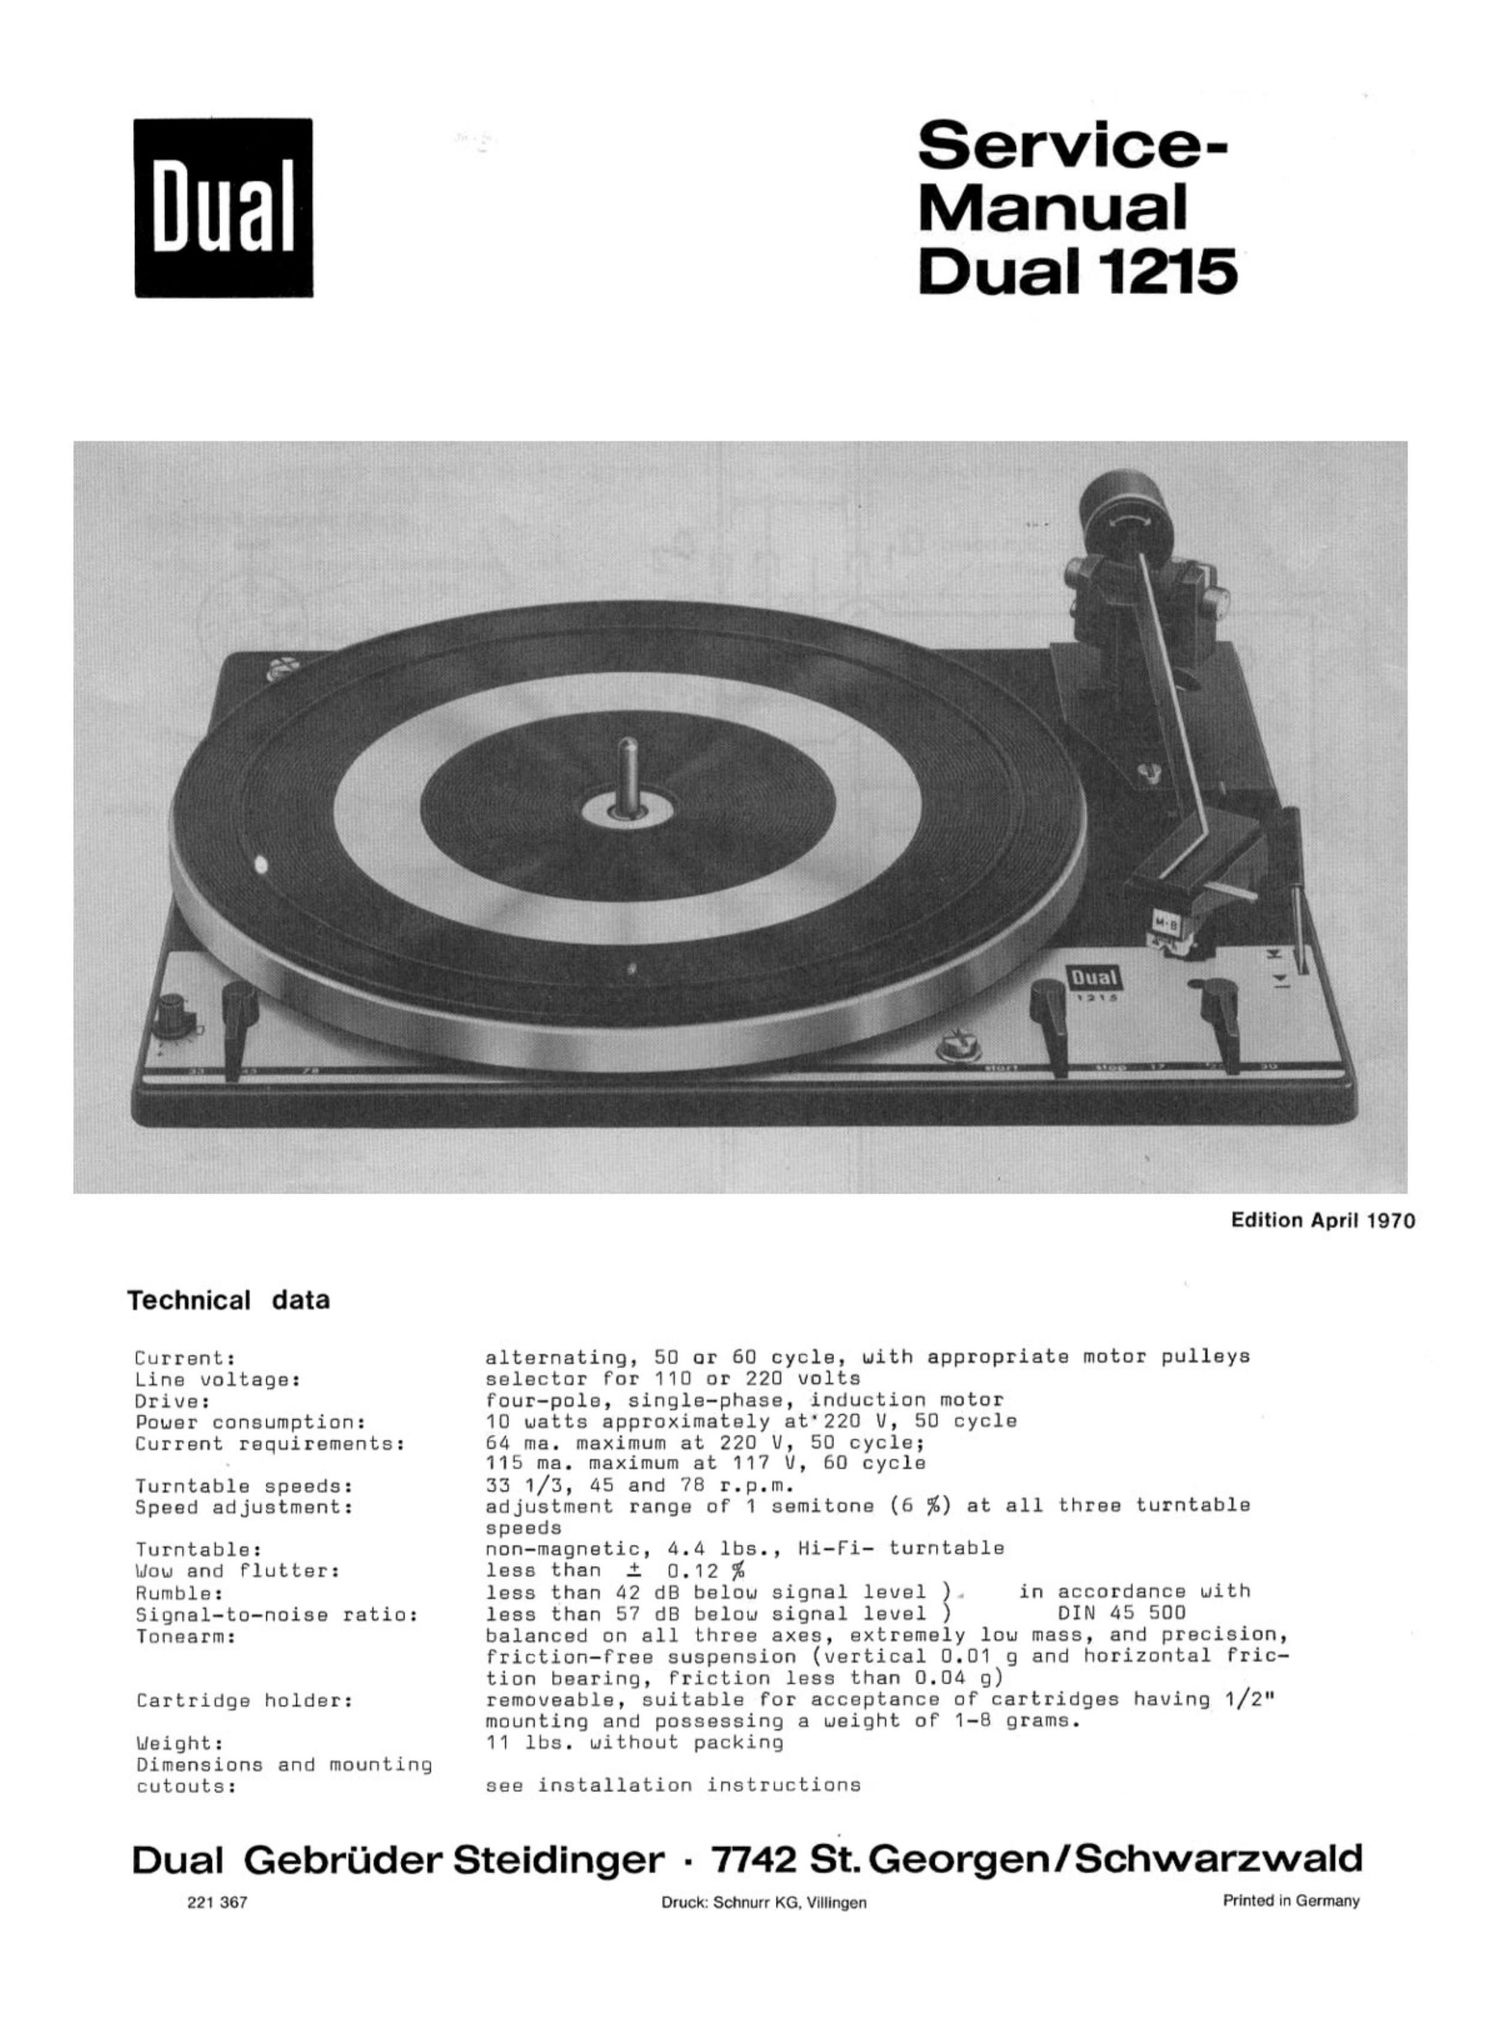
Dual 1215 Service Manual

This is the 22 pages manual for Dual 1215 Service Manual.
Read or download the pdf for free. If you want to contribute, please mail your pdfs to info@audioservicemanuals.com.

Page: 1 / 22
left right
Dual 1215 Service Manual

Extracted text from Dual 1215 Service Manual (Ocr-read)


Page 1

Service-
Manual
Dual 1215

Technical data

Current:

Line voltage:

Drive:

Power consumption:
Current requirements:

Turntable speeds:
Speed adjustment:

Turntable:

wow and Flutter:
Rumble:
Signal-to-noise ratio:
Tonearm:

Cartridge holder:
weight:

Dimensions and mounting
cutouts:

Edition April 1970

alternating, 50 or 60 cycle, with appropriate motor pulleys
selector For 110 or 220 volts

four-pole, single-phase, induction motor

10 watts approximately at'220 U, 50 cycle

64 me. maximum at 220 U, 50 cycle;

115 me. maximum at 117 U, 60 cycle

33 1/3, as and 78 r.p.m.

adjustment range of 1 semitone (6 %) at all three turntable
speeds

non-magnetic, 4.4 lbs., Hi-Fi- turntable

less than i 0.12 %

less than 42 dB belou signal level ) in accordance with
less than 57 dB below signal level ) DIN 45 500
balanced on all three axes, extremely low mass, and precision,
friction-Free suspension (vertical 0.01 g and horizontal Fric-
tion bearing, Friction less than 0.04 g)

removeable, suitable for acceptance of cartridges having 1/2"
mounting and possessing a weight of 1-8 grams.

11 lbs. without packing

see installation instructions

Dual Geerder Steidinger - 7742 St. Georgen/Schwarzwald

221 367

chk: Schnurr KG. Vlllillgen Printed In Germany

Page 2

Fig.1 Tonearm hookup schematic

right channel
\ channel 1

V-'-"7
\
\
\
r--
I
I
I
I
I
F'J
| I
I I
I \
I
I
Lr'
l
_-._J

tonearm junction board 01
with muting switch \

channel 1
red

contact plate at plug-in head

red

green/|

mu- -metal housing of cartridge/|

tonearm
circuit

left channel
channel2


channel2
white

02

record inner side of groove

left channel

/.

.- - _ I
a I I -|( '
a' '

I: L--I I

L - :
L - .J --*\\ I
Q

a) with miniature 5-pln plug

channel 1
red lead

channel2
white lead

b) with phono plug

red r' II r' '1 yellow

c) with banana plugs
channell a red
channel 2 = yellow
common black

ground ~ green

- - -]/ plug-in head

spring contacts between
plug-in cartridge head
and tonearm

////////////////%

outer side of groove
right channel

Page 10

Fig.

223233 SB 215172 238 177207

Fig.

13 Stop position

14 Noting snitch

Cam wheel at zero:

204238

Contacts of muting switch opened

CanuwheeHstunfing:
Contacts of muting switch closed

10

175

201
180

178

161

161
162

236

Moving the operating switch also
releases the start lever (178),
pulling it towards the main cam by
means of the tension spring (179).
This causes coil spring to bring
the shut-off lever (21?) within
range of the main cam dog. Thus the
shut-off lever drives the main cam.

To prevent malfunctioning, the ope-
rating switch is locked during the
start cycle (that is, while the
main cam is turning). Just before
the main cam reaches its neutral
position (at the and of the change
cycle), the start lever is pushed
clear of the main cam by the start
pin (SE) of the main cam. This
restores the switch lever and ope-
rating switch to their original
positions.

After installation and also after
roving the changer, the unit should
be started with the tonearm locked
on the rest. This will automati-
cally re-adjust the shut-off lever,
which may have shifted out of po-
sition.

Manual start

when the tonearm (15) is swung in-
ward by hand, the pawl on the
switch arm drops into a support
(88) on the base plate, holding
the switch arm in this position
and the idler wheel (135) in con-
tact with the platter. The slide
(151) linked with the switch arm
actuates the power switch and sets
the turntable platter rotating.

0n reaching the run-out groove,

the tonearm automatically returns
to its rest position and the unit
shuts itself off. (See shut-off
mechanism, next side). However, if
the tonearm is lifted off the re-
cord manually and returned to the
rest the tabs of the arm segment
(2425 release the pawl. The tor-
sion spring (172) then returns the
switch arm to its initial position,
opening the power switch and disen-
gaging the idler wheel.

Stop switching

Uhen the operating lever is moved
to "step", the starting lever (178)
is pushed forward. As a result the
shut-off linkage comes into contact
with the main cam. The swinging le-
ver (226) remains in its stop po-
sition.

when the tonearm is on its rest and
the operating lever is pushed to
"stop", the operating lever must
not jam.

Page 12

Fig.

182

183

184

1?

Change cycle

223

203201

226

12

Shut-off mechanism

Shut-off and change Functions are de-
termined by the position of the cam
Follower lever (226). After every start
or record-drop, the cam Follower lever
is brought to its stop position by the
main lever (193) (longer and towards
the center of the main cam). As the re-
cnrd is dropped the cam follower lever
(22B) is turned to its start position
by the cam rocker (203), so that the
tonearm can swing in toward the record
and be lowered on to it. If there are
no more records on the spindle, and the
cam rocker cannot turn the cam Follower
lever, the lover remains in its stop
position and allows the tonearm to
swing to its rest position.

when the main cam (223) returns to its
neutral position, the switch arm (175)
drops into a cut-out in the main cam,
opening the power switch (148) and
disengaging the drive idler (135).

Troubleshooting chart

Symptom

Turntable stops after automatic
setdown of the tonearm

Cause

a) Switch arm (175) is not latched
by pawl (220)

b) Power switch opens

Remedy

a) Loosen screw and turn the short
arm piece on the long switch-
arm piece. Move the tonearm in
and turn the main cam to its
neutral position and adjust for
about 1/64" play between cam
and rectangular bolts riveted
into the chassis.

b) As the tonearm moves in, switch
slide (151) must overtravel by
about 1/64". Its tab must en-
gage the switch.

Symptom

Last record keeps repeating

Cause

Defective spindle

Remedy
Replace spindle

Page 21

t.

ReF.No.

Part.

No.

Description

Duan-
tity

296
297
298
299
300
301
302

**
*X-
**
**
*1-

217
200
210
212
210
221
217
220
220
221
210
210
210

888
110
145
125
361
378
585
199
165
309
099
475
586

Idler wheel assembly ..............................
Idler thrust washer ...............................
"C" ring 2.3 ......................................
Idler uheel shaft .................................
Hex-nut N 3 .......................................
Idler arm assembly ................................
2-pole motor assembly 110/220 U ..................
2-pole motor assembly 150 V .......................
Stand complete ....................................
Stand complete with phono jacks ...................
Plastic clamp ........ ....... ......................
Machine screw AM 3 x 5 ............................
masher 3.2/7/0.5 St................................

_b
gage-baa-sNdQ-sa

d

** Not illustrated

21

Alterations reserved