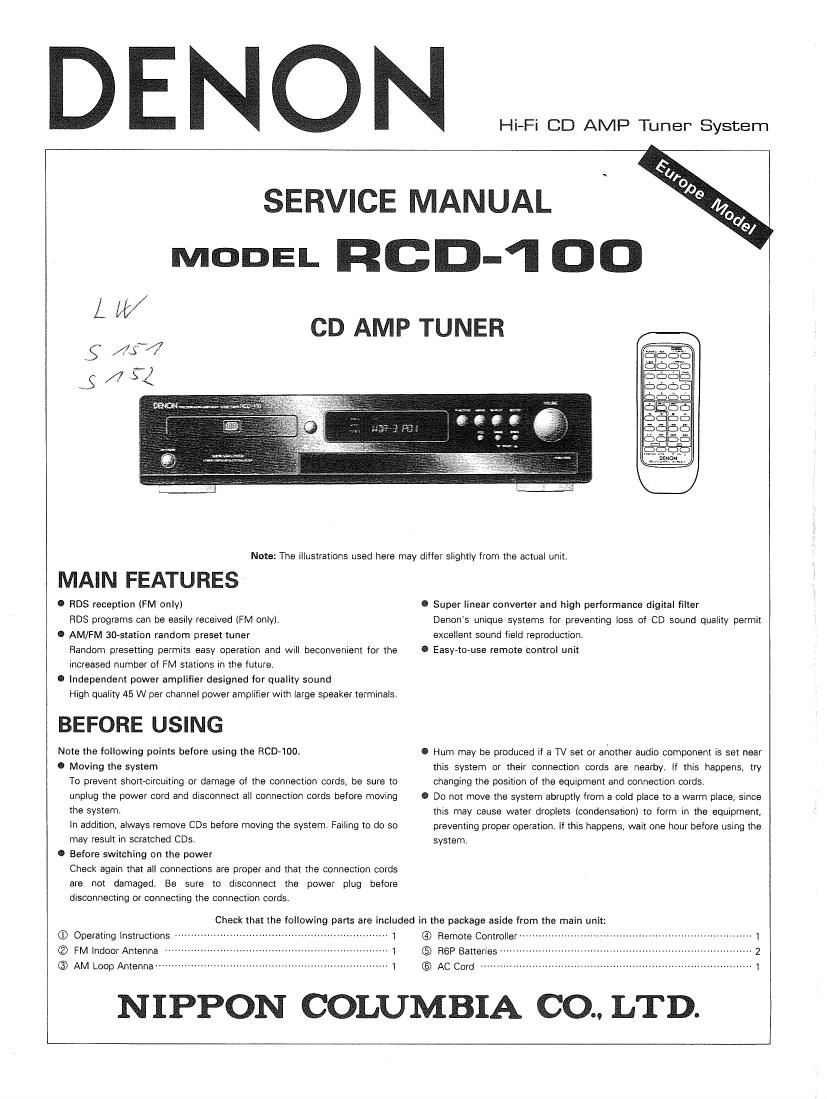
Denon RCD 100 Service Manual

This is the 70 pages manual for Denon RCD 100 Service Manual.
Read or download the pdf for free. If you want to contribute, please mail your pdfs to info@audioservicemanuals.com.

Page: 1 / 70
left right
Denon RCD 100 Service Manual

Extracted text from Denon RCD 100 Service Manual (Ocr-read)


Page 1

D E N O N Hi-Fi CD AMP Tuner System

MAIN FEATURES

I RDS reception (FM only)
HDS programs can be easily received (FM only),
0 AM/FM 30»station random preset tuner
Random presetting permits easy operation and will beconyenient for the
Increased number of FM stations in the future,
0 Independent power amplifier designed for quality sound
High quality 45 W per channel power amplifier with large speaker terminals.

BEFORE USING

Note the following points before using the FlCD-100.

0 Moving the system
To prevent short-circuiting or damage of the connection cords, be sure to
unplug the power cord and disconnect all connection cords before moving
the system.
in addition, always remove CDs before moving the system. Failing to do so
may result in scratched CDs.

0 Before switching on the power
Check again that all connections are proper and that the connection cords
are not damaged. Be sure to disconnect the power plug before
disconnecting or connecting the connection cords.

(D Operating Instrucfions .................................................................. 1
® FM Indoor Antenna ..................................................................... 1
® AM Loop Antenna ........................................................................ 1

SERVICE MANUAL

MODEL ROD-1 00

CD AMP TUNER

Note: The illustrations used here may differ slightly from the actual unit.

Check that the following parts are included in the package aside from the main unit

NIPPON COLUMBIA CO., LTD.

0 Super linear converter and high performance digital tilter
Denon's unique systems for preventing loss of CD sound quality permit
excellent sound field reproduction.

I Easy-to-use remote control unit

Hum may be produced it a TV set or another audio component is set near
this system or their connection cords are nearby. If this happens, try
changing the position of the equipment and connection cords.

0 Do not move the system abruptly from a cold place to a warm place, since
this may cause water droplets (condensation) to form in the equipment,
preventing proper operation. If this happens, wait one hour before using the
system.

@ Ramme Controller ............................................................... 1
® RGP Batteries .............................................................................. 2
© AC Cord .................................................................................... 1

Page 2

_RCD-1DD-

TABLE OF CONTENTS

General Section (Page 1 ~ Pages 21)

Q Main Features .................................................................. 1
0 Before Using 4- 1
0 Main SpecificationS -~ 3
. Operating Instructions .............................................. 4 ~ 21

Receiver Section (Pages 22 ~ Pages 70)

0 Disassembly Procedures 22 ~ 25
Q Block Diagram .............. 261 27
. Level Diagram .............................................................. 28

Only discs with the mark at the right can be played on this system.

WEE

DIQI'IAL AUDIO

PACKING & ACCESSORIES PARTS LIST

Hell No. Part No Part Name Remarks O'Iy
© 1 RC0 100 CDAMPTuner 1
© 2 505 0131 050 Cabinet Cever 1
© 3 503 9308 105 Cushion Assy 1
© 4 501 9297 003 Carton 1
GEN 7342 Envelope Sub Ass'y 15
505 0283 018 :Poly Cover (1)
511 9466 006 Inst Manual (1)
399 9054 009 RM Control FlC-814 (1)
394 0040 004 :BaftervlfifiP/UM-3)Ass'y (1)
395 0023 008 :FM Ant Ass'y (1)
1A3?"

. Adjustment ............................................................ 28 N 33
0 Semiconductors ~~~~~~~~~~~~~~~~~~~ ~- 34 ~ 48
0 Microprocessor Documentation ~
0 Microprocessor Peripheral Wiring Diagram
0 Printed Wiring Board] Parts List
0 Remote Control Unit
0 Wiring Diagram
0 Schematic Diagram ~~~~~~~~
9 Exploded View, Parts List

0 Parts List of CD Mechanism Unit

Page 30

_RCD-l DO -

CONFIRMING METHOD OF SERVO

A microcomputer adapted to this unit has the service programs so as to perform confirming more easily with the operation buttons.
Digital servo adopted to this unit is became automatic adjustment status in focus gain and tracking gain.

1. Actuating the Service Program
Disconnect 15F system connector of the main unit, and while pressing the V PLAY and 9- OPEN/CLOSE buttons at the same time, switch

on the system power. The power will be supplied automatically in 2 to 3 seconds, the display ofthe receiver will indicate 01 , and the
system will enter the service mode.

NOTE: Once the service program starts the operation buttons cannot be used for normal operation.

2. Operation Function at Service Program Actuation

Button
Operation

Operation Function

Explanation

é OPEN/CLOSE

Opens or closes disc holder button.

0 Open or closes only when disc is stopped.
- Operate other keys after open or close.

tic adjustment when the PAUSE button
is pushed while track number 03 is
displayed.

I STOP Stops system function. 0 Displays track number D i.
o Press when adjustment completed or do it again.
> PLAY Starts Focus servo and disc turns when 0 Push to check the tracking offset.
the PLAY button is pushed while track - When completed, displays track number GE <> DH (BE:
number 01 is displayed. automatic adjustment).
Starts Focus servo, Tracking servo. - Push to check the HF level.
Slide servo and Spindle servo when the a When completed, displays track number UL] .
PLAY button is pushed while track num-
ber 03 is displayed.
II PAUSE Displays a result of Focus gain automa- c When completed, Display shows:

TRACK TIME

1.. \/\/ vv
I /\I\ /\/\

TIME display shows automatic adjustment value.
GD EE

Displays: U I E-I'VDU U I or

Displays a result of Tracking gain auto-
matic adjustment when the PAUSE but-
ton is pushed while the result of the
automatic focus gain adjustment is dis-
played.

. When completed, Display shows:
TRACK TIME

s W W
E M M

TIME display shows automatic adjustment value.

Displays: Ell E7~UB U l or DD EE

Other Buttons

Unable to obtain normal function.

0 Never attempt to operate the buttons other than the above.
a If the buttons are erroneously pressed, promptly turn OFF the
power' switch.

(Caution)

- During the service program is in operation, do not use remote control.

30