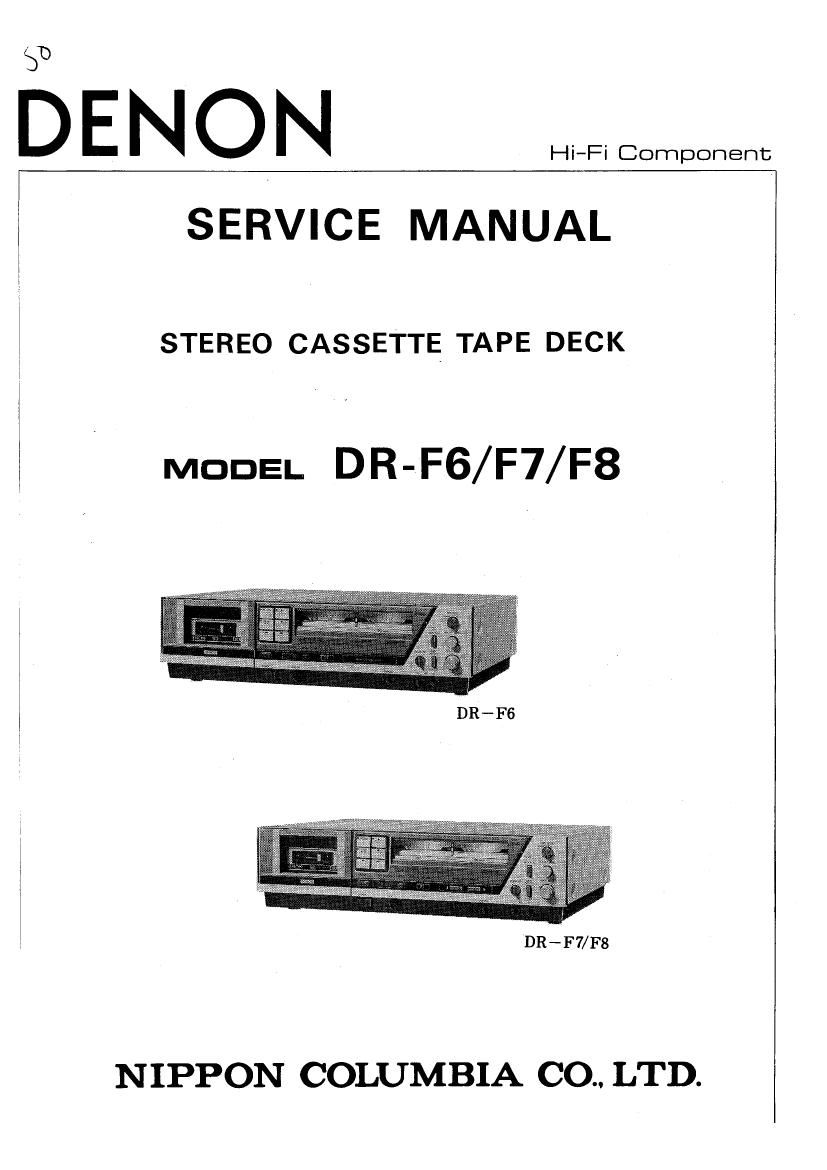
Denon DR F7 Service Manual

This is the 48 pages manual for Denon DR F7 Service Manual.
Read or download the pdf for free. If you want to contribute, please mail your pdfs to info@audioservicemanuals.com.

Page: 1 / 48
left right
Denon DR F7 Service Manual

Extracted text from Denon DR F7 Service Manual (Ocr-read)


Page 2

TABLE OF CONTENTS

MAIN FEATURES ................................................ 1
SPECIFICATIONS ................................................. 2
PART NAMES AND FUNCTIONS .................................... 3~4
BLOCK DIAGRAM (DR-F6) ......................................... 5
LEVEL DIAGRAM (DR-F6) ......................................... 6
BLOCK DIAGRAM (DR-F7/F8) ...................................... 7
LEVELDIAGRAM (DR»F7/F8) ......... 8
THE FTS ........................................................ 9~11
DISASSEMBLY INSTRUCTIONS ..................................... 12
ADJUSTING AND CHECKING THE MECHANISM SECTION .............. 13~15
ADJUSTING THE ELECTRICAL SECTIONS ........................... 16~19
PARTS LIST OF MECHANISM UNIT ................................. 20~2I
PARTS LIST OF EXPLODED VIEW .................................. 21~22
PARTS LIST OF P.C. BOARD ....................................... 23~27
EXPLODED VIEW OF MECHANISM UNIT ............................ 28
EXPLODED VIEW OF CABINET AND CHASSIS GROUP ................. 29~30
CONNECTIONS OF P.C. BOARD ..................................... 31~32
SCHEMATIC DIAGRAM OF LOGIC AND POWER UNIT ................. 33~34
SCHEMATIC DIAGRAM OF AUDIO AMP ............................. 35~36
SCHEMATIC DIAGRAM OF DOLBY AMP ............................. 37
P.C. BOARD OF KU-0435 AUDIO AMP. UNIT .......................... 38
P.C. BOARD OF KU-0422 AUDIO AMP. UNIT .......................... 39~40
P.C. BOARD OF KU-O423 DOLBY AMP. UNIT .......................... 41~42
P.C. BOARD OF KU-0421 LOGIC AND POWER UNIT ................... 43~44

P.C. BOARD OF KU-0426 P.L.S. DD UNIT, AND
KU»0439 LEADER DETECTOR UNIT,
KU-O434 OUARTS LOCKED UNIT AND
KU-O446/0447 POWER WIRING UNIT .................. 45

MAIN FEATURES

Three head system with recording/playback combination I New non-slip reel drive mechanism.

head, capable of metal tape applications.

I Dolby type B and type C.

FTS tuning system with microprocessor (DR-F7/F8l. '
l Double Dolby systems and separate MPX filter switch.

Flat Twin DD motor with IC logic feather touch con-

trols. I DENON original PAUSE/MUTE button.
Quartz Lock Flat Twin DD motor (DR Newly developed tape tension servo sensor. l Timer recordings and timer playback facilities.
DC audio amplifier. l Front panel remote control jack.

Page 10

THE FTS

The FTS (Flat Tuning System) automatically adjusts the
recording sensitivity and the bias, resulting in recordings
with a flat frequency response.

. . , TAPE/SOURCE
Playback amplifier clchIt switching circuit

PB

HEAD-G g Dolby circuit © NE OUT

Comparator _
circuit
FTS/audio switching
circuit REC level circuit
- a REC E0 fl REC
LINE IN @- Dulby clrcmt circuit U HEAD

FTS oscillator Recording -
65'9 bias/erasing circuit -@ figfigi

Tape select >-<
circuit
- Lamp circuit
FTS microprocessor circuit .
Key switch. Mechanism
circuit 29:15:
I

Block Diagram

Page 13

DISASSEMBLY INSTRUCTIONS

1.
(1)

(2)

(3)

(4

How to Remove the Front Panel

Remove the six screws 303 from both sides of the top

cover 239 , and take off the top cover.

Press the EJECT button 220 and open the cassette

compartment. Push the cassette window 203 upward

to remove from the cassette compartment. Return the

cassette compartment to the original position.

Note: Be careful when handling the cassette window,
as it is easily scratched.

Pull out the knobs 211 , 212 , 213 , 214 , 215 .

Note: Be careful not to scratch the knobs and the clear
plastic parts.

Unscrew the four upper screws 300 and the four low-

er screws 301 of the front panel 202 :pull the front

panel forward.

(1)
(2)

3.
(1)
(2)

(3)

How to Remove the Control Switch Circuit
Board and the FTS Switch Circuit Board
(DR-F7/ F8)

Remove the front panel 202 .

The control switch circuit board and the FTS switch

circuit board can be removed when the circuit board

holding screws 305 , behind the front panel, are un~
screwed.

Note: When assembling, make sure the cushions 210
and 217 in between the switches and the but-
tons are inserted into the guides of the front
panel 202 .

Poor button operations may result if the cush-
ions are not properly placed into the guides.

How to Remove the Mechanisms

Remove the top cover 239 and the front panel 202 .
Unscrew the Hall )0 circuit board holding screw 304
and take out the circuit board.

Remove the belt from the counter 224 .

(4)

(5)

(6)

(7)

4.

Pull the push lever (G) 245 forward to remove it from
the Dolby switch 279 . Unscrew the three Dolby
circuit board 278 holding screws 304 and lift the
circuit board upward.

Disconnect the connectors with the lead wires, which

are connected to the mechanism, from the three places

on the audio circuit board and two places on the logic
circuit board.

Note: The orange line is the (R) channel and the white
line is the (L) channel for the two 2P connectors
used on the audio circuit boards. Make sure the
connections are correct when assembling.

Unscrew the four holding screws 306 in the front

section of the front chassis 226 and the two bottom

cover 231 holding screws; by lifting, the mechanism
unit can be taken out.

When assembling, the gap between the Hall IC and the

counter magnet should be 0.5-1 mm.

How to Remove the Logic Circuit Board

Removing the three logic circuit board 280 holding screws
304 and the two screws holding the radiator 248 and the
center angle 229 to lift out the logic circuit board.

5.
(1)
(2)

(3)

(1)
(2)

(3)

(4)

7.

How to Remove the Dolby Circuit Board
Remove the top cover 239 .

Remove the front panel 202 and the various knobs
211, 212, 213., 214, 215.

Remove the push lever (G) 245 from the Dolby
switch 279 and unscrew the four Dolby circuit board
holding screws 304 to take out the Dolby circuit
board.

How to Remove the Audio Circuit Board.

( ) denotes DR-FG

Remove the Dolby circuit board together with the

hinge.

Unscrew the selector switch 261 holding screws and

the nuts from the volumes 262 , 263 . (Remove the

nut from volume 263 .)

Unscrew the four screws 304 holding the audio circuit

board 260 , and take out the screws 306 and the nuts

311 at the rear of the vertical mounted circu it board.

(Unscrew the five screws 304 holding the audio cir-

cuit board 260.)

The audio circuit board can be taken out by sliding

it back and lifting.

Note: Most repairs to the logic and audio circuit boards
can be done by removing the bottom cover.
Refer to the above removal instructions as neces-
sary.

Power Supply Section

Since the safety regulation applies to the power supply
section, be careful of the parts used and the soldering of
these parts when replacing.