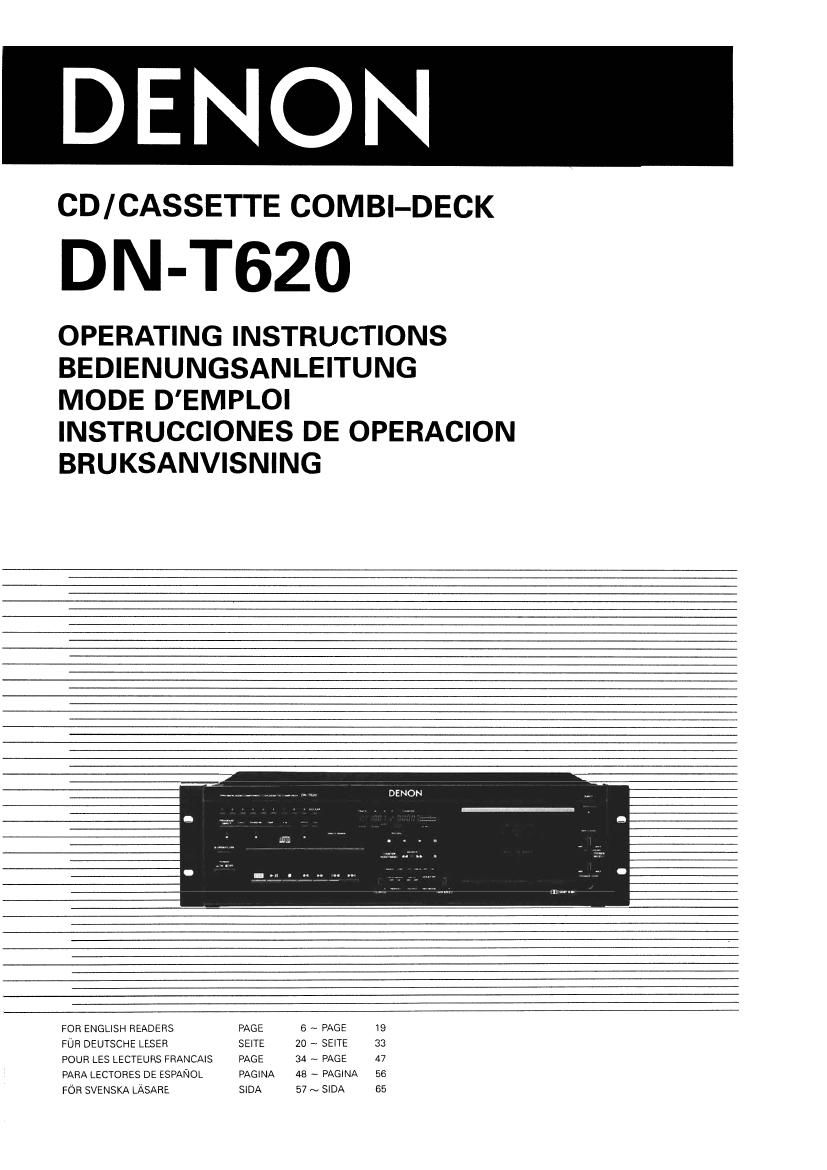
Denon DN T620 Owners Manual

This is the 34 pages manual for Denon DN T620 Owners Manual.
Read or download the pdf for free. If you want to contribute, please mail your pdfs to info@audioservicemanuals.com.

Page: 1 / 34
left right
Denon DN T620 Owners Manual

Extracted text from Denon DN T620 Owners Manual (Ocr-read)


Page 1

DENON

CD/CASSETTE COMBl-DECK

DN-T620

OPERATING INSTRUCTIONS
BEDIENUNGSANLEITUNG

MODE DEMPLOI
INSTRUCCIONES DE OPERACION
BRUKSANVISNING

FOR ENGLISH READERS PAGE 6 ~ PAGE 19

FUR DEUTSCHE LESER SEITE 20 - SEITE 33
POUR LES LECTEURS FRANCAKS PAGE 34 ~ PAGE 47
PARA LECTORES DE ESPANOL PAGINA 48 ~ PAGINA 56

FOR SVENSKA LASARE SIDA 57 N SIDA 55

Page 2

6A.

10.

11.

SAFETY INSTRUCTIONS

Read instructions - All the safety and operating instruc- 12,

tions should be read before the appliance is operated.

Retain Instructions , The safety and operating instruc-
tions should be retained for future reference.

Heed Warnings -All warnings on the appliance and in the
operating instructions should be adhered to.

14.
Follow Instructions - All operating and use instructions
should be followed. 15
Water and Moisture -The appliance should not be used
near water - for example, near a bathtub, washbowl, 16
kitchen sink, laundry tub, in a wet basement, or near a '
swimming pool, and the like.
Carts and Stands 7 The appliance should be used only
with a cart or stand that is recommended by the
manufacturer.
An appliance and cart
combination should be
moved With care.
Quick stops, exces- .
sive force, and uneven
surfaces may cause 17~

the appliance and cart ..
combination to overturn.

Wall or Ceiling Mounting - The appliance should be 13

mounted to a wall or ceiling only as recommended by the
manufacturer.

Ventilation - The appliance should be situated so that its 19

location or position does not interfere with its properven-
tilation. For example, the appliance should not be si-
tuated on a bed, sofa, rug, or similar surface that may
block the ventilation openings; or, placed in a built-in
installation, such as a bookcase or cabinet that may im-
pede the flow of air through the ventilation openings.

Heat - The appliance should be situated away from heat
sources such as radiators, heat registers, stoves, or other
appliances (including amplifiers) that produce heat.

Power Sources - The appliance should be connected to
a power supply only of the type described in the operat-
ing instructions or as marked on the appliance.

Grounding or Polarization - Precautions should be taken
so that the grounding or polarization means of an ap-
pliance is not defeated.
FIGUREA
EXAMPLE OF ANTENNA GROUNDING

AS PER NATIONAL
ELECTRICAL CODE


ANTENNA
LEAD lN
WlRE

GnouND

ANTENNA
DlSCHARGE UNlT
iNEc SECTlON aio-zoi

ELECTRiC
SEHVlCE
EOUlPMENT GROUNDlNG CONDUCTORS

iNEr: SECTlDN sioJii
GROUND CLAMPS

POWER SERVICE snounows
r-T ELECTRODE svstEM
iNEc ART 250, PART Hi

NEc , NATlDNAL ELECTRlCAL CODE

20.

Power-Cord Protection - Power-supply cords should be
routed so that they are not likely to be walked on or
pinched by items placed upon or against them, paying
particular attention to cords at plugs, convenience recep-
tacles, and the point where they eXIt from the appliance.

Cleaning - The appliance should be cleaned only as rec-
ommended by the manufacturer.

Power Lines - An outdoor antenna should be located
away from power lines.

Outdoor Antenna Grounding - |f an outside antenna is
connected to the receiver, be sure the antenna system
is grounded so as to provide some protection against
voltage surges and built.up static charges. Article 810 of
the National Electrical Code, ANSI/NFPA 70, provides in-
formation with regard to proper grounding of the mast
and supporting structure, grounding of the lead-in wire
to an antenna~discharge unit. size of grounding conduc-
tors, location of antenna-discharge unit, connection to
grounding electrodes, and requirements for the ground-
ing electrode. See Figure A.

Nonuse Periods- The power cord of the appliance should
be unplugged from the outlet when left unused for a long
period of time.

Object and Liquid Entry - Care should be taken so that ob-
jects do not fall and liquids are not spilled into the enclo-
sure through openings.

Damage Requiring Service - The appliance should be
serviced by qualified service personnel when:

A. The power~supplv cord or the plug has been dam-
aged; or

B. Objects have fallen, or liquid has been spilled into the
appliance; or

C. The appliance has been exposed to rain; or

D. The appliance does not appear to operate normally or
exhibits a marked change in performance; or

E. The appliance has been dropped, or the enclosure
damaged.

Servicing -The user should not attempt to service the ap-
pliance beyond that described in the operating instruc-
tions. All other servicing should be referred to qualified
service personnel.

Page 10

OPENING AND CLOSING THE DISC HOLDER AND
LOADING A DISC

Opening and closing the disc holder lThIs operation only works while the power
is on.)

1. Press the power swnch lPOWERl to turn on the power

2. Press the open/close button (2 OPEN/CLOSEl.

How to load a disc

' Make sure the disc holder is completely open.

a Hold the disc by the edges and place it on the disc tray lDo nottouch the signal
suriace, ie, the glossy Side.)

I When using 12 cm. diameter discs. make sure the outer edge matches the
tray guide circumference lFig, 1), and when using CD singles (8 cm. diameterl
match the outer edge With the inner tray guide circumference. (Fig. 2)

0 Press the open/close button (2 OPEN/CLOSEl to close the disc holder.

0 When the disc holder is open and a disc is loaded, you may also press the
play/pause button i blll to close the disc holder, (If the play/pause button
(bll ) is pressed, playback v'i/ill start immediately upon the disc contents hav-
ing been read l

Fig-1 Tray guide rm i2 cm disc

12 cm disc

Fig. 2

Tray guide [or
s cm disc

5 cm dist: lCD singlet

Caution:

o If your finger should get caught in the disc holder when it closes, press the
open/close button l2 OPEN/CLOSE],

0 Do not place any foreign obiects on the disc tray, and do not place more than
one disc on the tray at a time. OtherWise malfunction may occur.

0 Do not push in the disc tray manually when the power is off as this may cause
maliunction and damage the CD player.

Precautions:

a If no disc has been loaded or the disc has been placed upside down, a a" is
displayed on the track display.

I When the information on the disc cannot be read correctly, for example due
to dust or dirt on the disc, the indicators Will read as shown below,

- » »- iii'iiim aw - , =__ nnnri -i:1LL;nui:anu
E El UJUU i_i li_l l_l .sssgass i_ii_i LI lawman
EM mil! <1me mm Emmi)! cbma

Normal display lmproper display

10

NORMAL CD PLAYBACK

(1) Starting Playback

i Press the power switch (POWER) to turn on the power.

2 Load the disc you want to play. .
When the disc holder is closed, the disc is read. the number of the starting
track appears on the track display, and the elapsed time appears on the time
display.

3. Select the desired play mode (SINGLE or CONTJi

4. Press the play/pause button l b" ).

l2) Pausing playback at any point ..........

c Playback can be temporarily halted and then continued from the same point
in the track.

1. Press the play/pause button till i during playback.

2. To continue playback, press the play/pause button l pll i once more.

(3) Returning to the position at which

playback started ...........................

- When the CUE button is pressed during the play mode. the pickup returns to
the posnion at which playback started and the pause mode is set.

Press the
We 9 PLAV/PAUSE button Efiésflfw

PLAY/PAUSE mm" Press me PLAY/PAUSE button '

r ID; I
¥ Play Internal if Play Internal l Posmon

G on the disc

[1 Ci i:i CI in CI El :1 1:] a
Back Cue Operation

I4) Stopping Playback

1, Press the stop button i I l.
0 When all tracks have been played on a disc, playback Will stop by itself.