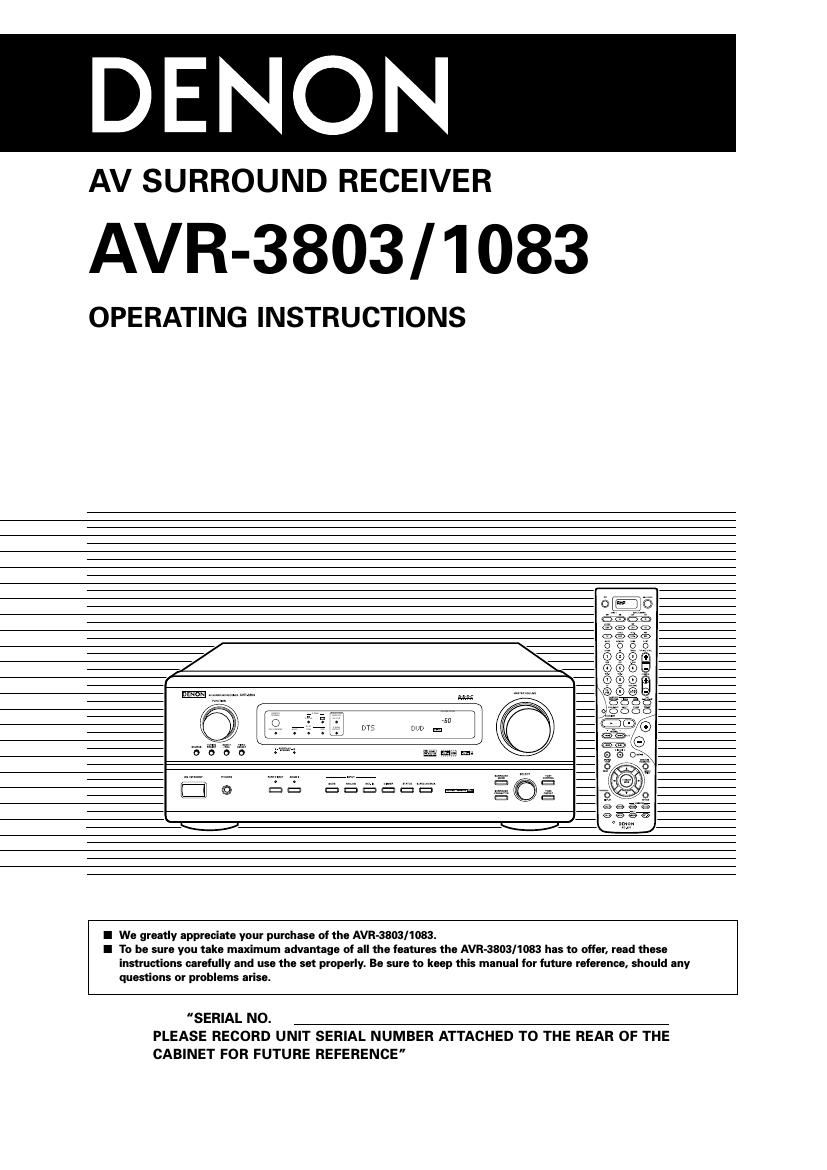
Denon AVR 1083 Owners Manual

This is the 84 pages manual for Denon AVR 1083 Owners Manual.
Read or download the pdf for free. If you want to contribute, please mail your pdfs to info@audioservicemanuals.com.

Page: 1 / 84
left right
Denon AVR 1083 Owners Manual

Extracted text from Denon AVR 1083 Owners Manual (Ocr-read)


Page 1

2 2 SAFETY PRECAUTIONS CAUTION RISK OF ELECTRIC SHOCK DO NOT OPEN CAUTION: TO REDUCE THE RISK OF ELECTRIC SHOCK, DO NOT REMOVE COVER (OR BACK). NO USER- SERVICEABLE PARTS INSIDE. REFER SERVICING TO QUALIFIED SERVICE PERSONNEL. The lightning flash with arrowhead symbol, within an equilateral triangle, is intended to alert the user to the presence of uninsulated dangerous voltage within the products enclosure that may be of sufficient magnitude to constitute a risk of electric shock to persons. The exclamation point within an equilateral triangle is intended to alert the user to the presence of important operating and maintenance (servicing) instructions in the literature accompanying the appliance. CAUTION TO PREVENT ELECTRIC SHOCK, MATCH WIDE BLADE OF PLUG TO WIDE SLOT, FULLY INSERT. ATTENTION POUR ÉVITER LES CHOCS ÉLECTRIQUES, INTERODUIRE LA LAME LA PLUS LARGE DE LA FICHE DANS LA BORNE CORRESPONDANTE DE LA PRISE ET POUSSER JUSQU AU FOND. This device complies with Part 15 of the FCC Rules. Operation is subject to the following two conditions: (1) This device may not cause harmful interference, and (2) this device must accept any interference received, including interference that may cause undesired operation. This Class B digital apparatus meets all requirements of the Canadian Interference-Causing Equipment Regulations. Cet appareil numérique de la classe B respecte toutes les exigences du Règlement sur le matériel brouilleur du Canada. WARNING: TO PREVENT FIRE OR SHOCK HAZARD, DO NOT EXPOSE THIS APPLIANCE TO RAIN OR MOISTURE. 2 NOTE ON USE / OBSERVATIONS RELATIVES A LUTILISATION - Avoid high temperatures. Allow for sufficient heat dispersion when installed on a rack. - Eviter des températures élevées Tenir compte dune dispersion de chaleur suffisante lors de linstallation sur une étagère. - Handle the power cord carefully. Hold the plug when unplugging the cord. - Manipuler le cordon dalimentation avec précaution. Tenir la prise lors du débranchement du cordon. - Keep the set free from moisture, water, and dust. - Protéger lappareil contre lhumidité, leau et lapoussière. - Unplug the power cord when not using the set for long periods of time. - Débrancher le cordon dalimentation lorsque lappareil nest pas utilisé pendant de longues périodes. * (For sets with ventilation holes) - Do not obstruct the ventilation holes. - Ne pas obstruer les trous daération. - Do not let foreign objects in the set. - Ne pas laisser des objets étrangers dans lappareil. - Do not let insecticides, benzene, and thinner come in contact with the set. - Ne pas mettre en contact des insecticides, du benzène et un diluant avec lappareil. - Never disassemble or modify the set in any way. - Ne jamais démonter ou modifier lappareil dune manière ou dune autre.

Page 2

3 SAFETY INSTRUCTIONS 1. Read Instructions -“ All the safety and operating instructionsshould be read before the product is operated. 2. Retain Instructions -“ The safety and operating instructions should be retained for future reference. 3. Heed Warnings -“ All warnings on the product and in the operating instructions should be adhered to. 4. Follow Instructions -“ All operating and use instructions should be followed. 5. Cleaning -“ Unplug this product from the wall outlet before cleaning. Do not use liquid cleaners or aerosol cleaners. 6. Attachments -“ Do not use attachments not recommended by the product manufacturer as they may cause hazards. 7. Water and Moisture -“ Do not use this product near water -“ for example, near a bath tub, wash bowl, kitchen sink, or laundry tub; in a wet basement; or near a swimming pool; and the like. 8. Accessories -“ Do not place this product on an unstable cart, stand, tripod, bracket, or table. The product may fall, causing serious injury to a child or adult, and serious damage to the product. Use only with a cart, stand, tripod, bracket, or table recommended by the manufacturer, or sold with the product. Any mounting of the product should follow the manufacturers instructions, and should use a mounting accessory recommended by the manufacturer. 9. A product and cart combination should be moved with care. Quick stops, excessive force, and uneven surfaces may cause the product and cart combination to overturn. 10. Ventilation -“ Slots and openings in the cabinet are provided for ventilation and to ensure reliable operation of the product and to protect it from overheating, and these openings must not be blocked or covered. The openings should never be blocked by placing the product on a bed, sofa, rug, or other similar surface. This product should not be placed in a built-in installation such as a bookcase or rack unless proper ventilation is provided or the manufacturers instructions have been adhered to. 11. Power Sources -“ This product should be operated only from the type of power source indicated on the marking label. If you are not sure of the type of power supply to your home, consult your product dealer or local power company. For products intended to operate from battery power, or other sources, refer to the operating instructions. 12. Grounding or Polarization -“ This product may be equipped with a polarized alternating-current line plug (a plug having one blade wider than the other). This plug will fit into the power outlet only one way. This is a safety feature. If you are unable to insert the plug fully into the outlet, try reversing the plug. If the plug should still fail to fit, contact your electrician to replace your obsolete outlet. Do not defeat the safety purpose of the polarized plug. 13. Power-Cord Protection -“ Power-supply cords should be routed so that they are not likely to be walked on or pinched by items placed upon or against them, paying particular attention to cords at plugs, convenience receptacles, and the point where they exit from the product. 15. Outdoor Antenna Grounding -“ If an outside antenna or cable system is connected to the product, be sure the antenna or cable system is grounded so as to provide some protection against voltage surges and built-up static charges. Article 810 of the National Electrical Code, ANSI/NFPA 70, provides information with regard to proper grounding of the mast and supporting structure, grounding of the lead-in wire to an antenna discharge unit, size of grounding conductors, location of antenna-discharge unit, connection to grounding electrodes, and requirements for the grounding electrode. See Figure A. 16. Lightning -“ For added protection for this product during a lightning storm, or when it is left unattended and unused for long periods of time, unplug it from the wall outlet and disconnect the antenna or cable system. This will prevent damage to the product due to lightning and power-line surges. 17. Power Lines -“ An outside antenna system should not be located in the vicinity of overhead power lines or other electric light or power circuits, or where it can fall into such power lines or circuits. When installing an outside antenna system, extreme care should be taken to keep from touching such power lines or circuits as contact with them might be fatal. 18. Overloading -“ Do not overload wall outlets, extension cords, or integral convenience receptacles as this can result in a risk of fire or electric shock. 19. Object and Liquid Entry -“ Never push objects of any kind into this product through openings as they may touch dangerous voltage points or short-out parts that could result in a fire or electric shock. Never spill liquid of any kind on the product. 20. Servicing -“ Do not attempt to service this product yourself as opening or removing covers may expose you to dangerous voltage or other hazards. Refer all servicing to qualified service personnel. 21. Damage Requiring Service -“ Unplug this product from the wall outlet and refer servicing to qualified service personnel under the following conditions: a) When the power-supply cord or plug is damaged, b) If liquid has been spilled, or objects have fallen into the product, c) If the product has been exposed to rain or water, d) If the product does not operate normally by following the operating instructions. Adjust only those controls that are covered by the operating instructions as an improper adjustment of other controls may result in damage and will often require extensive work by a qualified technician to restore the product to its normal operation, e) If the product has been dropped or damaged in any way, and f) When the product exhibits a distinct change in performance -“ this indicates a need for service. 22. Replacement Parts -“ When replacement parts are required, be sure the service technician has used replacement parts specified by the manufacturer or have the same characteristics as the original part. Unauthorized substitutions may result in fire, electric shock, or other hazards. 23. Safety Check -“ Upon completion of any service or repairs to this product, ask the service technician to perform safety checks to determine that the product is in proper operating condition. 24. Wall or Ceiling Mounting -“ The product should be mounted to a wall or ceiling only as recommended by the manufacturer. 25. Heat -“ The product should be situated away from heat sources such as radiators, heat registers, stoves, or other products (including amplifiers) that produce heat. FIGURE A EXAMPLE OF ANTENNA GROUNDING AS PER NATIONALELECTRICAL CODE ANTENNA LEAD IN WIRE GROUND CLAMP ELECTRIC SERVICE EQUIPMENT ANTENNA DISCHARGE UNIT (NEC SECTION 810 20) GROUNDING CONDUCTORS (NEC SECTION 810 21) GROUND CLAMPS POWER SERVICE GROUNDING ELECTRODE SYSTEM (NEC ART 250 PART H) NEC NATIONAL ELECTRICAL CODE

Page 37

38 3. Video deck (VCR-1/VCR-2) system buttons4. Monitor TV (TV), digital broadcast satellite (DBS) tuner and cable (CABLE) system buttons POWER : Power on/standby (ON/SOURCE) 6 ,7 : Manual search (forward and reverse) 2 : Stop 1 :Play 3 : Pause Channel +, -“ : Channels VCR1 POWER : Power on/standby (ON/SOURCE) SETUP : Setup RETURN : Menu -, ª, 0, 1 : Cursor up, down, left and right ENTER : Enter CHANNEL : Switch channels +, -“ 0~9, +10 : Channels TV/VCR : Switch between TV and video player TV

Page 58

59 Dolby Digital mode (only with digital input) and DTS Surround mode (only with digital input) 1 Select the input source. Playback with a digital input qSelect an input source set to digital (COAXIAL/OPTICAL) (see page 24). FUNCTION (Main unit) (Remote control unit) wSet the input mode to AUTO or DTS. (Main unit) (Remote control unit) 2 Select the Dolby/DTS Surround mode. When performing this operation from the main units panel, press the SURROUND MODE button, then turn the SELECT knob and select Dolby Pro logic IIor DTS NEO:6. 3 Play a program source with the , mark. DIGITAL - The DTS indicator lights when playing DTS sources. (Remote control unit) Light Light SELECT 13 2 4,5 2,6 3 1 AMP 1 2 1 4 3 5, 6 (Main unit) (Main unit) SIGNAL DETECT - The SIGNAL DETECT LED lights when playing 6.1-channel surround sources containing the identification signal. Light When the SIGNAL DETECT LED is lit, we recommend turning the surround back channel using the SURROUND BACK button on the remote control unit and main unit during playback. - The Dolby Digital indicator lights when playing Dolby Digital sources. Operate the SURROUND BACK button to switch Surround Back CH ON/OFF. SURROUND BACK CH OUTPUT -‚¬ Lights when the Surround Back CH is on. Light (Main unit) (Remote control unit)

Page 68

69 Checking the preset stations 1 Use the Auto tuning or Manual tuning operation to tune in the station to be preset in the memory. 2 Press the MEMORY button. 3 Press the SHIFT button and select the desired memory block (A to E). 4 Press the CHANNEL + (UP) or -“ (DOWN) button to select the desired preset channel (1 to 8). 5 Press the MEMORY button again to store the station in the preset memory. (Remote control unit) (Remote control unit) To preset other channels, repeat steps 2 to 5. A total of 40 broadcast stations can be preset - 8 stations (channels 1 to 8) in each of blocks A to E. - The preset (broadcast) stations can be checked on the on screen display. 1 Press the ON SCREEN/DISPLAY button repeatedly until the Tuner Preset Stations screen appears on the OSD. Preset memory 1 AMP 2, 5 3 4 (Remote control unit) (Remote control unit) (Remote control unit)