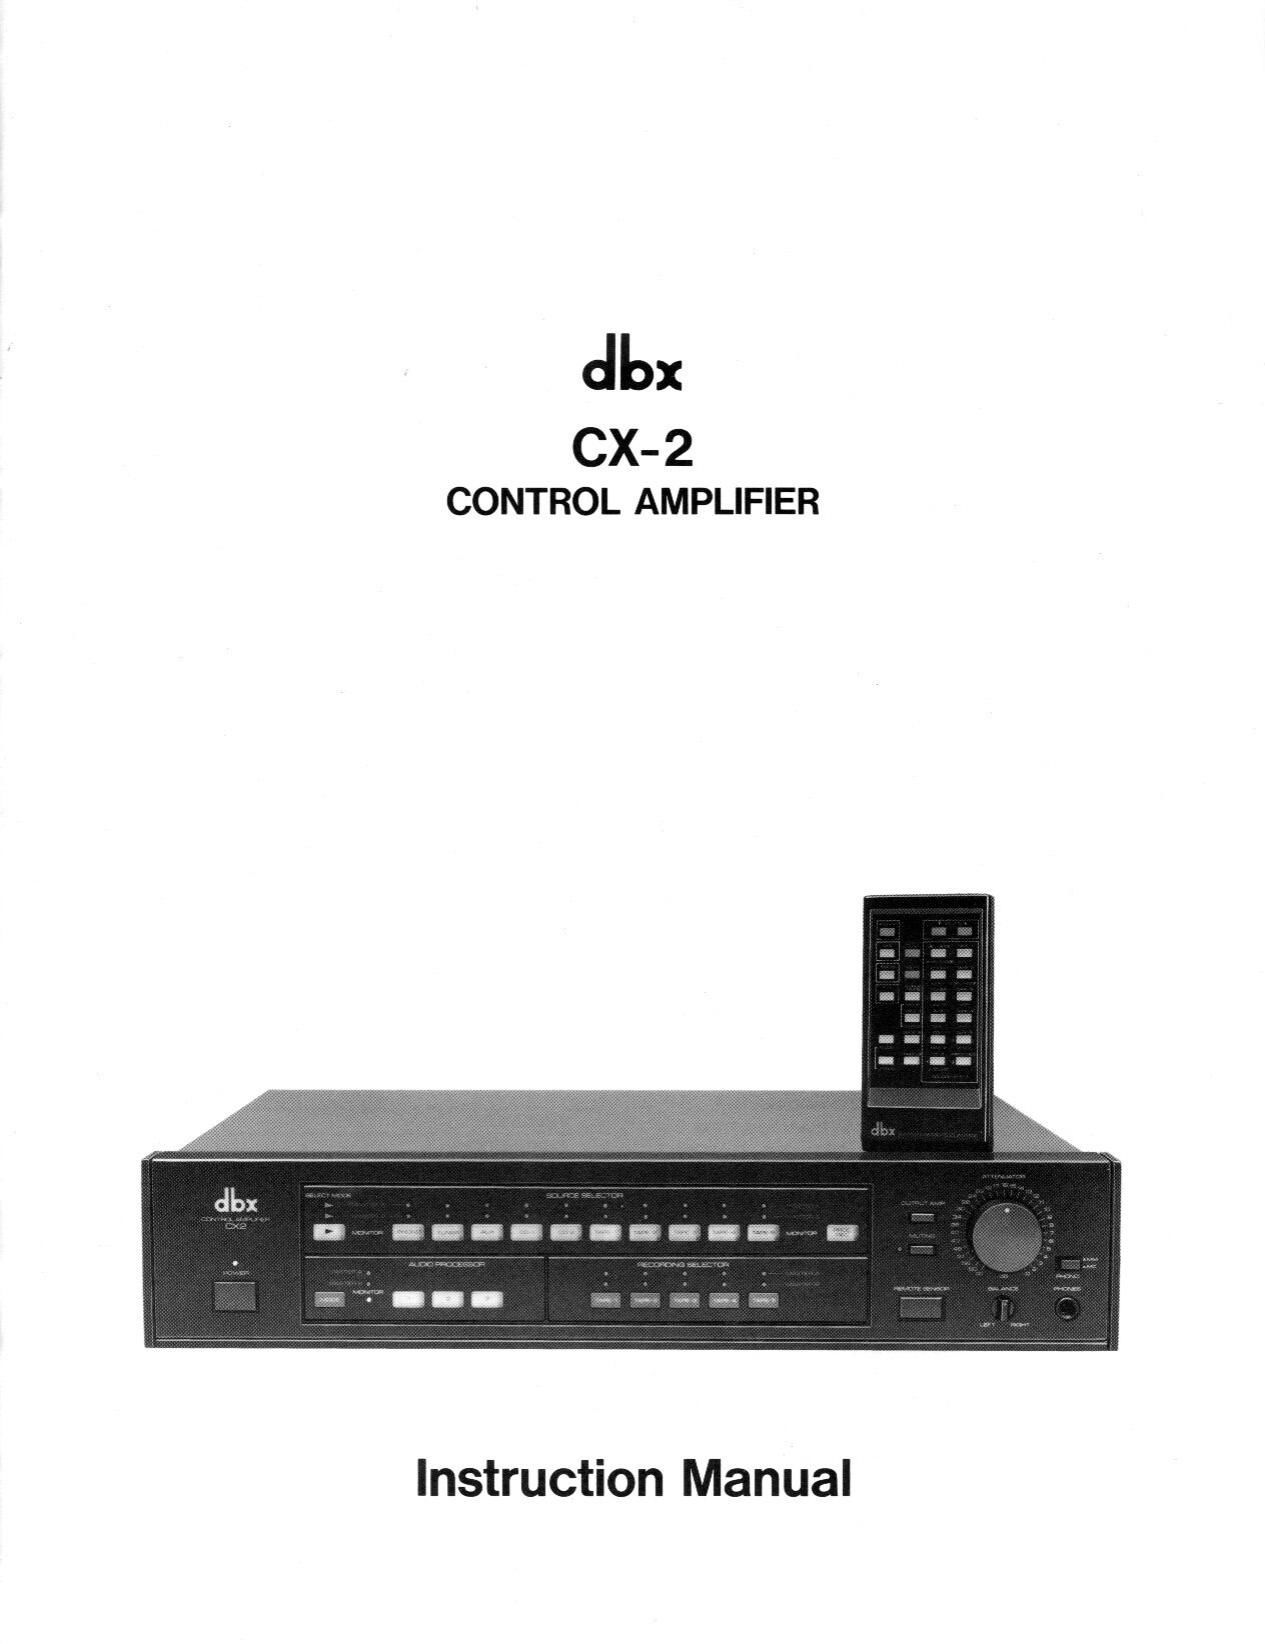
DBX CX 2 Owners Manual

This is the 16 pages manual for DBX CX 2 Owners Manual.
Read or download the pdf for free. If you want to contribute, please mail your pdfs to info@audioservicemanuals.com.

Page: 1 / 16
left right
DBX CX 2 Owners Manual

Extracted text from DBX CX 2 Owners Manual (Ocr-read)


Page 2

Inspection and Installation

Your unit was carefully packed at the factory in a
carton designed to protect it. Nevertheless, we
recommend examining both carton and contents for
any signs of damage that may have occurred during
shipping. If there is evidence of damage, don't
destroy the carton or any of the packing material,
and notify your dbx dealer immediately.

In any case it is a good idea to save the canon and
packing materials should you ever need to ship your
unit in the future.

The carton should contain a model CX-2. this in-
struction manual, and a warranty/registration card.

No special ventilation is required in any installation;
other components may be stacked above or below
the CX-2 provided that they themselves do not get

hot.

'dbx' is a registered trademark of dbx.

For Customers in the U.K.
- Important for Your Safety

The wires in this mains lead are coloured in accord-
ance with the following codes:

Blue: Neutral

Brown: Live
As the colours of the wires in the mains lead of
this apparatus may not correspond with the colour-
ed markings identifying the terminals in your plug,
proceed as follows:

The wire which is coloured blue must be
connected to the terminal which is marked by the
letter N or coloured black.

The wire which is coloured brown must be
connected to the terminal which is marked by the
letter L or coloured red.

Warning

Do not connect any wire to the larger pin
marked E or :5- when wiring a plug. Ensure
that all terminals are securely tightened
and that no loose strands of wire exists.

RISK OF ELECTRIC SHOCK

DO ~01 OPEN
-CAUTION -

TO REDUCE THE RISK OF .
ELECTRIC SHOCK, DO NOT

REMOVE COVER (OR BACK). NO
USER-SERVICEABLE PARTS INSIDE.
REFER SERVICING TO QUALIFIED
SERVICE PERSONNEL. v

A
A

WARNING

TO PREVENT FIRE OR SHOCK
HAZARD. DO NOT EXPOSE THIS
APPLIANCE TO RAIN OR MOISTURE. I

. 7. At, # E__J

This symbol IS intended to alert you at
the presence 0! unmsulated dangerous
voltage within the unit's enclosure that
may be at suillctent magnitude to con-
Sliiule a risk 0' electric shock to persons

This symbol IS intended Io alert you or
the presence ol important operating
and maintenance instructions In the
literature accompanying the uml

Contents

FEATURES

CONNECTIONS

CONTROLS AND FUNCTIONS
OPERATION

BLOCK DIAGRAM 14
SPECIFICATIONS/WARRANTY AND FACTORY-
SERVICE INFORMATION

common

OlbldM-I

Back Cover

Page 5

Typical Hookup Diagram AUDIO PROCESSOR #1

(Equalizer, etc.)
I INPUT , ( OUTPUT

AUDIO PROCESSOR #2
I INPUT S OUTPUT

AUDIO PROCESSOR #3

I INPUT ( ( OUTPUT


(3 O O O W
w .m ~ In. "CARMEN.1W..u.m...m-.m._ a
L. 0 m

J! jaw

I I
USE THE SAME MANNER AS BELOW
FOR THESE JACKS (2 - 5)

I
| I
TUNER [dbx 1x43] I
RgaToFTléTeR-E- TAPE DECK (#1)
MAIN AMPUFIER
VCR. etc.
0 1'me ; SINPUT [:1ng
OUTPUT @ H N SPEAKERS
V R L R L
CD PLAYER #1
R L
OUTPUT H
CD PLAYER #2
R L O O
OUTPUT _ O O
SPEAKER SYSTEM

Important - Power Requirements

Power requirements tor electrical equipment difler from area to area. 100V. 50 H1 for Ja an,
Please ensure that your unit meets the power requirements in your 120V. 60 Hz lor U. .A. and Canada,

area. ii In doubt. consult a qualified electrician. 220V. 50 H1 ior Europe except U.K.,
240V. 50 Hz icr UK. and Australia.