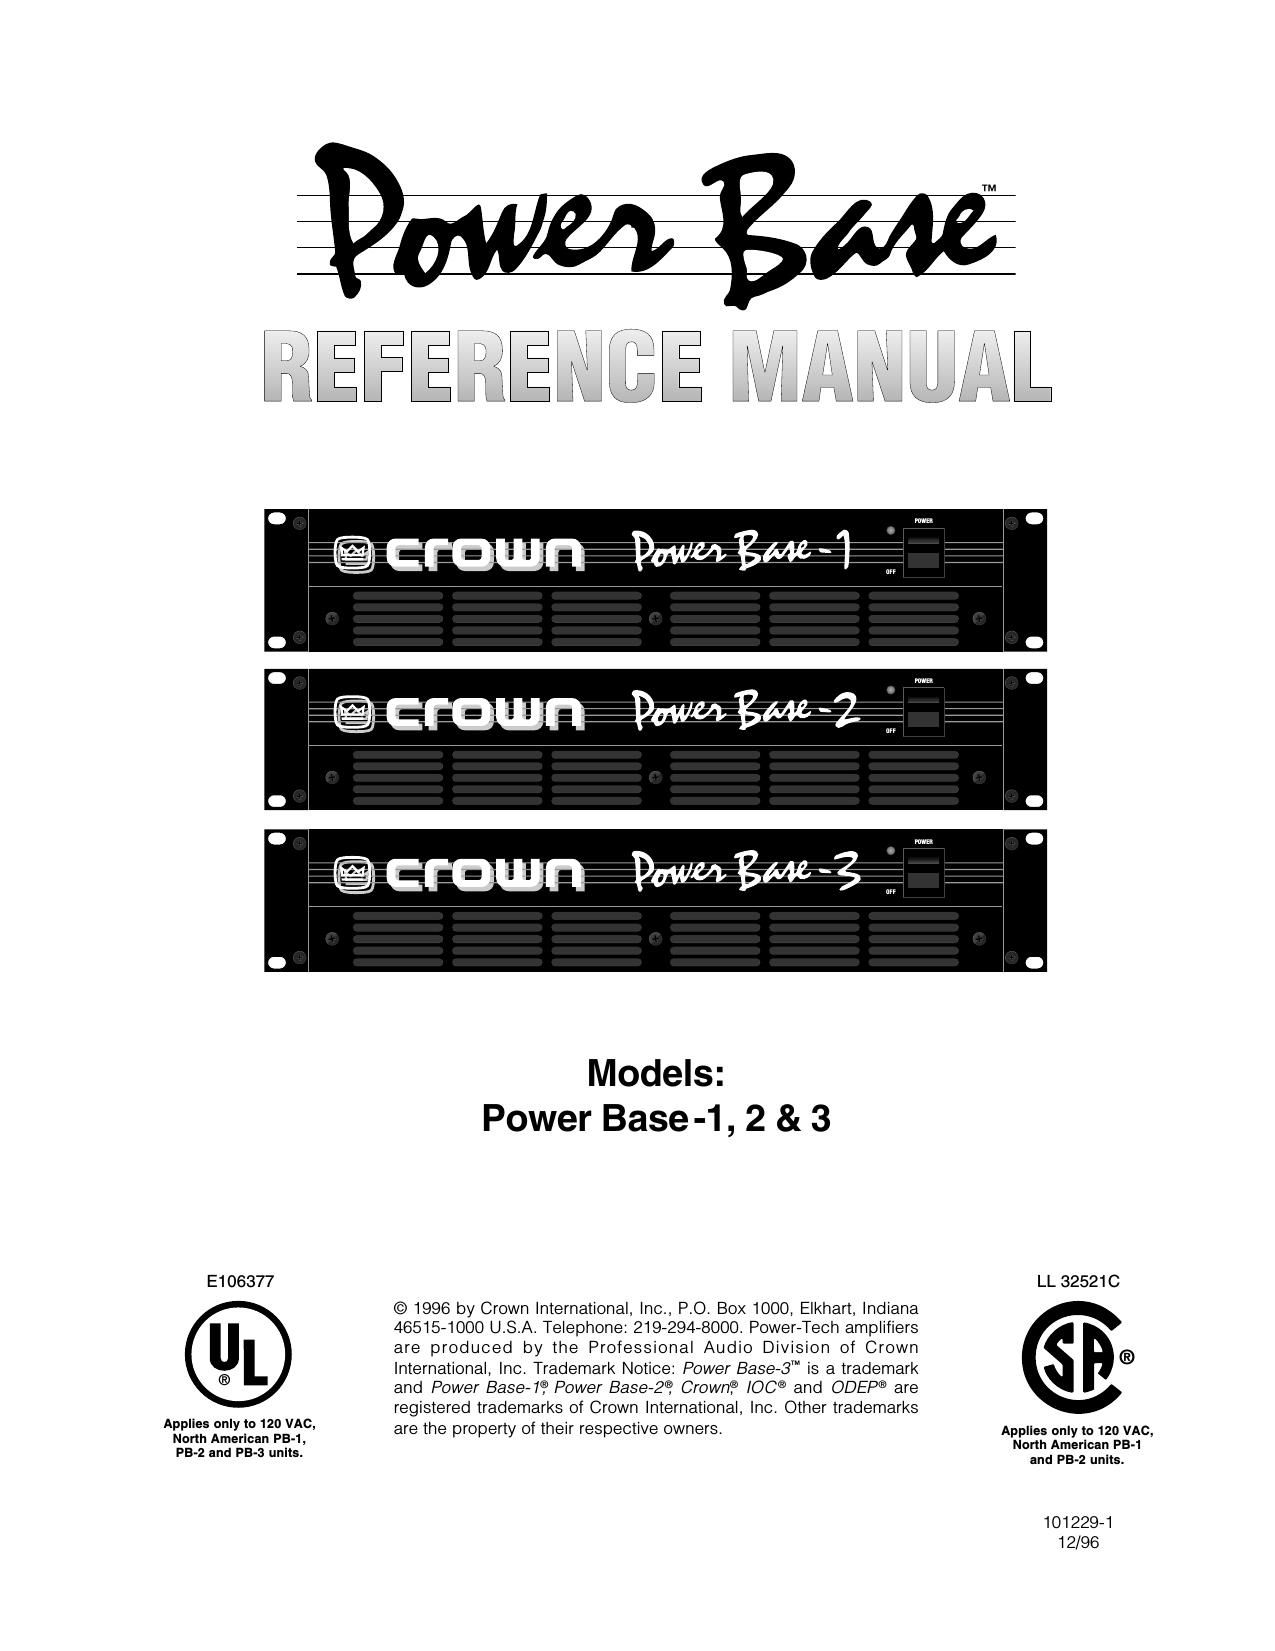
Crown Power Base 1 2 3 Operation Manual

This is the 21 pages manual for Crown Power Base 1 2 3 Operation Manual.
Read or download the pdf for free. If you want to contribute, please mail your pdfs to info@audioservicemanuals.com.

Page: 1 / 21
left right
Crown Power Base 1 2 3 Operation Manual

Extracted text from Crown Power Base 1 2 3 Operation Manual (Ocr-read)


Page 1

WORLDWIDE SUMMARY OF WARRANTY The Crown Audio Division of Crown International, Inc., 1718 West Mishawaka Road, Elkhart, Indiana 46517-4095 U.S.A. warrants to you, the ORIGINAL PURCHASER and ANY SUBSEQUENT OWNER of each NEW Crown 1 product, for a period of three (3) years from the date of purchase by the original purchaser (the warranty period) that the new Crown product is free of defects in materials and workmanship, and we further warrant the new Crown product regardless of the reason for failure, except as excluded in this Crown Warranty. 1 Note: If your unit bears the name Amcron, please substitute it for the name Crown in this warranty. ITEMS EXCLUDED FROM THIS CROWN WARRANTY This Crown Warranty is in effect only for failure of a new Crown product which occurred within the Warranty Period. It does not cover any product which has been damaged because of any intentional misuse, accident, negligence, or loss which is covered under any of your insurance contracts. This Crown Warranty also does not extend to the new Crown product if the serial number has been defaced, altered, or removed. WHAT THE WARRANTOR WILL DO We will remedy any defect, regardless of the reason for failure (except as excluded), by repair, replacement, or refund. We may not elect refund unless you agree, or unless we are unable to provide replacement, and repair is not practical or cannot be timely made. If a refund is elected, then you must make the defective or malfunctioning product available to us free and clear of all liens or other encumbrances. The refund will be equal to the actual purchase price, not including interest, insurance, closing costs, and other finance charges less a reasonable depreciation on the product from the date of original purchase. Warranty work can only be performed at our authorized service centers. We will remedy the defect and ship the product from the service center within a reasonable time after receipt of the defective product at our authorized service center. All expenses in remedying the defect, including surface shipping costs to the nearest authorized service center, will be borne by us. (You must bear the expense of all taxes, duties and other customs fees when transporting the product.) HOW TO OBTAIN WARRANTY SERVICE You must notify us of your need for warranty service not later than ninety (90) days after expiration of the warranty period. All components must be shipped in a factory pack. Corrective action will be taken within a reasonable time of the date of receipt of the defective product by our authorized service center. If the repairs made by our authorized service center are not satisfactory, notify our authorized service center immediately. DISCLAIMER OF CONSEQUENTIAL AND INCIDENTAL DAMAGES YOU ARE NOT ENTITLED TO RECOVER FROM US ANY INCIDENTAL DAMAGES RESULTING FROM ANY DEFECT IN THE NEW CROWN PRODUCT. THIS INCLUDES ANY DAMAGE TO ANOTHER PRODUCT OR PRODUCTS RESULTING FROM SUCH A DEFECT. WARRANTY ALTERATIONS No person has the authority to enlarge, amend, or modify this Crown Warranty. This Crown Warranty is not extended by the length of time which you are deprived of the use of the new Crown product. Repairs and replacement parts provided under the terms of this Crown Warranty shall carry only the unexpired portion of this Crown Warranty. DESIGN CHANGES We reserve the right to change the design of any product from time to time without notice and with no obligation to make corresponding changes in products previously manufactured. LEGAL REMEDIES OF PURCHASER No action to enforce this Crown Warranty shall be commenced later than ninety (90) days after expiration of the warranty period. THIS STATEMENT OF WARRANTY SUPERSEDES ANY OTHERS CONTAINED IN THIS MANUAL FOR CROWN PRODUCTS. 9/90 NORTH AMERICA SUMMARY OF WARRANTY The Crown Audio Division of Crown International, Inc., 1718 West Mishawaka Road, Elkhart, Indiana 46517-4095 U.S.A. warrants to you, the ORIGINAL PURCHASER and ANY SUBSEQUENT OWNER of each NEW Crown product, for a period of three (3) years from the date of purchase by the original purchaser (the warranty period) that the new Crown product is free of defects in materials and workmanship. We further warrant the new Crown product regardless of the reason for failure, except as excluded in this Warranty. ITEMS EXCLUDED FROM THIS CROWN WARRANTY This Crown Warranty is in effect only for failure of a new Crown product which occurred within the Warranty Period. It does not cover any product which has been damaged because of any intentional misuse, accident, negligence, or loss which is covered under any of your insurance contracts. This Crown Warranty also does not extend to the new Crown product if the serial number has been defaced, altered, or removed. WHAT THE WARRANTOR WILL DO We will remedy any defect, regardless of the reason for failure (except as excluded), by repair, replacement, or refund. We may not elect refund unless you agree, or unless we are unable to provide replacement, and repair is not practical or cannot be timely made. If a refund is elected, then you must make the defective or malfunctioning product available to us free and clear of all liens or other encumbrances. The refund will be equal to the actual purchase price, not including interest, insurance, closing costs, and other finance charges less a reasonable depreciation on the product from the date of original purchase. Warranty work can only be performed at our authorized service centers or at the factory. We will remedy the defect and ship the product from the service center or our factory within a reasonable time after receipt of the defective product at our authorized service center or our factory. All expenses in remedying the defect, including surface shipping costs in the United States, will be borne by us. (You must bear the expense of shipping the product between any foreign country and the port of entry in the United States and all taxes, duties, and other customs fees for such foreign shipments.) HOW TO OBTAIN WARRANTY SERVICE You must notify us of your need for warranty service not later than ninety (90) days after expiration of the warranty period. All components must be shipped in a factory pack, which, if needed, may be obtained from us free of charge. Corrective action will be taken within a reasonable time of the date of receipt of the defective product by us or our authorized service center. If the repairs made by us or our authorized service center are not satisfactory, notify us or our authorized service center immediately. DISCLAIMER OF CONSEQUENTIAL AND INCIDENTAL DAMAGES YOU ARE NOT ENTITLED TO RECOVER FROM US ANY INCIDENTAL DAMAGES RESULTING FROM ANY DEFECT IN THE NEW CROWN PRODUCT. THIS INCLUDES ANY DAMAGE TO ANOTHER PRODUCT OR PRODUCTS RESULTING FROM SUCH A DEFECT. SOME STATES DO NOT ALLOW THE EXCLUSION OR LIMITATIONS OF INCIDENTAL OR CONSEQUENTIAL DAMAGES, SO THE ABOVE LIMITATION OR EXCLUSION MAY NOT APPLY TO YOU. WARRANTY ALTERATIONS No person has the authority to enlarge, amend, or modify this Crown Warranty. This Crown Warranty is not extended by the length of time which you are deprived of the use of the new Crown product. Repairs and replacement parts provided under the terms of this Crown Warranty shall carry only the unexpired portion of this Crown Warranty. DESIGN CHANGES We reserve the right to change the design of any product from time to time without notice and with no obligation to make corresponding changes in products previously manufactured. LEGAL REMEDIES OF PURCHASER THIS CROWN WARRANTY GIVES YOU SPECIFIC LEGAL RIGHTS, YOU MAY ALSO HAVE OTHER RIGHTS WHICH VARY FROM STATE TO STATE. No action to enforce this Crown Warranty shall be commenced later than ninety (90) days after expiration of the warranty period. THIS STATEMENT OF WARRANTY SUPERSEDES ANY OTHERS CONTAINED IN THIS MANUAL FOR CROWN PRODUCTS. 9/90 Telephone: 219-294-8200. Facsimile: 219-294-8301 Telephone: 219-294-8200. Facsimile: 219-294-8301 THREE YEAR FULL WARRANTY YEAR3 YEAR3

Page 2

Printed on recycled paper. The lightning bolt triangle is used to alert the user to the risk of electric shock. The exclamation point triangle is used to alert the user to important operating or maintenance instructions. WARNING TO REDUCE THE RISK OF ELECTRIC SHOCK, DO NOT EXPOSE THIS EQUIPMENT TO RAIN OR MOISTURE! Magnetic Field CAUTION! Do not locate sensitive high-gain equipment such as preamplifiers or tape decks directly above or below the unit. Because this amplifier has a high power density, it has a strong magnetic field which can induce hum into unshielded devices that are located nearby. The field is stron- gest just above and below the unit. If an equipment rack is used, we recommend locat- ing the amplifier(s) in the bottom of the rack and the preamplifier or other sensitive equipment at the top. IMPORTANT THE POWER BASE-3 REQUIRES CLASS 1 OUTPUT WIRING. THE POWER BASE-1 AND 2 REQUIRE CLASS 2 OUTPUT WIRING. The information furnished in this manual does not include all of the details of design, production, or variations of the equipment. Nor does it cover every possible situation which may arise during installation, operation or mainte- nance. If you need special assistance beyond the scope of this manual, please contact our Technical Support Group. Crown Audio Division Technical Support Group Plant 2 SW, 1718 W. Mishawaka Rd., Elkhart, Indiana 46517 U.S.A. Phone: 800-342-6939 (North America, Puerto Rico and Virgin Islands) or 219-294-8200 Fax: 219-294-8301 Fax Back: 800-294-4094 (North America only) or 219-293-9200 Internet: http://www.crownintl.com C A U T I O N RISK OF ELECTRIC SHOCK DO NOT OPEN TO PREVENT ELECTRIC SHOCK DO NOT REMOVE TOP OR BOTTOM COVERS. NO USER SERVICEABLE PARTS INSIDE. REFER SERVICING TO QUALIFIED SERVICE PERSONNEL. DISCONNECT POWER CORD BE- FORE REMOVING BACK PANEL COVER TO ACCESS GAIN SWITCH. A V I S RISQUE DE CHOC ÉLECTRIQUE NOUVREZ PAS Ã- PRÉVENIR LE CHOC ÉLECTRIQUE NENLEVEZ PAS LES COUVERCLES. IL NY A PAS DES PARTIES SERVICEABLE Ã- LINTÉRIEUR. TOUS REPARATIONS DOIT ETRE FAIRE PAR PERSONNEL QUALIFIÉ SEULMENT. DÉBRANCHER LA BORNE AVANT DENLEVER LA COVERTURE EN ARRIÈRE.

Page 3

Power Base Series Power Amplifiers Page 4 CONTENTS 1 Welcome .......................................................................... 7 1.1 Unpacking................................................................. 7 1.2 Features .................................................................... 7 2 Installation ....................................................................... 9 2.1 Stereo........................................................................ 9 2.2 Mono ......................................................................... 9 2.3 Input Sensitivity Adjustment...................................... 10 2.4 Additional Load Protection....................................... 10 2.5 Required AC Mains.................................................. 10 3 Operation ....................................................................... 11 3.1 Precautions.............................................................. 11 3.2 Power Indicator........................................................ 11 3.3 Protection Systems................................................... 11 3.3.1 ODEP............................................................ 11 3.3.2 Ultrasonic and RF Protection.......................... 11 3.3.3 Drive Protection............................................. 11 3.3.4 Transformer Thermal Protection..................... 12 3.3.5 Fuses and Circuit Breakers............................ 12 3.4 Controls................................................................... 12 3.5 Filter Cleaning.......................................................... 12 4 Specifications ................................................................ 13 5 Accessories ................................................................... 19 5.1 MT-XLR.................................................................... 19 5.2 MT-BB..................................................................... 19 6 Service ........................................................................... 20 6.1 Worldwide Service................................................... 20 6.2 North American Service........................................... 20 6.2.1 Service at a North American Service Center ... 20 6.2.2 Factory Service.............................................. 20

Page 11

Power Base Series Power Amplifiers Page 12 The unit should never output heavy common-mode cur- rent unless its circuitry is damaged. Activating drive protection helps prevent further damage. 3.3.4 Transformer Thermal Protection All Power Base amplifiers have transformer thermal protection. This protection circuitry is activated in un- usual situations where the units transformer tempera- ture rises to unsafe levels. Under these abnormal conditions, the unit removes power to the high-voltage transformer. The fan will continue to run in all units ex- cept those with 220/240 VAC transformers. The ampli- fier will return to normal after it cools to a safe temperature. It is very unlikely that your Power Base amplifier will ever activate transformer thermal protection as long as it is operated within rated conditions. Your amplifier is designed to continue operating under conditions where other amplifiers would fail. But even when you exceed the limits of a Power Base amplifier, it still pro- tects itself-and your investment-from damage. 3.3.5 Fuses and Circuit Breakers All 120 VAC, 60 Hz units and all Power Base-3 units have a fuse that protects the low-voltage power supply and cooling fan. The Power Base-1 and Power Base-2 high-voltage power supplies are protected by fuses, while the Power Base-3 high-voltage power supplies are protected by a circuit breaker. With rated loads and output levels, these fuses (or the circuit breaker) should only shut down the amplifier in the incredibly rare instance of a catastrophic amplifier failure. The ODEP protection system keeps the amplifier opera- tional under most other severe conditions. The fuses (or breaker) can also shut down the amplifier in situa- tions where extremely low-impedance loads and high output levels result in excessive current draw. A Power Base amplifier will not blow its fuses or trip its breaker unless something is wrong. In the rare event that an internal fuse blows, please refer the unit to a qualified technician. If the breaker in a Power Base-3 trips, try to identify and correct the problem before re- setting it with the back panel Circuit Breaker Reset. If the problem persists, refer the unit to a qualified techni- cian. 3.4 Controls The Power switch is th only control located on the front panel. All others are located on the rear, including the level controls. When making any setup or wiring changes, dont forget to turn off the amplifier, turn down the level controls and disconnect the power cord. Be sure to turn down (full counterclockwise) the channel 2 level control when us- ing either mono mode. The Parallell Mono/Stereo/ Bridge Mono switch is used to select Stereo, Bridge- Mono or Parallel-Mono operating modes. The Input Ground Lift switch isolates the phone jack input grounds from the chassis ground to help prevent ground loops. It does not affect any installed input ac- cessories. The Input Sensitivity Switch, located inside the back cover plate, sets the amplifiers input sensitiv- ity (refer to subsection 2.3 for information on changing this switch). And the Power Base-3 has a back panel Circuit Breaker Reset button that resets the circuit breaker (refer to subsection 3.3.5). CH-2 INPUT GROUND LIFT (AFFECTS PHONE INPUTS ONLY ) (MONO) INPUT GAIN CH-1 INPUT GAIN LIFT 0 1 2 3 4 5 6 7 8 9 10 1112 0 1 2 3 4 5 6 7 8 9 10 1112 CHANNEL 2 LEVEL CONTROL CHANNEL 1 LEVEL CONTROL 3.5 Filter Cleaning A dust filter is provided on the units air intake. If it be- comes clogged, the unit will cool less efficiently and may produce lower output levels. To clean the filter, use a phillips screwdriver to remove the three screws the secure the front grille. Use mild dishwashing deter- gent and warm water for best cleaning results. Be sure the filter is dry before you reinstall it. Replacement fil- ters may be ordered from the factory. Dust filters are not 100% efficient-long term this may require internal heat-sink cleaning by a qualified tech- nician. Internal cleaning information is available from our Technical Support Group. Fig. 3.1 Back Panel Level Controls