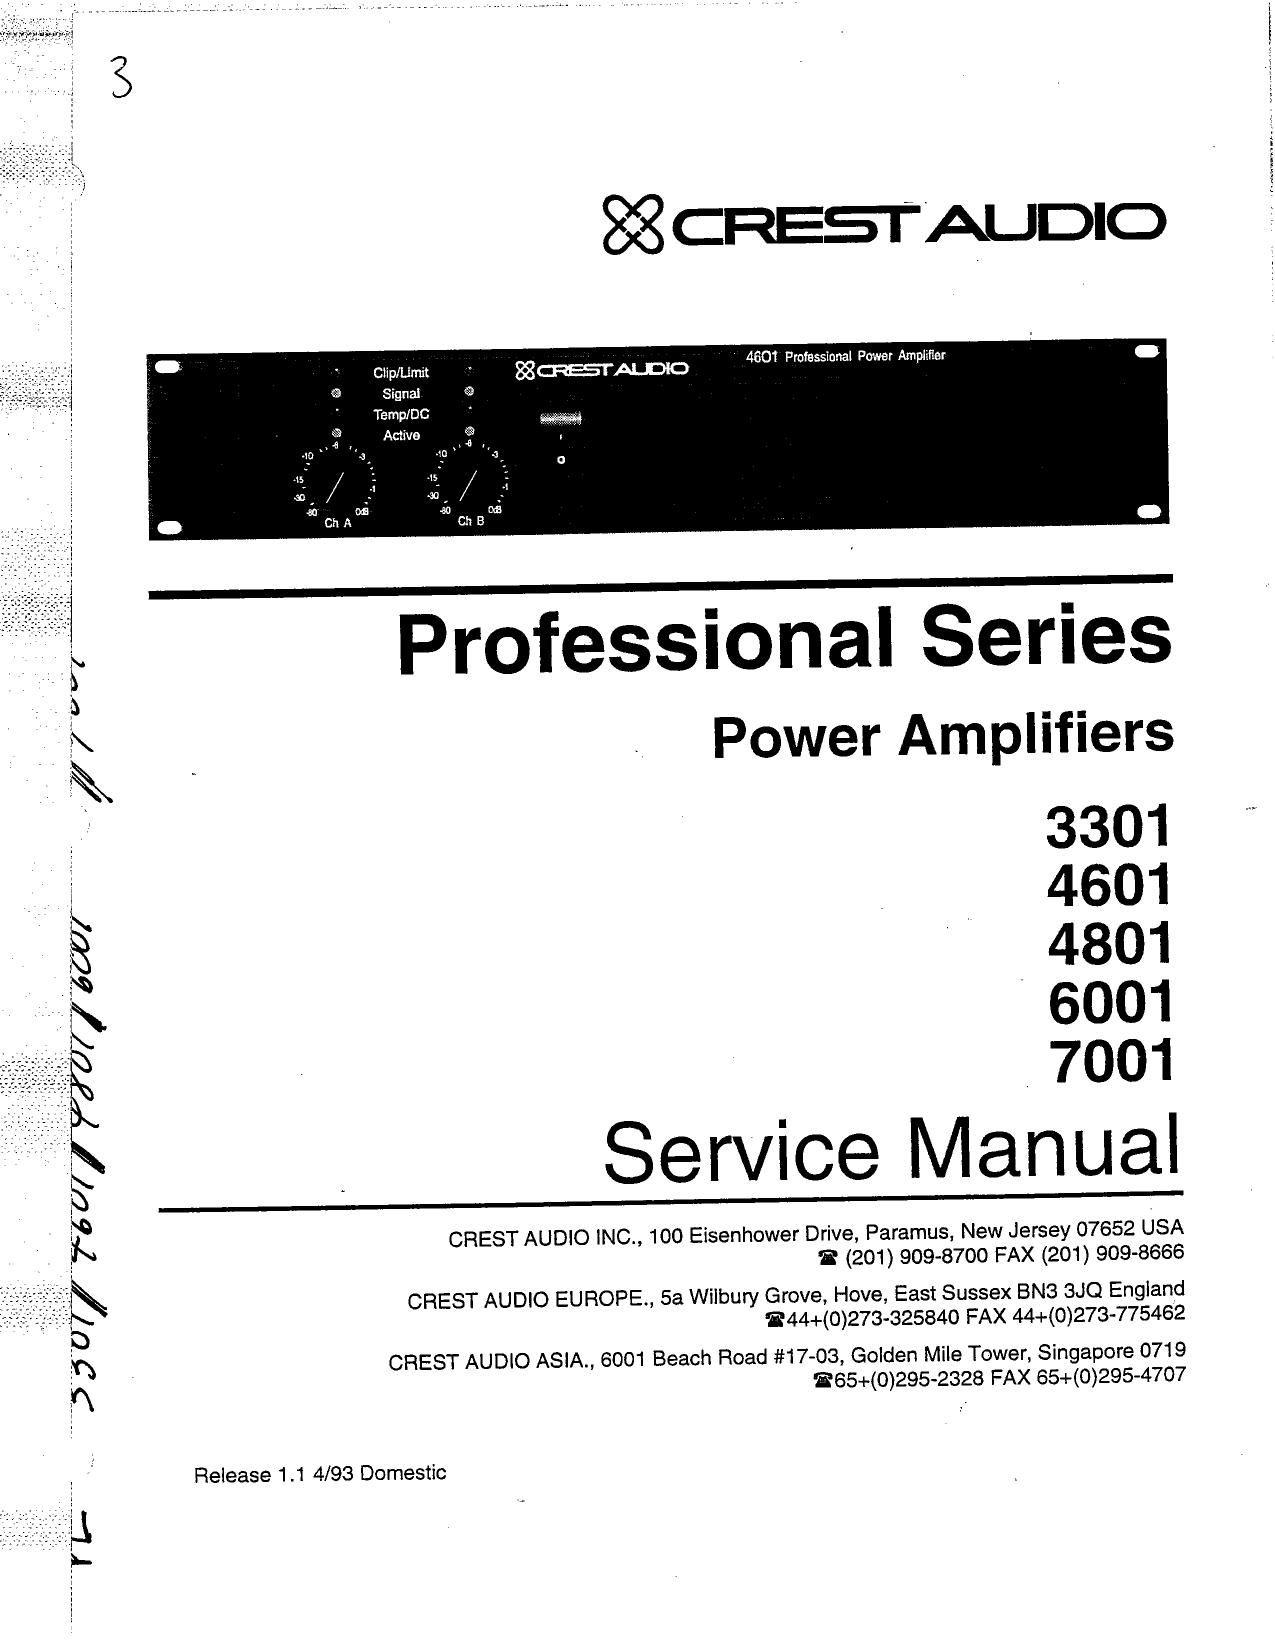
Crest Audio 4601 Service Manual

This is the 75 pages manual for Crest Audio 4601 Service Manual.
Read or download the pdf for free. If you want to contribute, please mail your pdfs to info@audioservicemanuals.com.

Page: 1 / 75
left right
Crest Audio 4601 Service Manual

Extracted text from Crest Audio 4601 Service Manual (Ocr-read)


Page 1

// fvvz

SSCRESIALJDIO

4601 Professional Power Amplifier

Clip/Limit 88mm
Signal

Temp/DC
Active

Professional Series
Power Amplifiers

3301
4601
4801
6001
7001

Service Manual

CREST AUDIO lNC., 100 Eisenhower Drive, Paramus, New Jersey 07652 USA
T (201) 909-8700 FAX (201) 909-8666

CREST AUDIO EU ROPE, 5a Wilbury Grove, Hove, East Sussex BN3 SJQ England
T44+(0)273-325840 FAX 44+(0)273~775462

CREST AUDIO ASlA., 6001 Beach Road #17-03, Golden Mile Tower, Singapore 0719
fi65+(0)295-2328 FAX 65+(0)295-47D7

Release 1.1 4/93 Domestic

Page 2

lb |>

the user manual.

This symbol, a lightning flash with arrowhead within an equilateral triangle, appears on the
amplifier chassis to warn the user that uninsulated dangerous voltaggggge present within the
enclosure that may pose a risk of electric shock. "

This symbol, an exclamation point within an equilateral triangle, appears on the amplifier
chassis to warn the user to follow important operating procedures and precautions detailed in

This manual and the procedures detailed within are intended for qualified technicians
only! There are potentially lethal voltages present within an audio power amplifier, and it
is the responsibility of the technician to exercise common safety practices to protect him-

self, his co-workers, and the end user.

In particular, always exercise caution when working on an amplifier with the chassis
cover removed. Do not leave it unattended while it is connected to the Ac mains. Never
expose the amplifier or your test equipment to rain or moisture, and never work on an am-
plifier while you are standing in, sitting in or othenlvise in contact with, rain or moisture.
Before starting any repair or troubleshooting procedure, read and understand completely
the instructions for the procedure.

1 INTRODUCTION

#

This service manual includes tests, calibrations, schematics, a full parts list/order form, and troubleshoot-
ing tips to assist you in the repair and maintenance of Crest Audio Pro series 3301, 4601, 4801, 6001, and

7001 amplifiers.

The first step in troubleshooting is to identify the symptom. The next step is a complete visual inspection.
You may isolate the problem, trace it to a module, and swap it with a good module or continue trou-
bleshooting down to component level. If you follow this manual step-by-step it will be that easy. Good

luck!
Identify Visual Isolate Replace or
Symptoms Inspection Problem Troubleshoot

Glossary

Following is a list of terminology used in this manual.
Board A printed circuit board, or PCB.
Chassis The steel case or frame in which the modules, transformer, etc. are mounted.
Harness This term refers to all the wires, as a whole, which interconnect the boards carrying

specific voltages, signals etc.

Crest Audio Professional Series Power Amplifiers Page 1-1

Service Manual Release 1.1 4/93

.3:

Page 6

2 CIRCUIT DESCRIPTION

5

Crest Audio Professional Series models 3301, 4601, 4801, 6001, and 7001 amplifiers are fan-cooled and
use bipolar output transistors. Physically, they are two rack spaces (3.5 inches; 8.89 cm) high and feature a
heavy duty folded and welded steel box-type chassis with a removable top cover.

A rear-mounted cooling fan (two on the 4601 & 7001) draws cooling air in and pressurizes the chassis. Di-
rectly in front of the fan(s) are the two output module heatsinks, which lie back-to-back to form a tunnel."
Because the air pushed from the fan does not have to change direction abruptly or flow around any obstruc-
tions, the airflow remains relatively laminar (that is, free of turbulence), which minimizes back pressure
and enhances efficiency. Small ridges in the heatsink surface, as well as mounting screws protruding into
the cooling airflow, induce microturbulence to ensure good heat transfer along the length of the heatsink.
The air from the output module heatsinks exhausts through the front panel slots. An array of small exhaust
holes at the front of the left side side of the chassis allows some cooling airflow for the power transformer
and the power supply. A temperature sensing circuit, with a sensor on each module, monitors the tempera-
tures of both heatsinks. This circuit drives the cooling fan(s) and varies the fan speed in proportion to the
amount of cooling required. On the 4801, this circuit is on the power supply board, but on the 3301, 4601,
6001, and 7001, this circuit is on a separate board mounted on a shield between the power transformer and
the output modules.

LOCATED ON
HEATSINK PCB
LOCATED ON
DISPLAV PCB fig? LOCATED ON

OCTAL SOCKET

POWERSUPPLY
. ' AUTO ,
. n
a w...
: I} : nil/u 15
:: Ql7 '

DISCRETE
FRONT END

MAnEN no; L.

DIFF AMP I PROTECTIO

BALANCED -"' CIRCUITS
LOCATED ON
DISPLAY PCB

NOTE: All Circuitry is located on the
preamp board except where noted

Figure 2-1. Amplifier block diagram
The inputs

Figure 2-1 is a block diagram of the signal path, from input to output, in a Crest Audio Professional Series
amplifier.

Crest Audio Professional Series Power Amplifiers
Service Manual Release 1.1 4/93

Page 2-1

Page 33

Figure 6-1. DC Voltage Points

Next, check the display board. It stands directly behind the front panel and holds the LEDs and
attenuator controls.

Using your voltmeter set on the DC scale, check the following points: Reference Schematic # 3.

a) Connect the ground lead of your voltmeter to audio ground, located at pin 12 on the 13-pin male
connector at the top on the back of the display board, M12. (With respect to the front of the
amplifier - pin 1 is far left.)

b) Locate M5 which is the 15 pin connector on the left backside of the display board. With respect to
audio ground; measure the voltage at pin 15. (Top with black/red wire connected). You should
measure approximately 11 volts DC. If no voltage is present, turn the Variac off to zero 0 volts and
continueto step c. If voltage is present on pin - 15 of MS, with respect to audio ground measure the
voltage at pin 1 of M12 (13 pin male at top backside of display board). You should measure
approximately 15 vdc. If you measure a low voltage, or none at all, then you can assume that the
problem is located in the fan driver circuitry or the wiring harness, see steps 15-18.

c) Remove the 3 amp-mini fuse located at the left rear of the display board and check it for continuity.
If the fuse has burned open (infinite resistance); first replace it. Repeat step B. If refuse burns open
again you need to find out why. (see step 4)

Page 6-2 Crest Audio Professional Series Power Amplifiers

Service Manual Release 1.1 4/93