Creek t 43 owners manual

This is the 4 pages manual for creek t 43 owners manual.
Read or download the pdf for free. If you want to contribute, please mail your pdfs to info@audioservicemanuals.com.

Page: 1 / 4
left right
creek t 43 owners manual

Extracted text from creek t 43 owners manual (Ocr-read)


Page 1

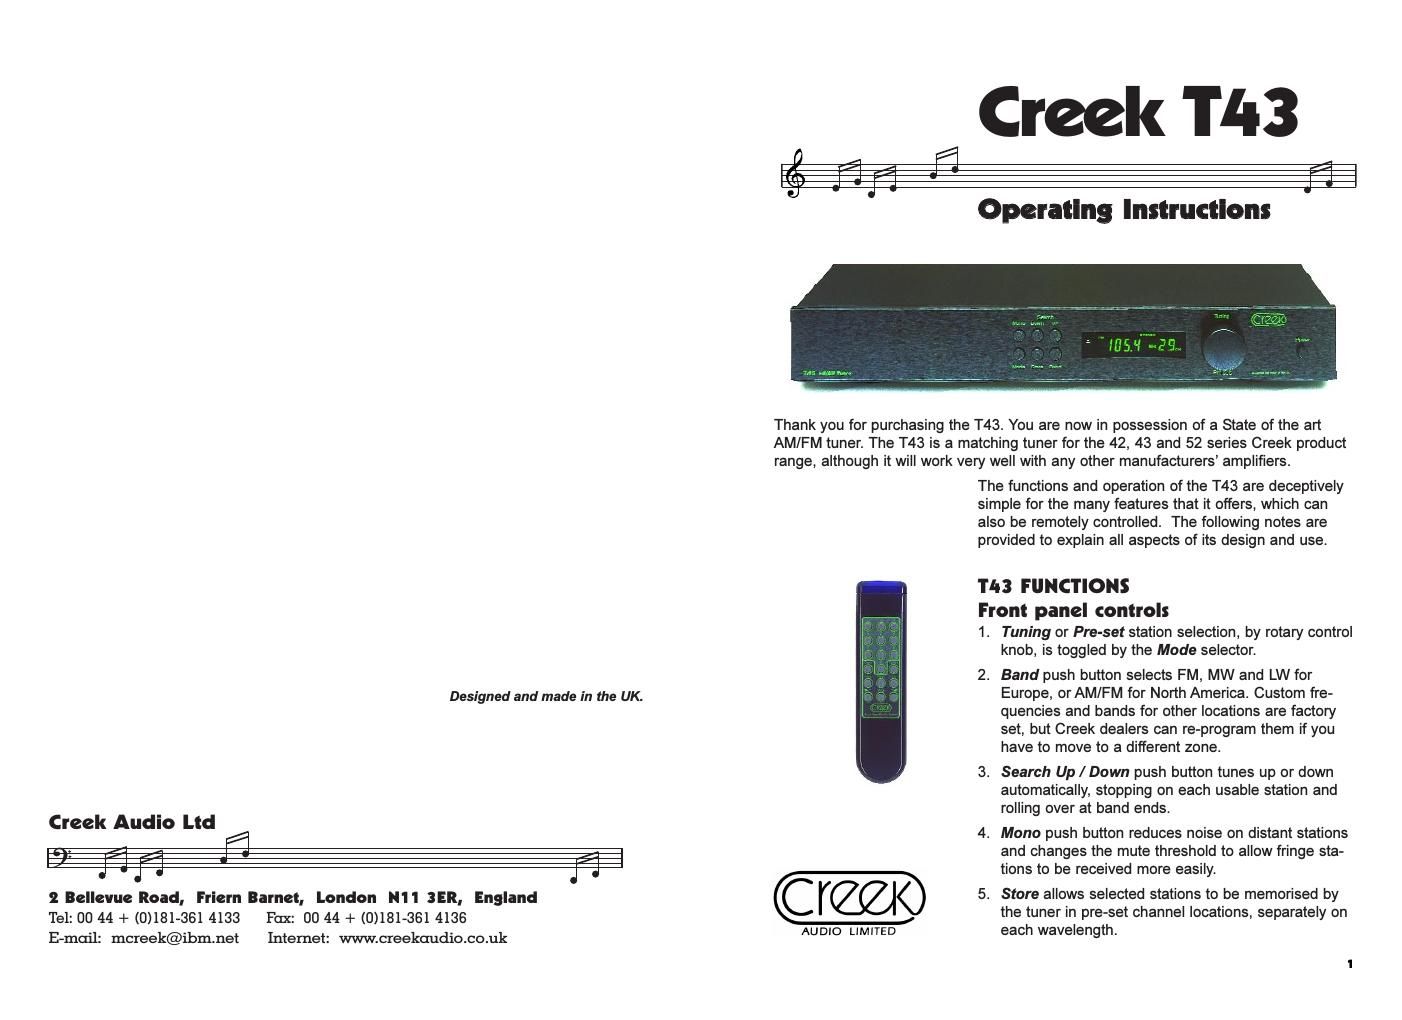
6.Mains On / Off switches power from the mains. 7.Infra-Red sensorcan receive remote control (RC5) instructions of all functions (except Mono), plus direct channel access through numeric keys from the tuner remote handset. 8.LCD display contains frequency, channel, centre tuning and signal strength information, together with all other function status in a highly visible green display. Rear Panel connections 1. 75 ohm coax FM aerial socket 2. 300 ohm balanced FM aerial screw terminals. 3. Wire AM aerial screw terminal. 4. Screw terminal chassis ground. 5. Stereo (RCA) phono sockets for analogue audio output. CONNECTING THE T43 Power supply requirements To operate the tuner it is necessary to first connect the unit to the mains supply via the power cord supplied. There is an IEC mains connector on the rear panel that contains a protection fuse. The power cord should be connected to it and to a domestic mains socket carrying 220-240V AC 50Hz or 110-120V AC 60Hz, depending on country of use. Should it be necessary to replace the fuse, ensure that you use the same type as specified on the rear panel. i.e: 5 x 20mm cartridge type T 500 mA surge resisting for 220-240V 50Hz AC, T 1 A surge resisting for 110-120V 60Hz AC or a T 1A surge resisting for 100V (Japan). Antenna requirements To obtain the best quality FM signal, in stereo with low background noise, it is neces- sary to use a good antenna (aerial), preferably mounted on a roof of a building, or in an attic or loft. A 75 ohm co-axial cable should be used to bring the radio signal to the tuner. Use a good quality 75 ohm co-ax plug to connect the radio signal into the rear panel socket marked: FM antenna 75 ohms.In some parts of the world 300 ohm bal- anced feeder cable is more popular, in which case it should be connected to the 300 ohm screw terminals only. If it is not possible to use an outdoor aerial, a balanced 300 ohm indoor T-antenna will give reasonable results when connected to the 300 ohm terminals. Note that the direction of the T-piece with respect to the transmitter site will affect the strength and quality of reception, giving more or less noise, especially on stereo signals. The AM part of the radio will work very well using a single wire from one side of the 300 ohm aerial terminal, or just from a 300 ohm T-antenna. Place the provided 2M length of thin stranded wire behind the equipment and adjust its position with respect to the direction of the transmitter to improve reception. Output from the tuner To connect the audio signal from the tuner to an amplifier it is necessary to use a pair of cables terminated with (RCA) phono plugs. Shielded types of interconnect are bet- ter for reducing hum or other interference pick-up. Dont sacrifice quality for price in this important area. OPERATING THE T43 Manual and Pre-Set tuner operation The large control knob on the right side of the panel has two functions. First, it will manually tune the radio up and down smoothly to receive stations on AM or FM. The second function is to select Pre-Set stations from the tuners memory. To distinguish between these two functions, the LCD display has both frequency and channel number indication on the right (see diagram below). The frequency of the station will always be displayed, but the Pre-Set channel will only show when the tuner is in Pre-Set mode, selected by theMODE select button. The button toggles between one state and the other. The T43 will remember the last tuned frequency or pre-set after switching off, so it can be restored when switching back on. FM AM MW LW MEMORY STEREO MONO CH MHZ KHZ AUTO FREQUENCY RANGES AVAILABLE FOR EUROPEAN MODEL: FM87 - 108 MHz 50 kHz increments manual, 100 kHz scanned MW522 - 1611 kHz 9 kHz increments LW144 - 288 kHz 9 kHz increments FREQUENCY RANGES FOR THE NORTH AMERICAN MODEL: FM87 - 108 MHz 50 kHz increments manual, 100 kHz scanned AM530 - 1710 kHz 10 kHz increments FREQUENCY RANGES FOR JAPANESE MODEL: FM76 - 90 Mhz 50 kHz increments manual, 100kHz scanned AM522 - 1611 kHz 9 kHz increments FREQUENCIES AVAILABLE ON MODEL FOR THE REST OF THE WORLD: FM87 - 108 Mhz 50 kHz increments manual, 100kHz scanned AM522 - 1611 kHz 9 kHz increments Tune Pre-set 23

Page 2

Band selection Two or three wave bands are available by repeatedly pressing the BAND button. It will toggle between MW, LW and FM, or between AM and FM, depending on the country of use. Stereo / Mono The button marked MONO has two functions. Firstly, it reduces the noise of distant stereo stations. Secondly, in Mono inter-station muting is disabled making it easier to pick up fringe stations that would normally be below the mute threshold. Search up & Search down Instead of tuning the radio manually with the tuning knob, SEARCH operation will automatically search up and down the band, at 100kHz increments in FM and 9 or 10 kHz increments on AM, looking for stations to be received with an acceptable back- ground noise. It will stop on each one, until asked to continue searching up or down by pressing the Up/Down SEARCH button again. Searching causes Auto to display. Store To allow favoured stations to be stored in the tuners NV (non-volatile) memory, select Manual tuneby pressing the MODE button and the desired Band. Tune manually with the rotary knob or SEARCH until you reach a station you wish to be memorised. Press the STORE button once briefly. The Memory indicator on the display will start to flash on and off. Turn the rotaryPre-Setknob until the desired location number isreached. Press the STORE button firmly for three seconds until the Memory indicator on the LCD display stops flashing. The station will be stored in that location number displayed on the right hand side of the display. Repeat as necessary to store your favoured stations in the memory. A maximum of 29 stations can be stored in both MW/AM and FM and 10 in LW (Europe only). Return to standard operation by pressing MODE again. Tuning and signal strength indicator When tuning manually to a station, the last digit of the channel indicator shows the correct direction to tune into a station. An arrow head, pointing up or down, shows the direction to turn the knob to reach the optimum signal strength of a station. When tuned correctly, the up/down arrows will give way to a single bar across the middle of the last digit, indicating optimum tuning. When the Pre-Set mode is in operation the centre tune indicator will not be visible. Channel numbers only will be seen. In Manual mode, the tuning indicator will be replaced by a signal strength indicator. Three seconds after the tuning knob has stopped turning, the signal level will be indi- cated by up to three horizontal bars on the right hand side of the channel number: 1 bottom bar will mean noisy operation, two bars indicate stronger signal, and three bars will give a good noise free operation (see diagram below). FM AM MW LW MEMORY STEREO MONO CH MHZ KHZ AUTO FM AM MW LW MEMORY STEREO MONO CH MHZ KHZ AUTO FM AM MW LW MEMORY STEREO MONO CH MHZ KHZ AUTO FM AM MW LW MEMORY STEREO MONO CH MHZ KHZ AUTO Tune Pre-set FM AM MW LW MEMORY STEREO MONO CH MHZ KHZ AUTO FM AM MW LW MEMORY STEREO MONO CH MHZ KHZ AUTO 45