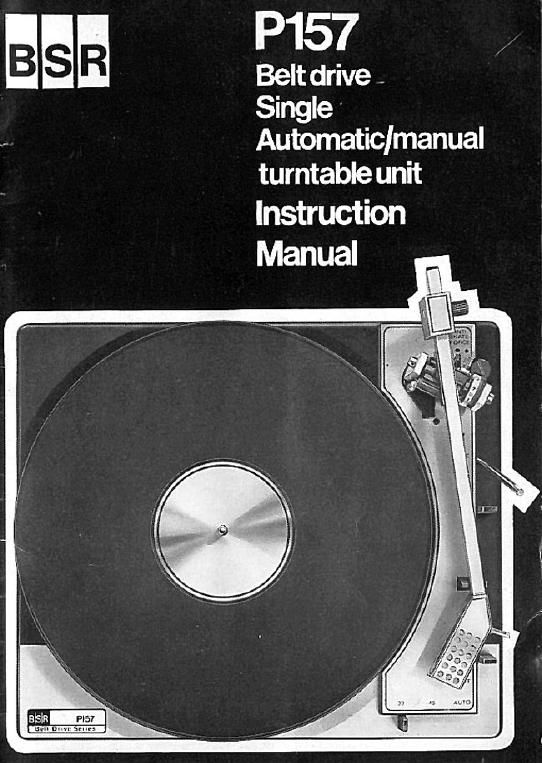
Bsr p 157 owners manual

This is the 4 pages manual for bsr p 157 owners manual.
Read or download the pdf for free. If you want to contribute, please mail your pdfs to info@audioservicemanuals.com.

Page: 1 / 4
left right
bsr p 157 owners manual

Extracted text from bsr p 157 owners manual (Ocr-read)


Page 2

Operating Instructions

The BSR P157 will play singly records 01 7". 10" or 12'
diameter at 45 or 33 r pm.

Initial Preparation

1. Rurriove the two transit screws (A) and ensure that the
unit lloats lrecly on as mounting springs.

2, Fit the turntable (H) as follows:

(it) Wipe the turntable dr-vc rim With a clean dry cloth
to remove any loreign matter. ll necessary romwo
drive belt during cleaning operation.

(b) Fit rubber drive belt to the drive rim.

(c) Gently lower the turntable. rotating it sl'gllllv
anticlockwise. onto the centre bear-rig.

(d) Rotate turntable live times in a clockwise directon
to ensure that II is free and the mechanism is in the
neutral posttion

(a) Set the speed sclecwr {P} to 33,

{l} Rotate the turntable to position one ol the two
rectangular holes directly over the motor drive pulls-y
situated midway along the left hand side ol the unit

(9) kill the drive belt away from the turntable drive rim.
pass it between the homonml arms of the speed
change lark and then over the smaller diameter 01
the drive pulley (see diagram 0).

(h) Fit turntable mat. locating its centre hole over the
record spindle (K).

h) Remove protective lilm lrom face at turntable centre
trim and fit into contra ol met. press it gently down
until the three retaining lugs on the that up OVCV the
outside of the disc,

3. It is essential that when the unit is to be transported, the
turntable should be removed and the record player bascplatc
secured to the cabinet with the two transit screws [No 10 x
25 mm round head wood screw) and washers plowdcd.
It is recommended that picciss of card or similar material be
inserted between edges of the baseplate and the cabinet
motor board before screwing down to prevent damage to the
surface of the ca binet mot0r hoard

NOTE: The pickup arm (1] is automatically released when
the Starling lever (0) is operated

Automatic Operation

To operate the unit automatically:

1. Place record on turntable.

2. Select speed (P) and record size (J) to sun record.

3. Move starting lever to 'AUTO' and allow it to return
gently to 'START'. The pickup arm will automaticallr set
down on the record. At the end of the record the pickup arm
will return to lhe rest (M) and the unit wull switch off
automatically.

4. To Stop. Alter playing the record the unit wrll shut oll
automatically ll it becomes necessary to stop the unit
during play, raise the cuemg Icver ll) and moire the pcku')
arm above the pickup rest. lower the enemy lever and mew
the stoning lever to the 'STOP position

NOTE: To interrupt the record raise the curing lever to Mt
the pickup arm thn the seeing lever is lowared. the
pickup w-II descend to the record an! resume playing "1 the
same groove

Manual Operation

| As Automatic Operation

2. As Automatic Operation

3. Move the starting lever to START and lillse the cue-cg
lover. Move the pickup arm above the selected pom on the
record and lower to the groom by returning the cue-rig lover
to the lowered position At the end of the record. the pickup
firm will return to the rest and the unit will switch 0" auto-
matically. alternatively. .iltcr switching the starting lever lU
'START the pickup arm may be liltcd by tho linger lift (N)
and placed in any desired postron on the record

4. To Stop Tho procedure for stopping a record whale
playing is as described in paragraph 4 under Automatic
Operation.

IMPORTANT:

1. cher lorce the pickup arm This unit is robust but duo

to the leatherweight action of the pickup and the delicate
balance required, any force will upset the adjustment

2 When playing new records a certain amount at llull
will gather on the stylus pornt. This should be Carola,-
removed lrom time to time,

3 Do not leave records on the unit when not in use, srmo
as recommended by the manufacturers.

4 It the unit is to be moved. the transit screws should be
inserted to secure the unit to the motor board.

ADJUSTMENTS

This unit has been subjected to the most rigorous checks
and tests below leaving the lactory. where all necessary
adyustments have been made to ensure the satisfactory
playing of records. The following information is provided,
should it become necessary to make any minor adjustments
1. Pickup Arm Balance

(a) Move starting lever to 'START' position.

(b) Rotate stylus pressure dial (F) until '0' COIIICIdcs
With marker in: on pickup body.

(cl Rotate balance adjusting knob (B) to move weight
along the tube until the arm balances with tho lulu..-
parallel to lumlubla surlacu

2. Stylus Pressure The stylus pressure shOuld always he
set .15 recommended by the cartridge manufacturer. Rotate
stylus pressure dial until the figure for the appropriate stylus
pressure in grams comcides with the marker line

3. Pickup arm bias compensator. The bias compensator
control knob (0) should be sol to the figure corresponding
to the stylus pressure applied. The control is continuously
adjustable so that settings between the homes indicated .lrr!
possible The P157 has separate scales lnr eliptical and
spherical styli arid thus the knob should be set against the
appropriate scale.

NOTE: The bias compensator settings described are those
required under ideal conditions. Slight variations lrom the
optimum may be necessary. depending on the condition of
the stylus. ll alter setting the adjustment the pickup tends
to skate out. lower the setting, If ll skates in. inerease the
setting

4 Stylus Set Down. The stylus set down is correct when
the stylus sols down 3" in from the edge of the selected size
of record

To adjust:

la) Place 12' record on turntable.

l b) Set record size selector knob to 12'

(c) Move starting lever to AUTO' and release

(d) Rotate turntable clockwise by hand until stylus sch
down on record.

(8) ll adjustment l5 required, turn set down adeS-Illg
screw (C) clockwise to move stylus so: dM-r
nearer to edga 0' record or anti-clockw:se to set
down lurther away from edge at record.

5 Pickup Arm Height. The pickup arm height is correctly
set when the underside oi the pickup tubo clears the top cl
the pickup rest by 1'. when rho arm is returning to the rest
as the en t cycles To adjust. proceed as follows;

(a) Place a 12' record on turntable.

(b) Move starting lever lo 'AUTO and release.

to) Rotate turntable clockwrsc by hand until stylus sets
down on record

(a) Lift p clrup arm and replace stylus in finishing groove
at and at record

(e) Rotate turntable clockw-se by hand, the pickup him
wrll now ill and rctutn towards the rest.

(ii If the pickup lie-glut is set too high. adjust by turning
height «dusting screw (E) clockwise. and it too
low, tu'n anti-clockwise. The height the compo
lever will hit the pickup arm may be adjusted by me
cueing le'rlcr height adjusting screw (G).

Adjust as lollows:

(0 Move starting lover to 'START

(ii) Move cucing lever to raised position.

(iii) ll lho underside of the pickup rubo clears the
top of the pickup rest by 9-" the setting Is
correct, it not, turn the cuc-ng lcvur reiuhl
adjust-rip screw clockwrse to raise the arm, or
anti-clockwise to lower ll.