Bsr c 114r 115r 123r 124r 127r 129r 136r 138r 140 owners manual

This is the 6 pages manual for bsr c 114r 115r 123r 124r 127r 129r 136r 138r 140 owners manual.
Read or download the pdf for free. If you want to contribute, please mail your pdfs to info@audioservicemanuals.com.

Page: 1 / 6
left right
bsr c 114r 115r 123r 124r 127r 129r 136r 138r 140 owners manual

Extracted text from bsr c 114r 115r 123r 124r 127r 129r 136r 138r 140 owners manual (Ocr-read)


Page 1

Standard size units will play automatically
a stack of up to eight average thickness
records of the same speed and diameter.
Miniature size units will play up to six
records.

7 diameter records having a large centre
hole may be played using a BSR 45 rpm
spindle-adaptor. Records may also be
played singly.

Initial Preparation

1. If the unit is fitted with transit screws.
make sure they are screwed right down
into the mainplate and that the unit

floats freely on its mounting springs.

2. Depress the control arm directly over
the spindle at the rear and swing it to the
centre of the turntable.

3. Release the pickup clip (where fitted).
4. Rotate the turntable by hand five
times to ensure that the mechanism is in a
neutral position.

5. If the centre spindle is not already
fitted, place it into the turntable bearing.
making certain that the projection on the
spindle locates in the slot at the top of the
turntable bearing. Press downwardsuntil
the spindle snaps onto the retaining clip.

Automatic Operation

To operate the unit automatically:

1. According to the type of record to be
played.

(a) Move the speed control against the
required speed.

(b) Set record size selector.

(c) Select the correct stylus. The stylus is
correctly set for 78 rpm records when the
stylus selector shows 78 uppermost. For
long playing records LP must be showing.
NOTE: Some units are now fitted with
twin LP styli in which case either may be
used for the playing of LP microgroove
records only.

Operating Instructions

2. To Load. Lift the control arm at the
rear and swing it to the right. Carefully
place one record on the ledge of the centre
spindle and hold there while the remaining
stack of up to seven records are also
loaded. All records in any one stack must
be of the same speed and diameter and
have the same type of groove.

(i.e. standard or long playing). Swing the
control arm back to the centre and gently
lower onto the records.

3. To Start. Move the starting lever to
the AUTO or REJ. position and hold there
momentarily until the turntable revolves.
then let it return gently to the START or
MANJON position.

4. To Reject. To reject a record at
any time when the unit is in operation,
move the starting lever to the AUTO or
REJ. position and then let it return gently
to the START or MAN/ON position.

5. After playing the last record the unit
will shut off automatically.

-Manual Operation

1. Check all settings as indicated in 1
under 'Automatic Operation.

2. Where a stub spindle is provided,
remove centre spindle assembly by lifting
and twisting and replace with the shorter
spindle. (NOTE: Records may be played
with the long spindle fixed, but the record
must be manipulated carefully over the
spindle ledge).

3. Lift the control arm at the rear and
swing to the right. Place the record on the
turntable and replace the control arm in the
playing position.

4. To Start. Move the starting lever
to the START or MAN/ON position.

Place pick-up arm gently on record. At the

end of the record the pick-up will return
to the rest and the unit will switch off.

5. On certain units a manual cueing
lever is situated at the rear right hand
corner. Move the starting lever to the
START or MAN/ON position and raise
the cueing lever. Move the pick-up arm
above the record to the selected point and
lower to the groove by returning the lever
to the rest position. At the end of the
record the pick-up will return to the rest
and the unit will switch off.

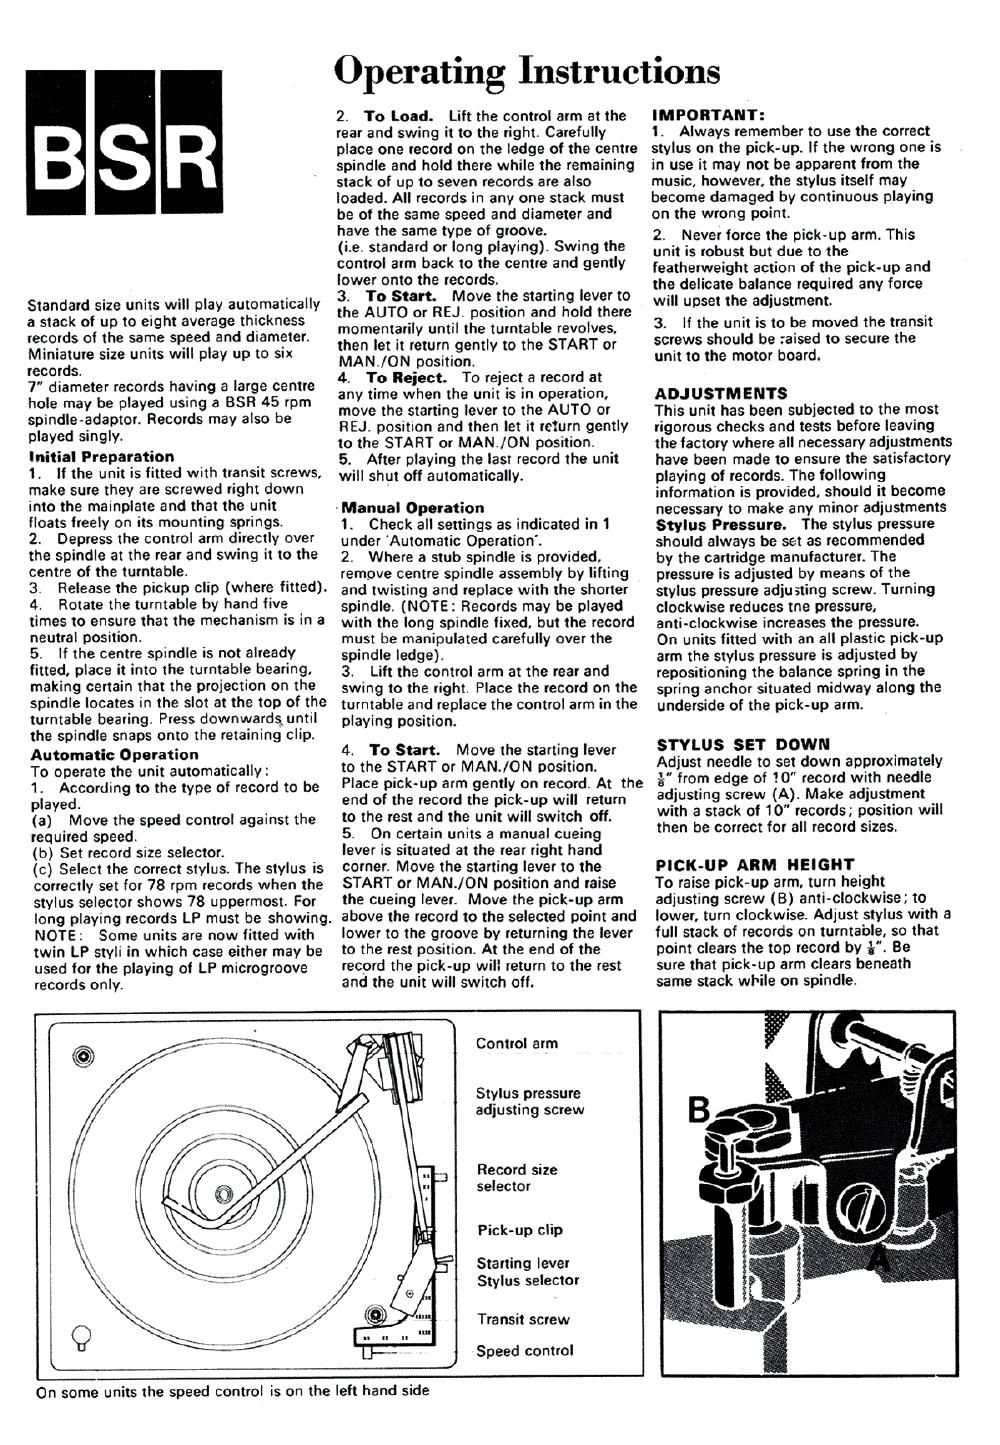
Control arm

Stylus pressure
adjusting screw

Record size
selector

Pick-up clip

Starting lever
Stylus selector

Transit screw

Speed control

On some units the speed control is on the left hand side

IMPORTANT:

1. Always remember to use the correct
stylus on the pick-up. If the wrong one is
in use it may not be apparent from the
music, however. the stylus itself may
become damaged by continuous playing
on the wrong point.

2. Never force the pick-up arm. This
unit is robust but due to the
featherweight action of the pickup and
the delicate balance required any force
will upset the adjustment.

3. If the unit is to be moved the transit
screws should be raised to secure the
unit to the motor board.

ADJUSTMENTS

This unit has been subjected to the most
rigorous checks and tests before leaving
the factory where all necessary adjustments
have been made to ensure the satisfactory
playing of records. The following
information is provided. should it become
necessary to make any minor adjustments
Stylus Pressure. The stylus pressure
should always be set as recommended

by the cartridge manufacturer. The
pressure is adjusted by means of the
stylus pressure adjusting screw. Turning
clockwise reduces tne pressure.
anti-clockwise increases the pressure.

On units fitted with an all plastic pick-up
arm the stylus pressure is adjusted by
repositioning the balance spring in the
spring anchor situated midway along the
underside of the pick-up arm.

STYLUS SET DOWN

Adjust needle to set down approximately
a" from edge of 1.0" record with needle
adjusting screw (A). Make adjustment
with a stack of 10" records; position will
then be correct for all record sizes.

PICK-UP ARM HEIGHT

To raise pick-up arm. turn height
adjusting screw (8) anti-clockwise: to
lower, turn clockwise. Adjust stylus with a
full stack of records on turntable. so that
point clears the top record by i". Be

sure that pick-up arm clears beneath
same stack while on spindle.