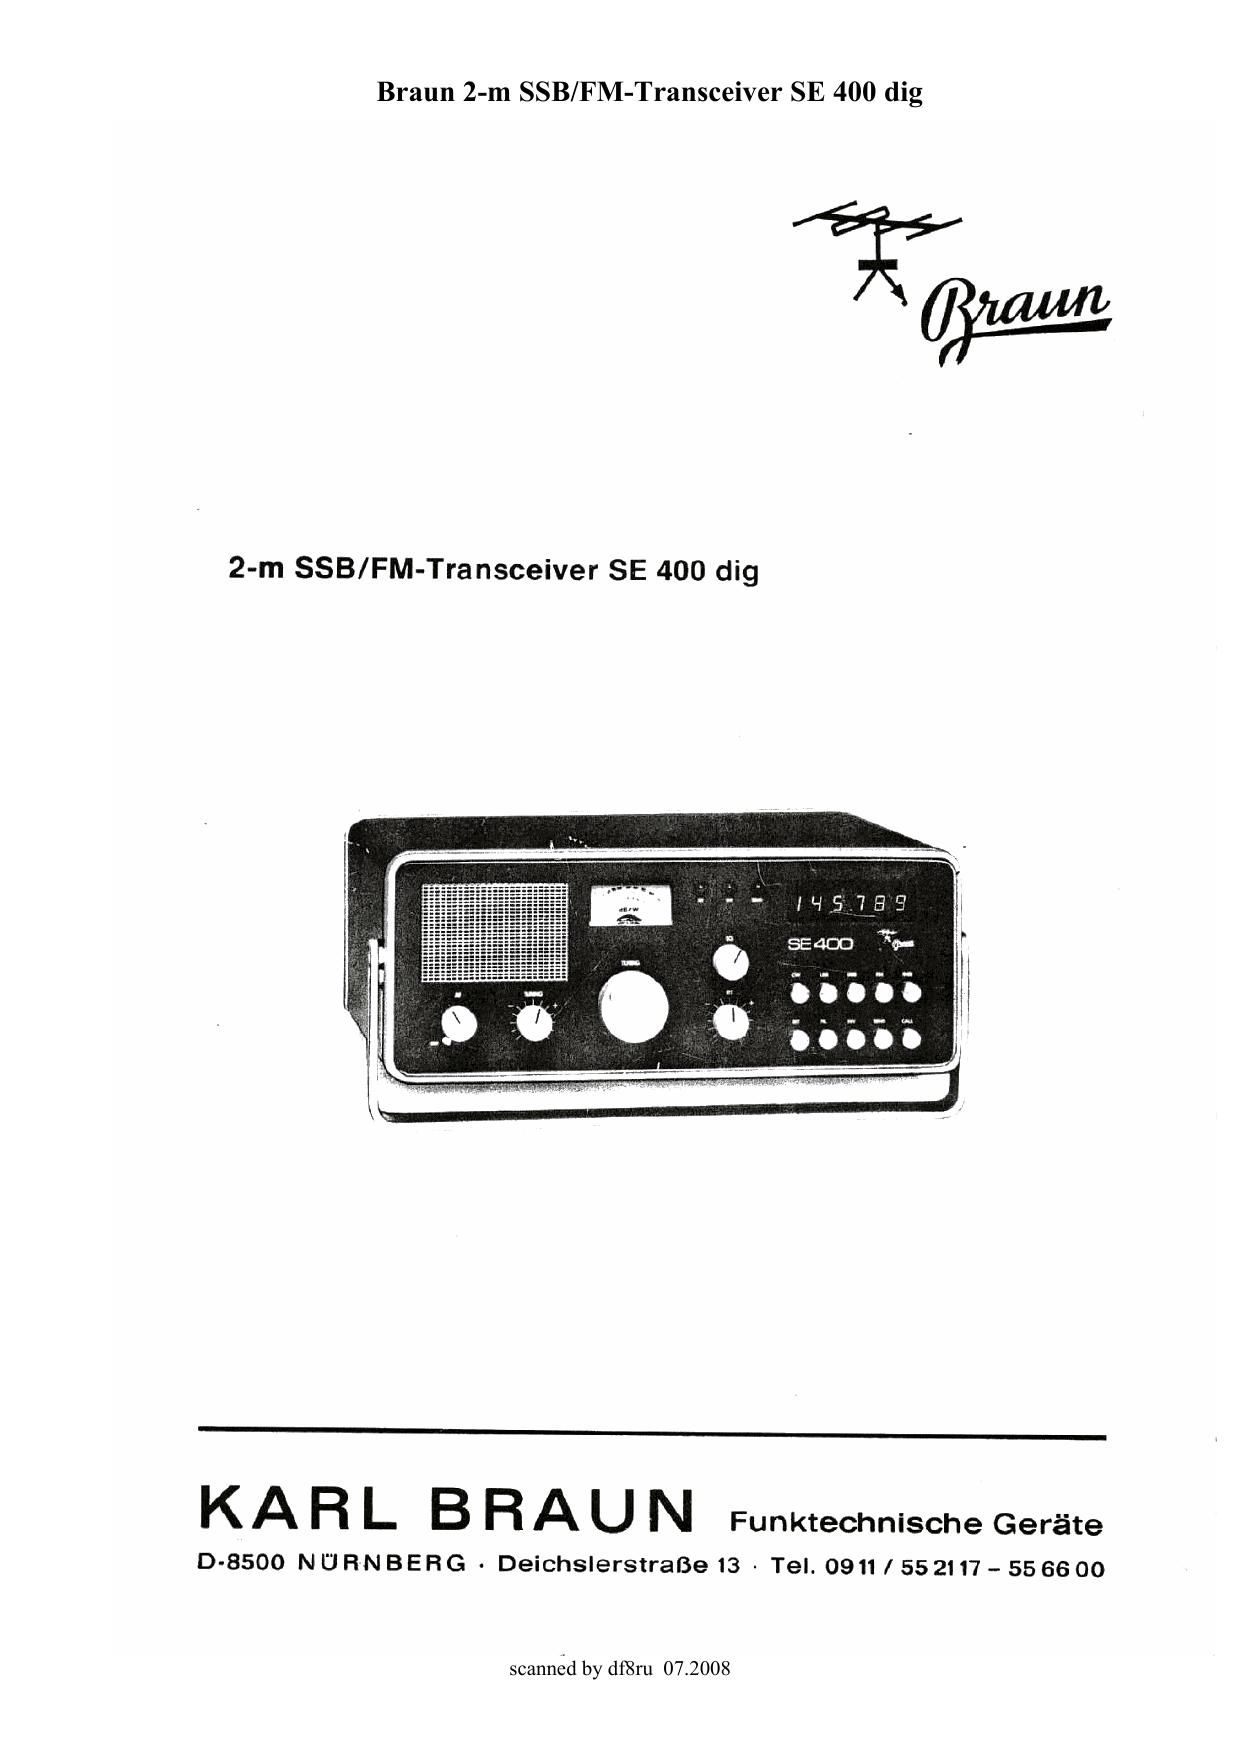
Braun SE 400 Service Manual

This is the 23 pages manual for Braun SE 400 Service Manual.
Read or download the pdf for free. If you want to contribute, please mail your pdfs to info@audioservicemanuals.com.

Page: 1 / 23
left right
Braun SE 400 Service Manual

Extracted text from Braun SE 400 Service Manual (Ocr-read)


Page 2

Braun 2-m SSB/FM-Transceiver SE 400 dig

Lieber OM I
Nun steht IH R SE 400 vor Ihnen.

Wir haben disses Gerdt ohne Kompromisse konstruiert. Ohne
Kompromisse im Autwand der Bauteile, ohne Kompromisae in
der Qualitat der verwendeten Bautelle. Alias. was Sle von
einem modemen UKW-Geriit erwarten. Ist vorhanden. Ohne
Rticksicht aut den hohen Autwand und den damit verbunv
denen Preis.

Sie heeltzen jetzt eln Gerat. das durch seine universellen
Einsatzmogllchkeiten wlrkllch all-n Anlorderungen dea 2-m-
Bandee gerecht wird. Fiir UHF lst der SE400 das ldeale
Steuergeret. um in Verbindung mlt elnem 2-m/70-cm-Llnear-
umsetzer - wie as 2.5. unser LT 410 is! - In ellen Betriebs-
arten aui dem 70-cm-Band ORV zu warden.

Trotz der iibereichtlichen Gllederung der Frontplatte sallten
Sie die Baschraihung des SE 400 austiihrllch studieren. damit
Sie auch alle Mogilchkelten. die lhnen diesee Gerat bietet. voll
nutzen konnen.

Schon nach wenigen Minuten Betrieb warden Ste teststellen.
was Sie aut dam 2-m-Band alles horen und damlt auch
arbeiten kennen. Mit dem SE 400 werden Sie wieder Freude
am 2-m-Band haben. Sie warden sich treuen. wenn Sie uberall
wo immer Sie auch hinkommen. bei den FM-»Kenalarbeiternu
einsteigen kfinnen. gleichgflltig ob Kanai- odar Reiais- oder
Umsatzerbetrieb. Und Sie werden sich wundern. deli seltene
und welt enttemte SSB-DX-Stationen moist schon aut lhren
ersten Zwischenruf iiir Sie zuriickkornrnen, Kurz gesagt. Sie
werden mit den vielen OMs. die schon einen SE 400 besltzen
der Melnung sein. daB der SE 400 wirklich selnen Preis wen
Ist.

Viel Freude. Vlel Span und vuel Ertolg wiinscht lhnen

lhr DJSDT

$0.3m

Dear 0M |
You are now In possession ot the outstanding SE 400.

We have constructed this transceiver without any compro-
mises with respect to the number and cost at components,
and without any compromises as to the quality ot the compo-
nents used. The SE 400 transceiver is constructed to tail pro-
tessional standards and otters you everything that one can
expect from a modern VHF transceiver. The motto at our
company is quality tirst- which we place more Importance to
than low-cost.

You possess a transceiver whose high degree at versatility wtll
meet all the requirements at the two meter band and also
torrn an ideal basis tor additional conversion to the UHF
bands. tor instance with our Linear Transverter LT 470. which
extends the versatility ot the SE 400 to 70 cm

in spite ot the clear layout ot the tront panel. it Is very
adviseable tor you to read through the operating manual so
that you are able to utilize the 55400 transceiver to the lull.
Remember that the transceiver should only be aligned by
qualified technical personnel since the complexity of the
circuit is tar beyond that ot other amateur equipment

After a law minutes at operation you will be surprised at the
large number at new stations you will be able to hear on the
two meter band. And you will be able to join them all with the
SE 400. no matter whether they are on FM. cw. or SSB.
working simplex on one trequency or duplex direct or via a
repeater. Furthermore. you will be astounded at the distance
that you will be able to cover in the SSS mode. and the 586
stations that you will be able to hear.

We are sure that you will agree with the large number at other
$5400 owners that the SE 400 Is wonh its weight in gold.
even though its purchase price is tar below this.

We wish you lots at enioyment and pleasure With your SE 400
which puts you ter in advance at your teliow amateurs not
having an SE 400.

Yours DJ 3 DT

scanned by df8ru 07.2008

Page 15

Braun 2-m SSB/FM-Transceiver SE 400 dig

Ti?

3.15

3.16

3.17

3.18

3.19

gm

FM/FMR-FREQUENZEN :

Die FM-Frequenzen werden wle iolgt eingestellt:
1. 50 Q /15W Abschiuflwiderstand an Antennenbuchse.

2. Extern-Zehler en Giesdurchfiihrung ~K- (Blid 4) en-
schlieflen.

3. Taste ~FM~x und Taste -SEND« drflcken und mit FIG
(Biid 4) 10.700 MHz 2 200 Hz einsteilen.

4. Taste ~FMR- und Taste -SEND- drflckon und mlt R5
(Blld 4) 10.100 MHz 1 200 Hz elnstellen.

SSE-FREQUENZEN :

Die SSB-Frequenzen werden wle ioigt eingestellt:

1. Extem-Zfihler en Stator von Trimmer C13 (Blld 4) an-
schlieBen.

2. Taste ~USB- drilcken und mit C15 (Bite 4)
10.69850 MHz einsteilen.

3. Taste ~LSE: driicken und mit C14 (Bite 4)
10.70150 MHz einstellen.

FREQUENZZKHLER :

Das Nachstellen der Zeitbasis-Frequenz ist nur
ertorderiich. wenn Quart oder IC 3 (Oszlllalor- und Teller<
IC) detekt war und deshalb ausgewachselt wurde (be:
Auslall der Zeitbasis zeigt der Zfihler 148.888):

1. Extern-Zéhier an Pin 9 von IC a (Bill! 4) enechiieBen.
2. Mit C 12 (Blld 4) 4.09600 MHz elnstelien.

SSB-TRKGERUNTERDROCKUNG :

Zur Einstellung oer Trégerunterdriickung Ist wenlgstens
eIn HF-einstrahlungeiester Empténger als Anzeigegeret
eriorderlich (tilt exakten Abgieich eiehe 4.9):

1. 50 Q I 15 W Abschluflwiderstand an Antennenbuchse.
2. Anzeigegerat iiber Strenlungskoppiung enschlieBen.

3. Taste -CW- und Taste -SEND~ orflcken. Wucheelweisa
rnlt R 7 und C 13 (and 4) aul Tr'agerrninimum einstellen.

SICHERUNGEN :

Fiir Netzbetrieb let des Geret mit einer Feinelcherung von
0.7A (5x20 mm). Iflr Batteriebetrieb mit einer soichen
von 3A filnk (5 x 20 mm) gagen unzuiAsslg hohe Strome
geslchert.

Belde Sicherungen betlnden slch aul der Stromversor-
gunge-Leiterplatte (Bill! 5).

3.15

3.16

3.17

3.18

3.19

scanned by df8ru 07.2008

FMIFMR FREQUENCIES :

The FM ireouencies are aligned as follows:
1. Connect a 50 Q / 15 W load resistor to antenna output.
2. Connect external counter to glass teedthrough (Fig. 4).

3. Depress -FM« and -5END- buttons and align to 10.700
MHz 2 200 Hz.

4. Depress nFMFiv- and nSENDn buttons and align R5
(Fla. 4) to 10.100 MHz 2 200 H2.

558 FREQUENCIES :

The $83 frequencies are aligned as iollows:

1. Connect the stator 01 trimmer C13 (Fig,4) to the
external counter.

2. Depress the -USB~ button and align C 15 (Fig.4) to
10.69850 MHz.

3. Depress the nLSB« button and align C14 (Fig. 4) to
10.70150MH1.

FREQUENCY READOUT :

An alignment oi the timebase trequency is only necessary
after replacement oi the crystal or ICS (oscillator and
divider lC). The counter will indicate 145.888 when the
timebese is inoperative.

1. Connect the external counter to pin 9 of IC 3 (Fig.4).
2. Align C 12 (Fla. 4) to 4.09600 MHz.

383 CARRIER SUPPRESSION :

A fully screened receiver Is required ior alignment oi the
carrier suppression (see 4.9 ior exact alignment details).
1. Connect a 50 :2 I15 W load to the output socket.

2. Connect the indicator unit.

3. Depress nCW- and -SEND- buttons. Align R7 and
C 13 alternately tor minimum carrier (Fig. 4).

FUSES : l

A power line luse at 0.7 A (5 x 20 mm) is provided as well
as a 3A iuse ior battery operation (5x20mm) which
protect the unit. Both iuses are be tound on the power
supply board (see Fig. 5).

16