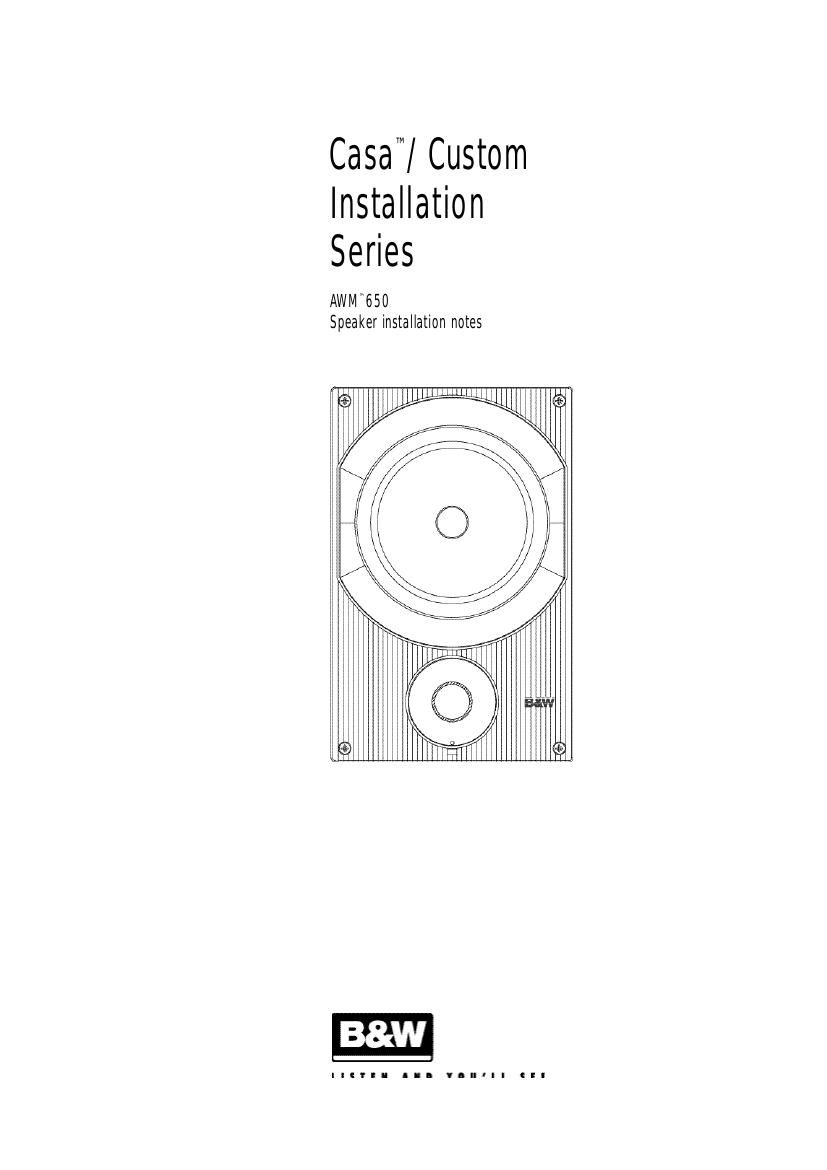
BowersWilkins AWM 650 Owners Manual

This is the 4 pages manual for BowersWilkins AWM 650 Owners Manual.
Read or download the pdf for free. If you want to contribute, please mail your pdfs to info@audioservicemanuals.com.

Page: 1 / 4
left right
BowersWilkins AWM 650 Owners Manual

Extracted text from BowersWilkins AWM 650 Owners Manual (Ocr-read)


Page 1

F i g u re 1 F i g u F i g u re 3

Page 2

THESE NOTES MUST BE READ IN CONJUNCTION WITH THE CASA I N S TA L L ATION MANUAL. A FULL COPY OF WHICH IS AVAILABLE AT h t t p : / / w w w. c l a r i t y. b w s p e a k e r s . c o m U N PA C K I N G ( F i g u re 1) Fold the top carton flaps right back and i n v e rt the carton and contents. Lift the carton clear of the contents. Remove the inner packing f rom the pro d u c t . Check the contents for: 2 x Baffle with drive units and on-board a m p l i f i e r s 2 x Speaker grille scrims 8 x Machine screws (for fixing baffles to wall frame) We suggest you retain the packaging for future use. Remove the grilles from the frames and, to avoid damage, keep them in their plastic bags (and preferably in the carton) away from the work area until you are ready to fit them. D AMP ING THE C AV I T Y A foam pad is supplied to damp the area behind the drive units. In addition, loosely fill the whole section of the wall cavity with wadding. F i b reglass and mineral wool matting supplied for heat insulation are suitable, but not closed cell foam or expanded polystyrene. Check that there is no debris that may fall into the speaker. I M P O RTA N T: YOU SHOULD CHECK THAT THE I N S TA L L ATION ITSELF AND THE MATERIALS YOU USE MEET THE LOCAL FIRE AND BUILDING R E G U L AT I O N S . FITTING THE SPEAKER ( F i g u re 2 & 3) Note: The assembly should be installed with the tweeter at the bottom. O ffer up the baffle assembly to the frame and attach the cables as described in the CASA installation manual. To avoid rattles, tie down loose cable near the speaker with clips, mastic or t ape. Feed the baffle assembly into the frame and using the screws provided (4 -“ one in each c o rner) secure it to the wall frame. Before fitting the grille, check the operation of all the loudspeakers in the installation. Remove the p rotective covers from the tweeters domes. When you are satisfied that the installation is perf o rm i n g c o rre c t l y, lay a scrim into each grille and push all the grilles into the wall frames. CUSTOMI SIN G The frame and grille have paintable white semi- matte finish, ready if necessary to be re - f i n i s h e d to match you own decor. Decorate before the b a ffle is fitted. If the grille is to be re-finished remove the infa- Red eye by removing the rubber retaining ring - refit before fitting the grille. Do not paint the baffle or drive unit area it should be removed if the frame/grille is to be re - decorated at a later date.