Bose 1800 v 181812 b2

This is the 2 pages manual for bose 1800 v 181812 b2.
Read or download the pdf for free. If you want to contribute, please mail your pdfs to info@audioservicemanuals.com.

Page: 1 / 2
left right
bose 1800 v 181812 b2

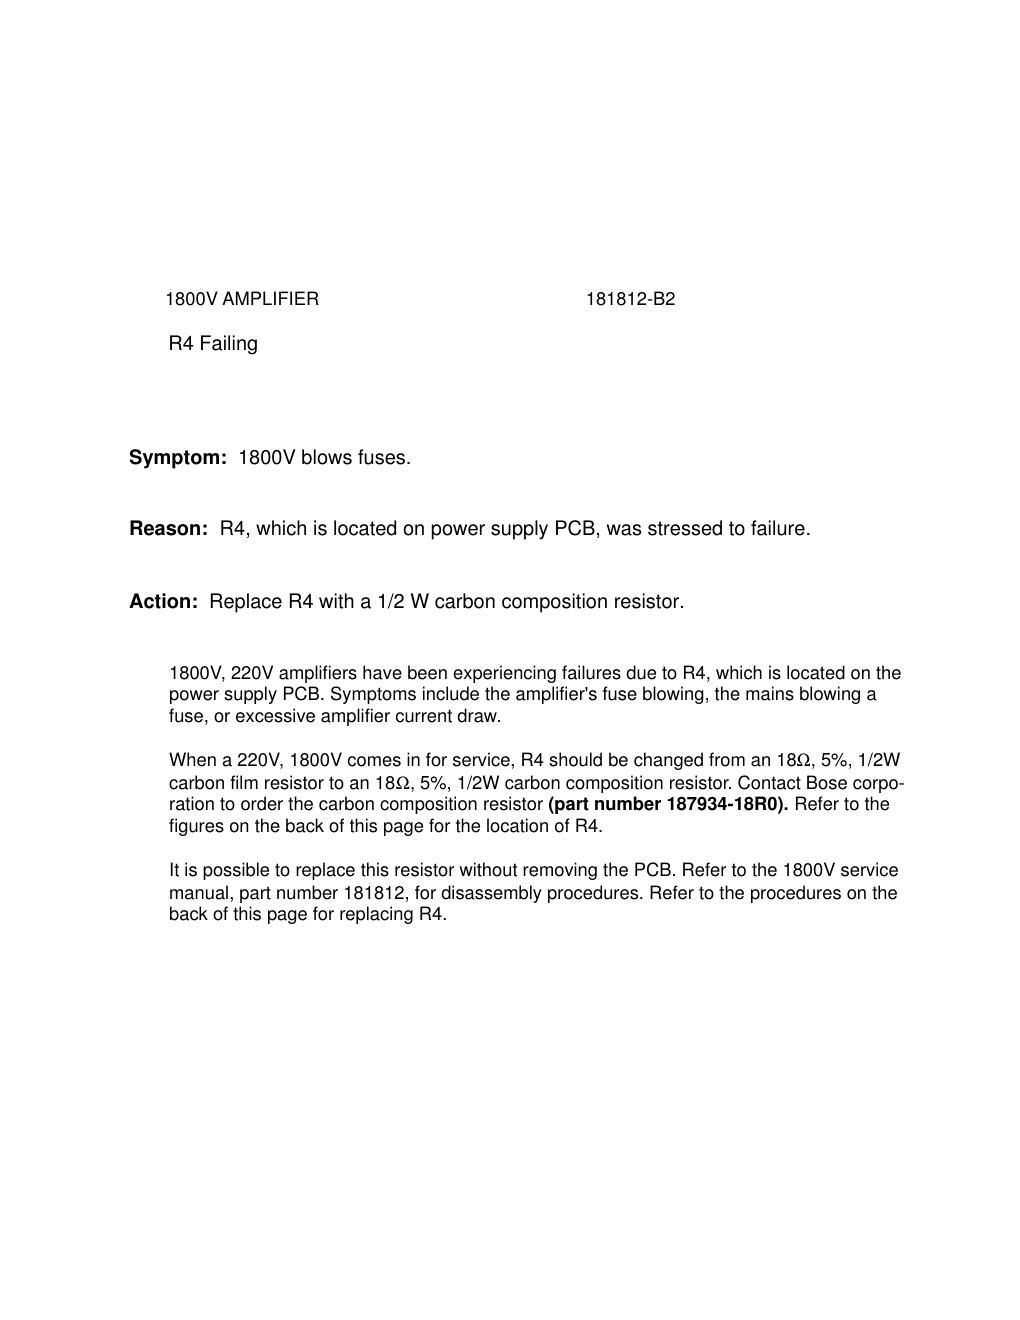
Extracted text from bose 1800 v 181812 b2 (Ocr-read)


Page 1

R101 R102 BRN BLU LINE LOAD 6 7 8 9 10 112 1 5 3 4 J1 J1 Power Supply PCB Location of the Power Supply PCB and R4 Unplug the unit and remove the top cover. Unplug the spade connector WL7. Measure the resistance of R4. If R4 measures 18ý ±5%, changing R4 may not fix the problem. If R4 measures open, out of tolerance or is a carbon film resistor (light brown body color), re- place it with P/N 187934-18R0 carbon composition resistor (dark brown body color) as described below. 1. De-solder the damaged R4 and discard it. Be sure to remove all the solder from the PCB holes or the new resistor will not fit. 2. Dress the leads of R4 so that the body of R4 is 1/8" off of the surface of the PCB. Ensure that the leads will not contact the heat sink behind the back side of the PCB. 3. Solder the new component in place and check to ensure that the leads of R4 are not contacting the heat sink. 4. Replace the spade connector WL7 and the top cover. Replace the fuse if necessary. Test the amplifier according to the test procedures in the 1800V Service Manual.