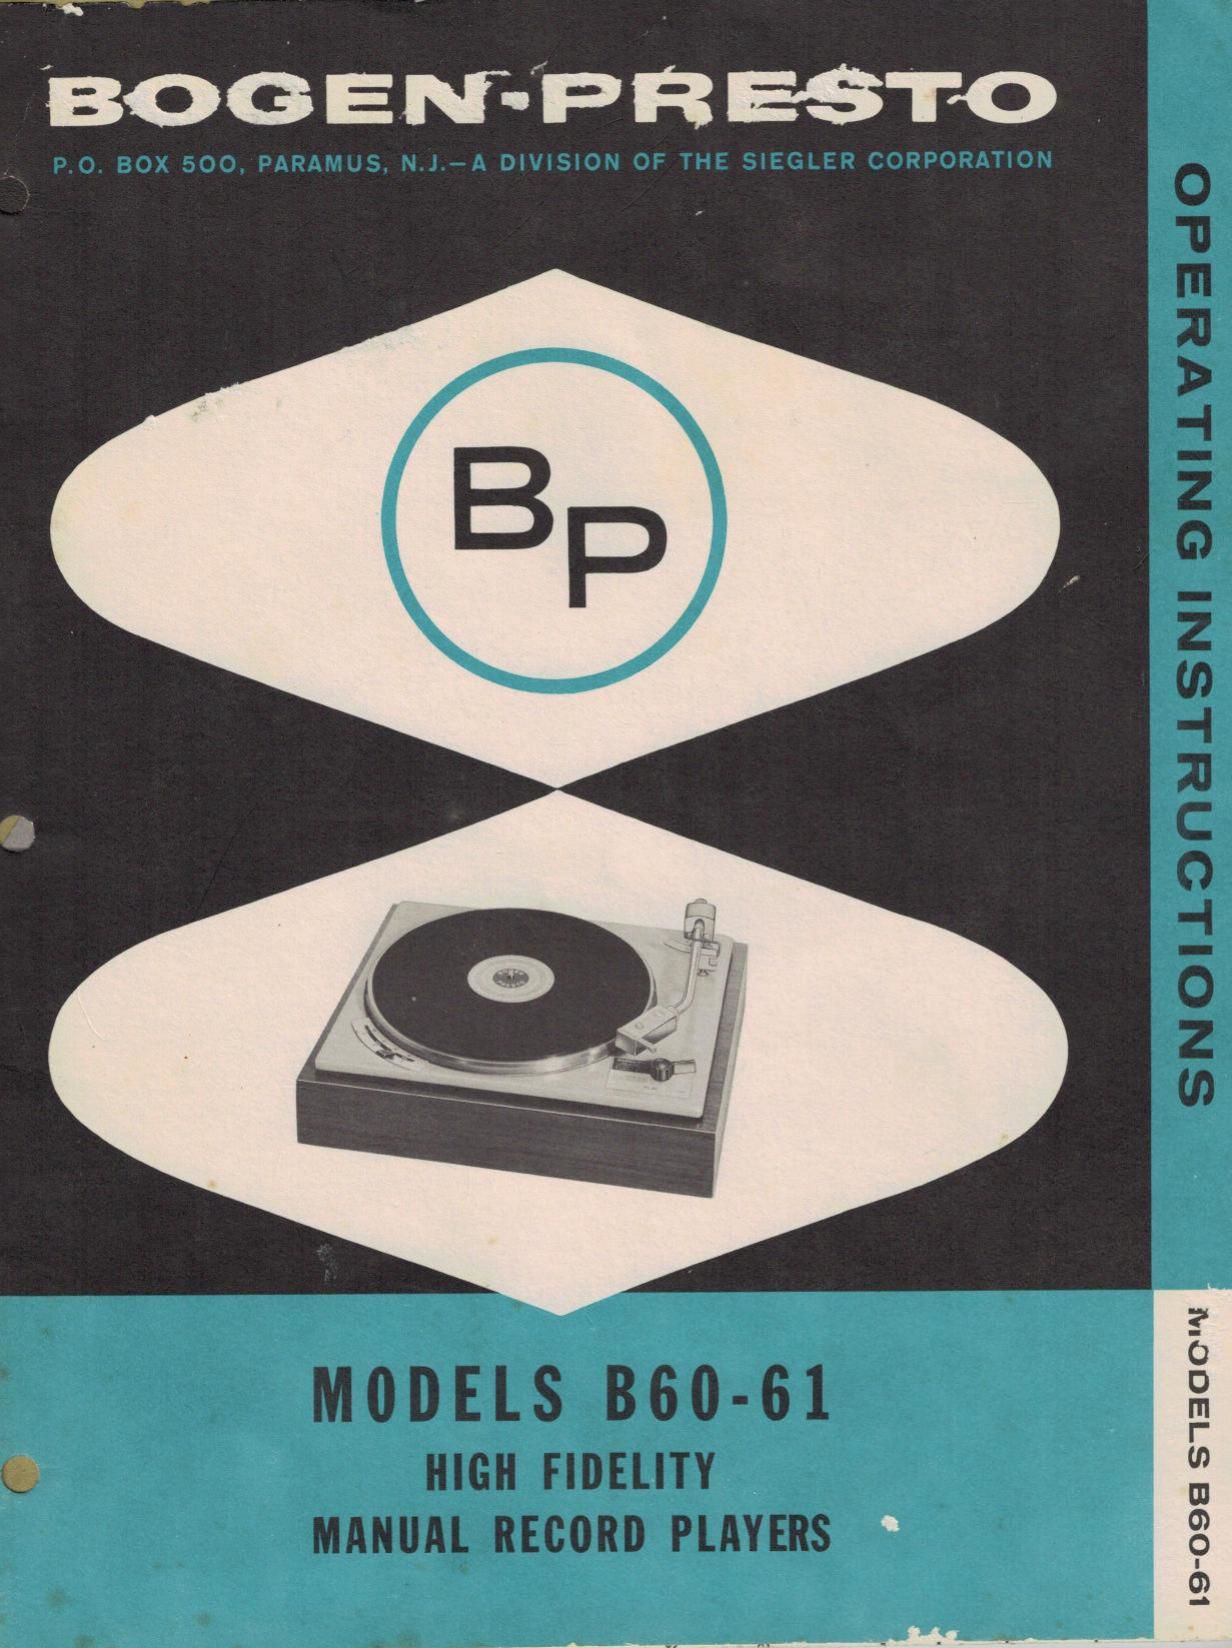
This is the 13 pages manual for Bogen B61 Owners Manual.
Read or download the pdf for free.
If you want to contribute, please mail your pdfs to info@audioservicemanuals.com.
pads are welded to the bottom of the mounting
plate. Run each nut up against the mounting plate
to hold the studs in position.
4. Place a second nut on each stud at a distance
of approximately 1 inch from the underside of the
plate surface. (For Model B61, the separation
distance should be 1-1/4 inches.)
5. Insert the spring plate over each of the 1-inch
holes on the mounting base so that the spring
part is nested in the hole. Fasten each spring
plate to the base with two of the supplied wood
screws.
6. Place the phone chassis on the base so that all
studs protrude through the springs. Check to see
whether th'e chassis is suspended above the base
and is level on all four sides. (There should be
approximately l/4-inch clearance between the
phono chasis and the base.)
7. If the phono chassis is not parallel to the base,
adjust the lower nuts on each stud to level the
chassis. It may be necessary to repeat this step
several times until the proper balance is obtained.
Remember to maintain the approximate l/4-inch
clearance between the phono chassis and the
mounting base.
8. After the phono chassis is level with respect to
the base, add a third nut on each stud and tighten
it against the spring shockmount.
9. Remove the two screws, on the phono chassis
which are painted red. (The screws were used to
protect the player in transit.)
10. Since finger marks will affect the performance of
this instrument, carefully clean all metal sur-
faces (particularly the drive cone) with carbon
tetrachloride. Clean the idler wheel with denatured
alcohol.
11. Carefully remove the turntable from its package
and place the turntable on the shaft. Place the
rubber mat on the turntable.
12. Connect the line cord of the phonograph to a
wall outlet supplying 117-volt,60-cyc1e AC power.
CONNECTIONS
GROUND
Connect the spade lug on the single wire lead to
a ground point on the amplifier or preamplifier.
OUTPUT
STEREO SYSTEM: Two output cables have been
supplied with this player for connection to your am-
plifier(s). Connect these two cables to the phonograph
input receptacles on your amplifier. It is not necessary
to disconnect either cable for monophonic operation in
the stereo system, since the record player will play
MONOPHONIC SYSTEM: If two output cables are
supplied with the record player, connect only one cable
to the phono input receptacle of the amplifier. No con-
nection is required for the other cable.
ADJUSTMENTS
SETTING AND REPLACING CARTRIDGES
Included with your record player, you will find an
envelope containing the following hardware: two screw
extensions (Bogen Part No. 70-8019-01), two 3/48 x
3/8" round head slotted machine screws, two 3-48 x
5/16" round head slotted machine screws and two 3-48
x 1/8" round head slotted machine screws. This hard-
ware is for use in mounting the phonograph cartridge to
the head. Not all of it will be required in every in-
stance. Mounting insIIuctions follow for some of the
more commonly used cartridges. Check manufacturers
instructions for any cartridge not listed below.
NOTE: Always remove the bead [mm the tone arm
Ire/ore attempting to insert or replace any
pbonogmpb cartridge. 1/ [be cartridge has a
protective shield, it may be necessary to
remove it bc/ore mounting.
PICKERING STEREOPHONIC CARTRIDGE (Stanton
Stereo-Fluxvalve models 380A and 380C)
Install the cartridge into the phono player head
using the pair of 3/16" standoffs included with the
cartridge and the 5/16 screws included with the
phono player.
The 860-61 cartridge head leads have push-on
connectors that can he slid on to the catuidge output
terminals. Connect a colored lead and its associated
black (ground) lead to "L and "LG terminals, re-
spectively. Connect the other colored lead and its as-
sociated black lead to the "R and "RG" terminals,
respectively.
The tone arm weight adjusnnent should be set to
provide 2 to 5 grams of tracking force for the model
380A cartridge and 4 to 7 grams for the model 380C.
-2-