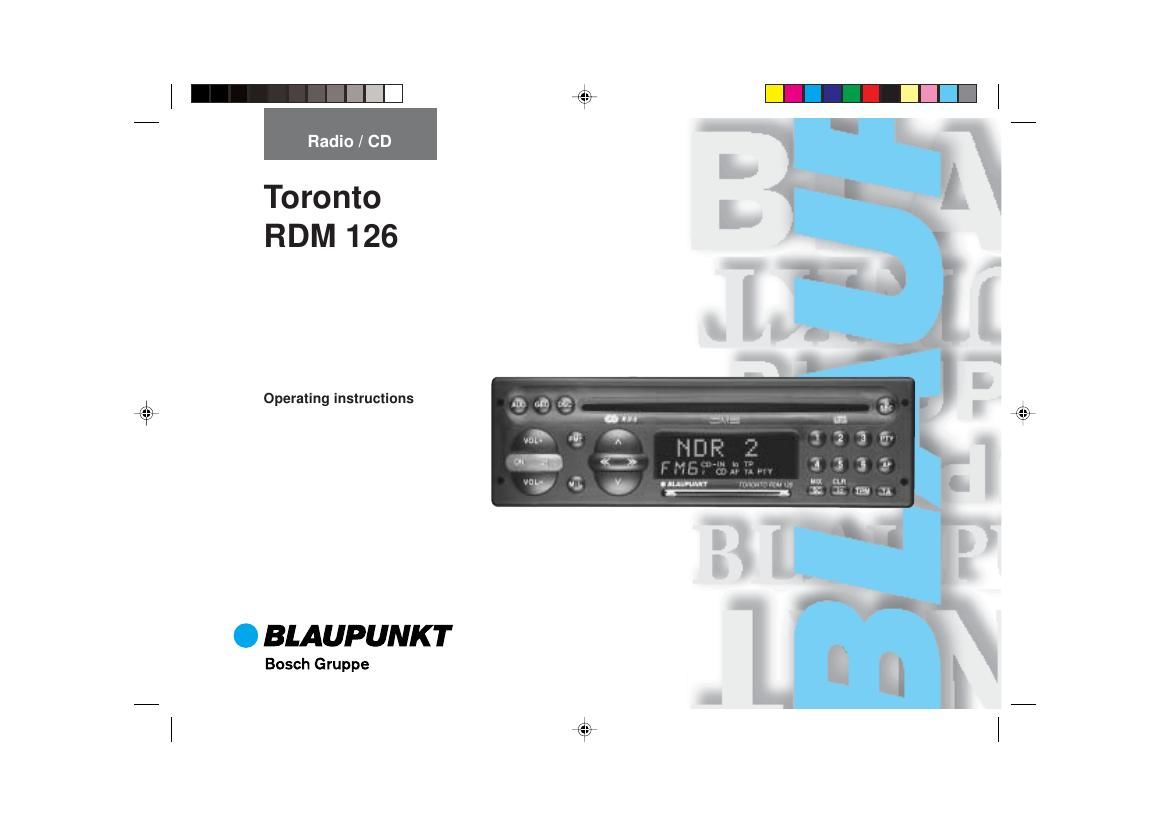
Blaupunkt Toronto RDM 126 Owners Manual

This is the 29 pages manual for Blaupunkt Toronto RDM 126 Owners Manual.
Read or download the pdf for free. If you want to contribute, please mail your pdfs to info@audioservicemanuals.com.

Page: 1 / 29
left right
Blaupunkt Toronto RDM 126 Owners Manual

Extracted text from Blaupunkt Toronto RDM 126 Owners Manual (Ocr-read)


Page 1

3 13 14 2 17 20 18 19 11 9 4 51 2 15 8 16 7 6 13 10

Page 2

30 Contents Quick reference............................ 31 Important notes ............................ 37 Precautions........................................... 37 Traffic safety ......................................... 37 Installation ............................................. 37 Telephone mute .................................... 37 Accessories .......................................... 37 KeyCard theft protection system........................................... 38 Putting the unit into operation .............. 38 Removing the KeyCard ........................ 38 Training a second KeyCard/ Replacing a KeyCard ............................ 38 Displaying the radio pass data ............. 38 Short Additional Memory (S.A.M.) ........ 39 Turn On Message (T.O.M.) .................. 39 Optical indication for extra security ...... 39 Care of your KeyCard ........................... 39 Switching the audio source ........ 39 Radio operation with RDS ........... 40 AF - Alternative frequency .................... 40 REG - regional programme .................. 40 Selecting a waveband .......................... 40 Station tuning ........................................ 40 Automatic tuning / ....................... 40 Manual tuning with << >> .................. 41 Scrolling through the broadcasting net- works (only FM) .................................... 41 Changing the memory bank (FM) ......... 41Storing stations ..................................... 41 Automatically storing the strongest sta- tions with Travelstore ............................ 42 Recalling stored stations ...................... 42 Scanning stored stations with Preset Scan .......................................... 42 Scanning stations with Radio-Scan ...... 42 Changing the scan time ........................ 42 Selecting the seek tuning sensitivity .... 42 Switching from stereo to mono (FM) .... 43 PTY -“ Programme Type ....................... 43 Switching PTY on/off ......................... 43 Programme type ................................... 43 Checking the programme type of the station .......................................... 43 Displaying the selected programme type .................................................... 43 Selecting a programme type ............. 43 Storing programme types .................. 44 Scanning stations with PTY-SCAN ... 44 PTY priority ........................................ 44 Receiving traffic programme stations with RDS-EON ................ 45 Traffic announcement priority on/off .... 45 Warning beep ....................................... 45 Switching the warning beep off ......... 46 Automatic seek tuning start .................. 46 Adjusting the volume for traffic announcements and the warning beep 46 Adjusting GEO for traffic messages and the warning beep ........................... 46 CD and CDC changer operation (optional)....................................... 47 Switching to CD operation .................... 47 Inserting a CD ....................................... 47 Removing a CD .................................... 47 Selecting a title ..................................... 47 MIX playback ........................................ 48 Switching to CDC operation ................. 48 Selecting CDs and titles ....................... 48 MIX playback ........................................ 48 Selecting the display mode .................. 49 Storing the display mode ...................... 49 SCAN operation .................................... 49 TPM Track Program Memory ............... 49 Storing tracks with TPM .................... 49 CD playback with TPM ...................... 50 Clearing TPM information ................. 50 Entering CD names .............................. 51 Deleting a CD name ............................. 51 Clearing TPM information and CD names with DSC-UPDATE ................... 51 DSC programming ....................... 52 Overview of the DSC factory settings.................................................. 54 Appendix ....................................... 55 Specifications ........................................ 55

Page 16

44If the system is unable to find a station of- fering the selected programme type, the dis- play will show NO PTY and a beep tone will be released. The station received be- fore starting seek tuning will be tuned in. You can assign different programme types to each preset position. Please refer to the next chapter Storing programme types. b) Using the << >> buttons of the rocker switch When PTY is switched on, you can se- lect a programme type using buttons << >>. - Press << or >>; the programme type selected last will be displayed for three seconds. - During this period press >> (for- wards) or << (backwards) to select the desired type. - Press << or >> as many times as required. If you wish to listen to a station offering the selected PTY, - press / to start seek tuning op- eration. If the system is unable to find a station of- fering the selected programme type, the dis- play will show NO PTY and a beep tone PTY priority Situation: PTY is switched on and lights up in the dis- play. No station offering the selected programme type can currently be received (with seek tuning or scan). The set will switch back to the previous sta- tion. As soon as a programme with such PTY can be received within the broadcasting network, the unit will switch over to the correspond- ing station for the duration of the pro- gramme. Example: German broadcasting network NDR: - Station tuned in: NDR3. - PTY lights up in the display. - Programme type POP selected. - Seek tuning is started. - No station with PTY-POP can be found. - The display shows NO PTY and - automatically switches back to NDR3. - NDR2 airs a PTY-POP programme. - The system will switch to the linked station NDR2 for the duration of the POP programme. will be released. The station received be- fore starting seek tuning will be tuned in. Storing programme types One programme type was assigned to each of the preset buttons 1-6 at the factory. If desired, you can also store other availa- ble programme types. To do so, make sure that PTY lights up in the display. - If necessary, press the PTY button to switch on the function. - Select a programme type using but- tons << >> and - hold down the desired preset button (1-6) until you hear a beep. Now the selected programme type can be recalled by pressing this preset. For this the PTY function must be active. Scanning stations with PTY-SCAN Condition: PTY must appear in the display. - Press the SC button. All received stations offering the selected programme types will be scanned. To switch off PTY-SCAN: - Press SC once again.