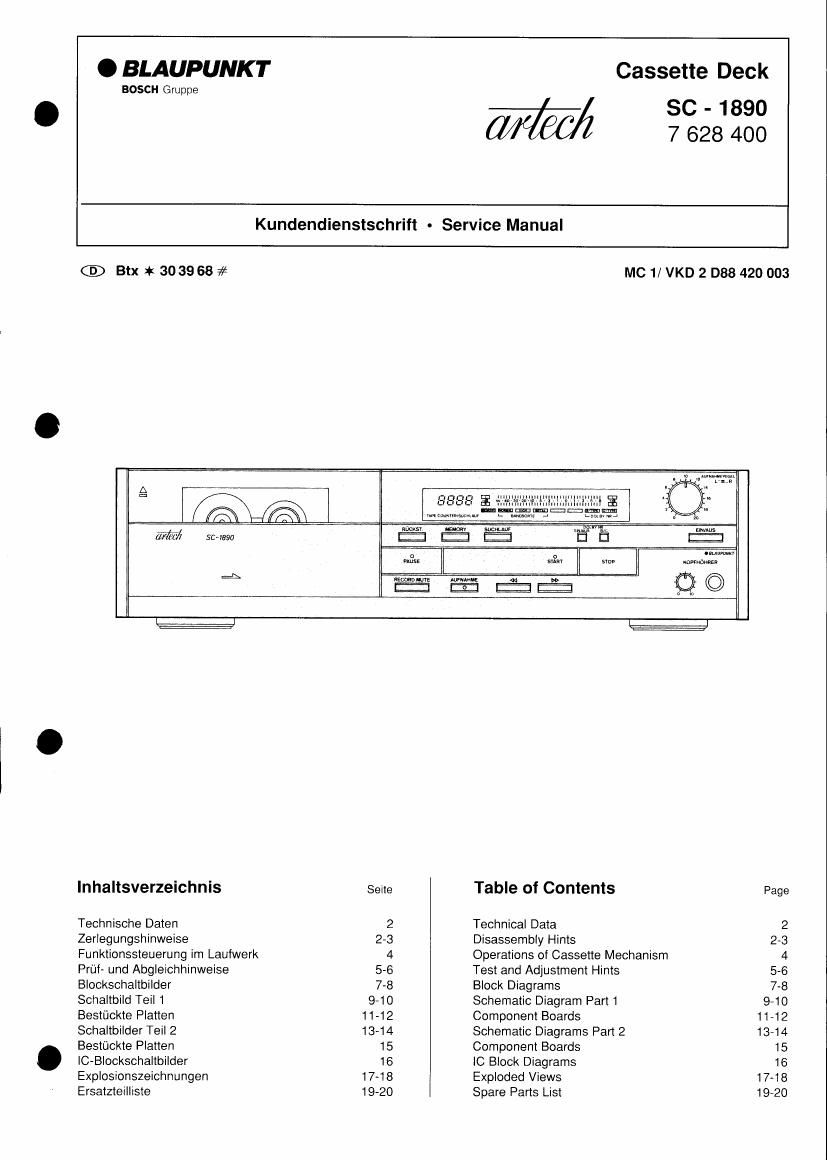
Blaupunkt SC 1890 Service Manual

This is the 20 pages manual for Blaupunkt SC 1890 Service Manual.
Read or download the pdf for free. If you want to contribute, please mail your pdfs to info@audioservicemanuals.com.

Page: 1 / 20
left right
Blaupunkt SC 1890 Service Manual

Extracted text from Blaupunkt SC 1890 Service Manual (Ocr-read)


Page 1

. BLAUPUNKT

BOSCH Gruppe

Cassette Deck

SC - 1890
7 628 400

W

Kundendienstschrift . Service Manual

® th it 303968#

MC 1/ VKD 2 D88 420 003

A
=' 9888 a
m m WWW. gm ,
W 5mm Riots, mm; E 15 mm
as maxim
$ WW 0 ©
IE E
lnhaltsverzeichnis Seite Table of Contents
Technische Daten 2 Technical Data
Zeriegungshinweise 2-3 Disassembly Hints
Funktionssteuerung im Laufwerk 4 Operations of Cassette Mechanism
PrUf- und Abgleichhinweise 5-6 Test and Adjustment Hints
Blockschaltbilder 7-8 Block Diagrams
Schaltbild Teil 1 9-10 Schematic Diagram Part 1
Bestflckte Platten 11-12 Component Boards
Schaltbilder Teil 2 13-14 Schematic Diagrams Part 2
Bestflckte Platten 15 Component Boards
IC-Blockschaltbilder 16 IC Block Diagrams
Explosionszeichnungen 17-18 Exploded Views
Ersatzteilliste 19-20 Spare Parts List

9-10
11-12
13714

15
16
17-18
19-20

Page 2

BIaupunkt-Gerate erfUllen die in der DIN 45 500 geforderten
Werte. Die Sicherheitsbestimmungen der internationalen Si-
cherheitsnorm IEC 65 werden eingehalten und sind bei jeder
Reparatur zu beachten. Alle Bauteile. die mit einem solchen
Symbol A gekennzeichnet sind, milssen durch Originalteile
ersetzt werden.

Technische Daten

The Blaupunkt units fulfil the values required by DIN 45 500.
The unit conforms to the security regulations set by the
International Security Standard IEC 65 and these must be
observed when reparing the set. All components market by A
must be replaced by original parts,

Technical Data

Bezelchnung Wert / Value Designation
Ausstattung Motore: 1 Capstan Motor Equipment Motors
1 Wickelmotor
Kopte: 1 Hartpermalloy-Kopf Heads
for Aufn ,/Wiedergabe
1 Doppelspalt-Ferrit-
Loschkopf
NetzanschluB 220/240 V, 50/60 Hz Mains Supply
Leistungsaufnahme 15 Watt Power Consumption
Tonhohenschwankung W & F: 0,045% Wow & Flutter
Frequenzgang NORM: 30 » 16 000 Hz i 3 dB Frequency response NORM
CrOz: 30 - 17 000 Hz 1 3 dB CrO2
METAL: 30 - 18 000 Hz i 3 dB METAL
Gerauschspannungsabstand S/N Ratio
METAL Band ohne Dolby NR 58 dB METAL Tape without Dolby NR
METAL Band mit Dolby NFt B 66 dB METAL Tape with Dolby NR B
METAL Band mit Dolby NR C 72 dB METAL Tape with Dolby NR C
Eingangsempfindlichkeit/ Input Sensitivity/Impedance
Impedanz AUFNAHME 70 mV/47 kQ AUFNAHME"
Ausgangsspannung/ Output Voltage/Impedance
Impedanz WIEDERGABE 500 mV/47 kQ WIEDERGABE
KOPFHORER 200 mm o KOPFHCRER
Abmessungen Breite 443 mm Dimensions Width
Hdhe 118 mm Height
Tiefe 320 mm Depth
Masse 5,0 kg Weight
Zerlegungshinweise Disassembly Hints

1. Abnehmen des Gehéuseoberteils
a. Die zwei kieinen Seitenteile abschrauben.
b. Die zwei Schrauben G) (Fig.1) herausdrehen.

2. Abnehmen des Gehiausebodens
a. Die zwei Schrauben® und @(FigJ) herausdrehen.

3. Ausbauen der Seitenteile
a. Die Pkt. 1 und 2 durchfflhren.
b. Das Seitenteil ca, 2 cm in Pieilrichtung A (Fig.2) ziehen.
c. Den Kunststoffsteg der Frontblende mit einem
Schraubendreher anheben, so dais die zwei
Rasthaken (A) frei werden.
d. Das Seitenteil nach hinten in Pteilrichtung B ziehen.

1. Removing the upper cabinet part
a. Unscrew the two little side panels.
b. Unscrew the two screws CD (Fig.1).

2. Removing the cabinet bottom
a. Unscrew the two screws @ and 6) (Fig.1).

3. Removing the side panel

a. Perform points 1 and 2.

b. Pull the side panel approx. 2 cm in direction of the
arrow A,(Fig.2).

c. Use a screw driver to lift the plastic web of the front
panel, in order to expose the two locking hooks @.

d. Pull the lateral part backwards in direction of the
arrow B.