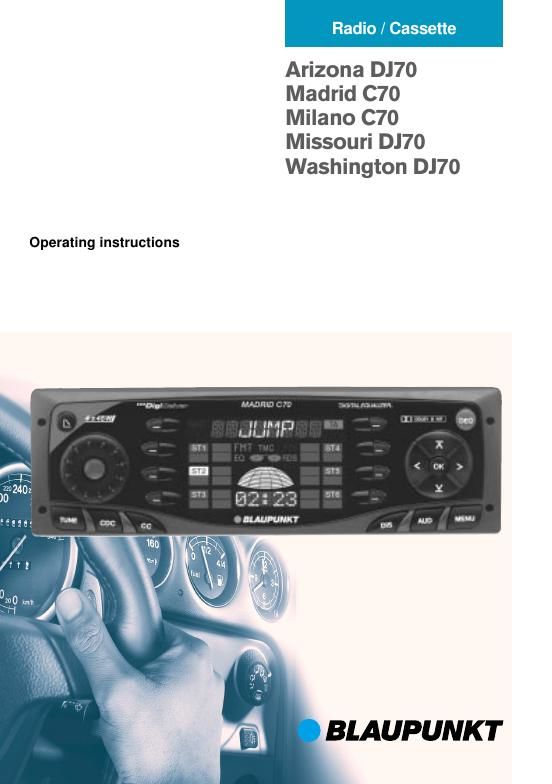
Blaupunkt Milano C 70 Owners Manual

This is the 30 pages manual for Blaupunkt Milano C 70 Owners Manual.
Read or download the pdf for free. If you want to contribute, please mail your pdfs to info@audioservicemanuals.com.

Page: 1 / 30
left right
Blaupunkt Milano C 70 Owners Manual

Extracted text from Blaupunkt Milano C 70 Owners Manual (Ocr-read)


Page 1

2 Bitte aufklappen Open here Ouvrir s.v.p. Aprite la pagina Hier openslaan a.u.b. Öppna Por favor, abrir Favor abrir

Page 2

3 7 9 14 2 3 6 10 12 13 8 1 4 11 5

Page 5

33 ENGLISH Thank you for choosing a Blaupunkt product. We hope your new device brings you a lot of pleasure. Note Before you use your car radio for the first time, please read this guide carefully and make yourself familiar with the device. Keep this guide in the car for later reference. Road\bsafety Road safety has the first priority. Only make adjustments to your car radio when the traffic conditions allow. Familiarise your- self with the device before you start driv- ing. You must be able to hear audible alarms from police vehicles, fire engines or am- bulances promptly when inside the vehi- cle. You must therefore listen at an appro- priate volume when travelling. \fitting If you want to fit your car radio yourself, read the fitting and connecting notes at the end of the guide. Accessories Only use accessories approved by Blaupunkt. Remote\bcontrol You can control the basic functions of your car radio safely and conveniently with any of the optional remote controls RC 08, RC 10 or RC 10H. Amplifier Any Blaupunkt amplifier can be used. CD\bchanger The Blaupunkt IDC A09 CD changer is in- cluded with the Arizona DJ70. The Blaupunkt CDC A08 CD changer is in- cluded with the Missouri DJ70 and the Wash- ington DJ70. The following CD changers can be obtained as accessories for the Madrid C70 and Mi- lano C70: CDC A 06, CDC A 08, CDC A 072 or IDC A 09. If an adapter cable is used (Blaupunkt no. 7 607 889 093) the CDC A 05 or CDC A 071 CD changers can be connected. Guarantee The extent of the guarantee depends on the statutory conditions applicable in the country where the device was bought. Regardless of statutory requirements, Blau- punkt offer a twelve month guarantee. If you have any questions about your gua- rantee, please refer to your authorised Blau- punkt dealer. In every case the purchase re- ceipt constitutes the guarantee documenta- tion. International\btelephone information If you have any questions about the opera- tion of the device, or if you need any other information, please call us! The numbers for the telephone information are on the last page of this guide. \bOTES

Page 7

35 ENGLISH -ž® Press the or button, 7, until LEARN KC appears in the display. -ž® Press the button, 7. CHANGE appears in the display. -ž® Remove the first KeyCard. -ž® Insert the new KeyCard. LEARN OK appears in the display. To leave the menu -ž® Press the MENU button, \b. The radio can now be operated with the new KeyCard. Note: Two KeyCards is the maximum that can be used with one device. If you already have two KeyCards for the de- vice and then train a third KeyCard, the de- vice can no longer be used with the KeyCard that was not involved in the training process. KeyCard\blost\bor\bdamag\ied If all the KeyCards belonging to a device are damaged or lost, you can train a new Key- Card. You can obtain a new KeyCard from your dealer. In order to be able to use the new KeyCard you will require the devices master code. You will find this in the devices Car Radio Pass- port. The instructions for this are in the sec- tion on Training a new KeyCard. Keep your Car Radio Passport in a safe place, but never in the car itself. Training\ba\bnew\bKeyCard\b/\bentering the\bmaster\bcode If you no longer have a valid KeyCard for your device, and would like to train a new KeyCard -ž® insert the new, unknown KeyCard into the device. -ž® Close the control unit. -ž® If necessary, switch the device off. -ž® Hold down the TUNE and ST1 buttons, > and 4, at the same time. -ž® Switch the device on with the main but- ton, 2. 0000 appears in the display. Enter the four-figure master code from the Car Radio Passport as follows: -ž® Enter each of the numbers for the mas- ter code using the and buttons, 7 . Press this button as many times as is necessary to obtain the desired number in the display. -ž® Change the location of your input with the and buttons, 7. -ž® When the master code is correctly shown, press the OK button, 5. If the device switches to play, the new Key- Card has been accepted. Visual\btheft\bprotection\b(LED) When the device is switched off and the Key- Card has been removed, the power button and the CD slot illumination can flash if de- sired. This requires the LED setting in the menu to be set to ON. -ž® Press the MENU button, \b. -ž® Press the or button, 7, until either LED ON or LED OFF appears in the display. -ž® Press the or button, 7, in order to switch between the settings ON and OFF. -ž® Press the OK button, 5, or the MENU button, \b, to leave the menu. The set- tings are then saved. THEFT PROTECTIO\b