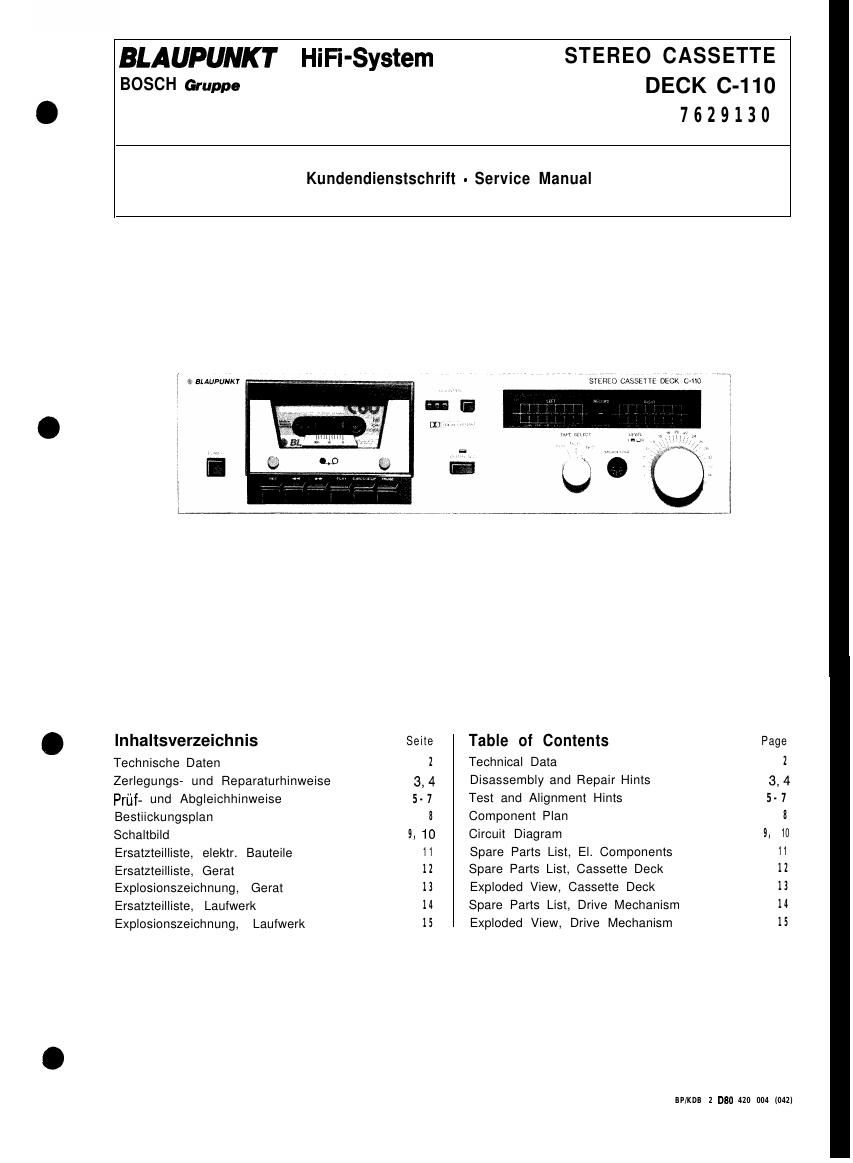
Blaupunkt C 110 Service Manual

This is the 15 pages manual for Blaupunkt C 110 Service Manual.
Read or download the pdf for free. If you want to contribute, please mail your pdfs to info@audioservicemanuals.com.

Page: 1 / 15
left right
Blaupunkt C 110 Service Manual

Extracted text from Blaupunkt C 110 Service Manual (Ocr-read)


Page 1

Blaupunkt die in der DIN 45500 geforderten Werte. Die tragen das VDE-Zeichen und daher die einschlagigen VDE-Bestimmungen, die jeder Reparatur sind. Bauteile die mit einem solchen Symbol zeichnet sind, Originalteile ersetzt den. Technische Daten Bezeichnung Netzspannung Laufwerk Bandgeschwindigkeit Drift Tonhohenschwankung Ubertragungsbereich DIN: Rauschminderungssystem Ruhegerauschspannungsabstand: Dolby ein Dolby Dolby ein Dolby Dolby ein Dolby Ubersprechdampfung (f = 1 Eingangsempfindlichkeit: Mikrophonbuchse DIN-Buchse Ausgangsspannung SRL Umspulzeit C 60 Abmessungen: Breite Tiefe Gewicht Eingange Ausgang Frontplatte Blaupunkt units exceed the values claimed for in DIN 45500. The sets are provided with the VDE sign, thus fulfilling the common VDE stipulations to be observed for any repair. All components marked by have to be replaced by original parts. Wert Value 220 V, 50 Hz Belt Drive 1% Dolby B 64dB 56dB 65dB 57dB 66dB 58dB 37dB -15 -13 -15 3 775 66dB 115sec 435 mm 117 mm 250 mm 7 MICROPHONE LINE IN LINE OUT braun met. hellbronze Technical Data Designation Supply voltage Drive mechanism Tape speed Drift Pitch variation Transmission range to DIN: Fe203 Noise Reduction System Rest to-noise ratio: Fe203 Dolby on Dolby off Dolby on Dolby off Dolby on Dolby off Cross-talk attenuation = 1 Pitch control range: Input sensitivity: Microphone jack DIN-socket Output voltage at SRL Erase attenuation Rewinding time Dimensions: Width Height Depth Weight Inputs output Colour: Chassis: brown metallic Front panel: light bronze

Page 2

Zerlegungs- und Reparaturhinweise 1. Abnehmen des a) Die zwei Schrauben an beiden entfernen. b) Den Gehausedeckel herausziehen. 2. Abnehmen der Frontplatte a) Die Drehknopfe des TAPE-SELECT-Schaltersund des LEVEL-Reglers abziehen. b) Die Schrauben 1-3 (Fig. 1) entfernen. c) Die Schrauben l-5 (Fig. 2) entfernen. d) Die beiden Randelschrauben mit der tenblende entfernen. e) Die Frontplatte herausziehen. 3. Abnehmen der Bodenplatte a) Die Schrauben 1-6 sowie 9-14 (Fig. 2) b) Die Bodenplatte abnehmen. 4. Ausbau des Laufwerks a) Gerat Ziffer 2 und 3 zerlegen. b) Die Schrauben 7 und 8 (Fig. 2) entfernen. c) des A/W-Kopfes an der platine abloten, des Lbschkopfes ziehen. d) Zuleitungskabel am Laufwerk e) Die Schraube 4 (Fig. 1) entfernen. g) Die Schraube 3 (Fig. 6) entfernen. h) Den Reedkontakt der Gummihalterung nehmen. i) Den Bowdenzug laufwerksseitig abnehmen. k) Das Laufwerk herausnehmen. 5. Ausbau von Cassettenfach und Blende a) Sicherungsscheiben 6, 10 (Fig. 4) sowie die 7 entfernen. b) Die Schraube 9 (Fig. 4) entfernen und den (Fig. 4) c) Cassettenfach und entfernen. d) Die Schrauben 1, 2 (Fig. 4) und 2 (Fig. 6) e) Blende und entfernen. 6. Ausbau des Antriebsmotors a) Laufwerk Ziffer 5 zerlegen. b) Die Schrauben 3-5 (Fig. 4) sowie 3 (Fig. 5) entfernen. c) Antriebsriemen und Motor nehmen. 7. Ausbau der Capstanwelle a) Gerat Ziffer 5 zerlegen. b) Die Schrauben 4, 5 (Fig. 5) sowie 1 (Fig. 6) c) Lagerschild abnehmen und Capstanwelle ausziehen. 8. Ausbau der Andruckrolle a) Gerat Ziffer 2 zerlegen. b) Sicherungsscheibe 1 (Fig. 3) entfernen und Andruckrolle abziehen. 9. Ausbau des A/W-Kopfes a) Gerat Ziffer 2 zerlegen. b) Die zwei Halteschrauben entfernen. c) Austausch des A/W-Kopfes ist der muthwinkel neu einzustellen (Ziffer 4, Seite 5). 10. Ausbau der Wickelteller a) Gerat Ziffer 4 und 5 zerlegen. b) Halteklammern 1, 2 (Fig. 5) aufbiegen und kelteller abziehen. Disassembly and Repair Hints 1. Removal of chassis cover a) Remove the two screws on either side of the cassette deck. b) Remove chassis cover to the rear. 2. Removal of front panel a) With draw the rotary knobs of the TAPE-SE- LECT switch and of the LEVEL control. b) Remove screws 1-3 (Fig. 1). c) Remove screws l-5 (Fig. 2). d) Remove the two knurled screws with the cas- sette mask. e) Pull out front panel. 3. Removal of bottom plate a) Remove screws l-6 and 9-14 (Fig. 2). b) Remove bottom plate. 4. Removal of drive mechanism a) Disassemble the cassette deck in accordance with Items 2 and 3. b) Remove screws 7 and 8 (Fig. 2). c) Unsolder the connecting cable of the record- ing/playback head at the main PC board and pull off the erasure head connector. d) Unsolder the feed-in cable at the drive motor. e) Remove screw No. 4 (Fig. 1). g) Remove screw No. 3 (Fig. 6). h) Remove the Reed contact from the rubber mounting. i) Remove the cable at the side of the drive motor. h) Remove the drive mechanism to the rear. 5. Removal of the cassette bay and mask a) Remove locking washers 6 and (Fig. 4) and sleeve No. 7. b) Remove screw No. 9 (Fig. 4) and unhinge lever No. 8 (Fig. 4). Unhinge and remove cassette bay. d) Remove screws 1 and 2 (Fig. 4) and No. 2 (Fig. 6). e) Unhinge and remove mask. 6. Removal of the drive motor a) Disassemble the drive mechanism in accord- ance with Item 5. b) Remove screws 3-5 (Fig. 4) and screw No. 3, (Fig. 5). c) Remove the drive belt and take the motor out. 7. Removal of capstan shaft a) Disassemble the cassette deck in accordance with Item 5. b) Remove screws 4 and 5 screw No. (Fig. 6). c) Remove the bearing plate and pull out the capstan shaft. 8. Removal of rubber pinch roller a) Disassemble the equipment in accordance with Item 2. b) Remove the locking washer No.1 (Fig. 3) and pull off the rubber pinch roller. 9. Removal of the recording/playback head a) Disassemble the cassette deck in accordancewith Item 2. b) Remove the two mounting screws. c) Readjust the Azimuth angle (Item 4, Page 5) after replacement of the recording/playback head (Fig. 4, Page 5). 10. Removal of the spindels a) Disassemble the equipment in accordance with Item 4 and 5. b) Bend open holding clamps 1 and 5)and pull off spindle.